How to manage conversations and meetings with external users
- Tatiana Bieliakova
This guide explains how to manage conversations with users that come from personal link, meeting scheduler or website widget.
Other x-bees documentation: x-bees documentation.
Created: September 2023
Updated: December 2024
Permalink: https://wildix.atlassian.net/wiki/x/AQBHEQ
Introduction
There are several ways external users can contact x-bees agent:
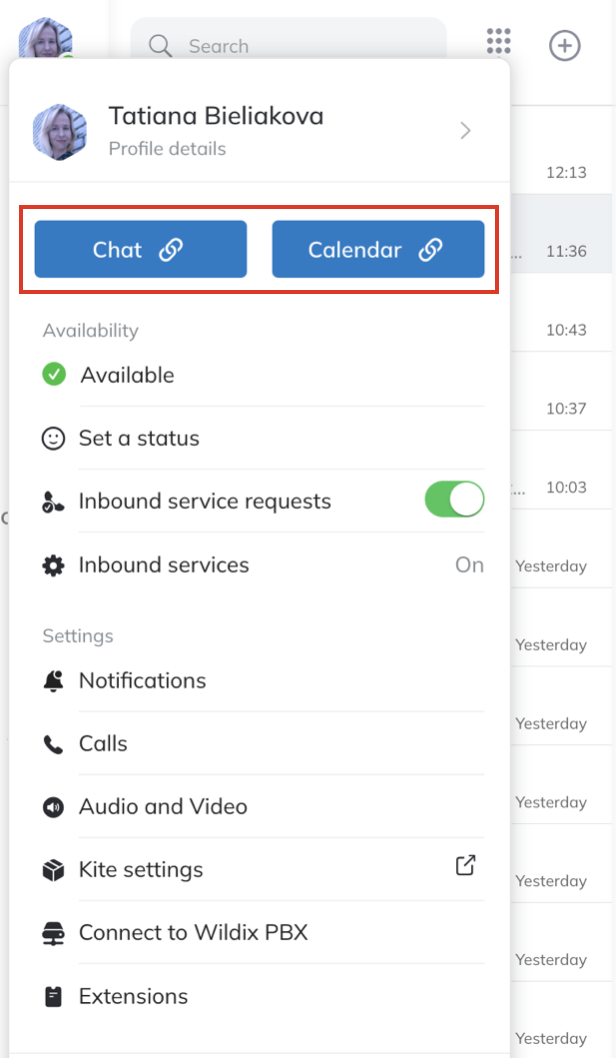
- Via personal contact-me links (chat and calendar links)
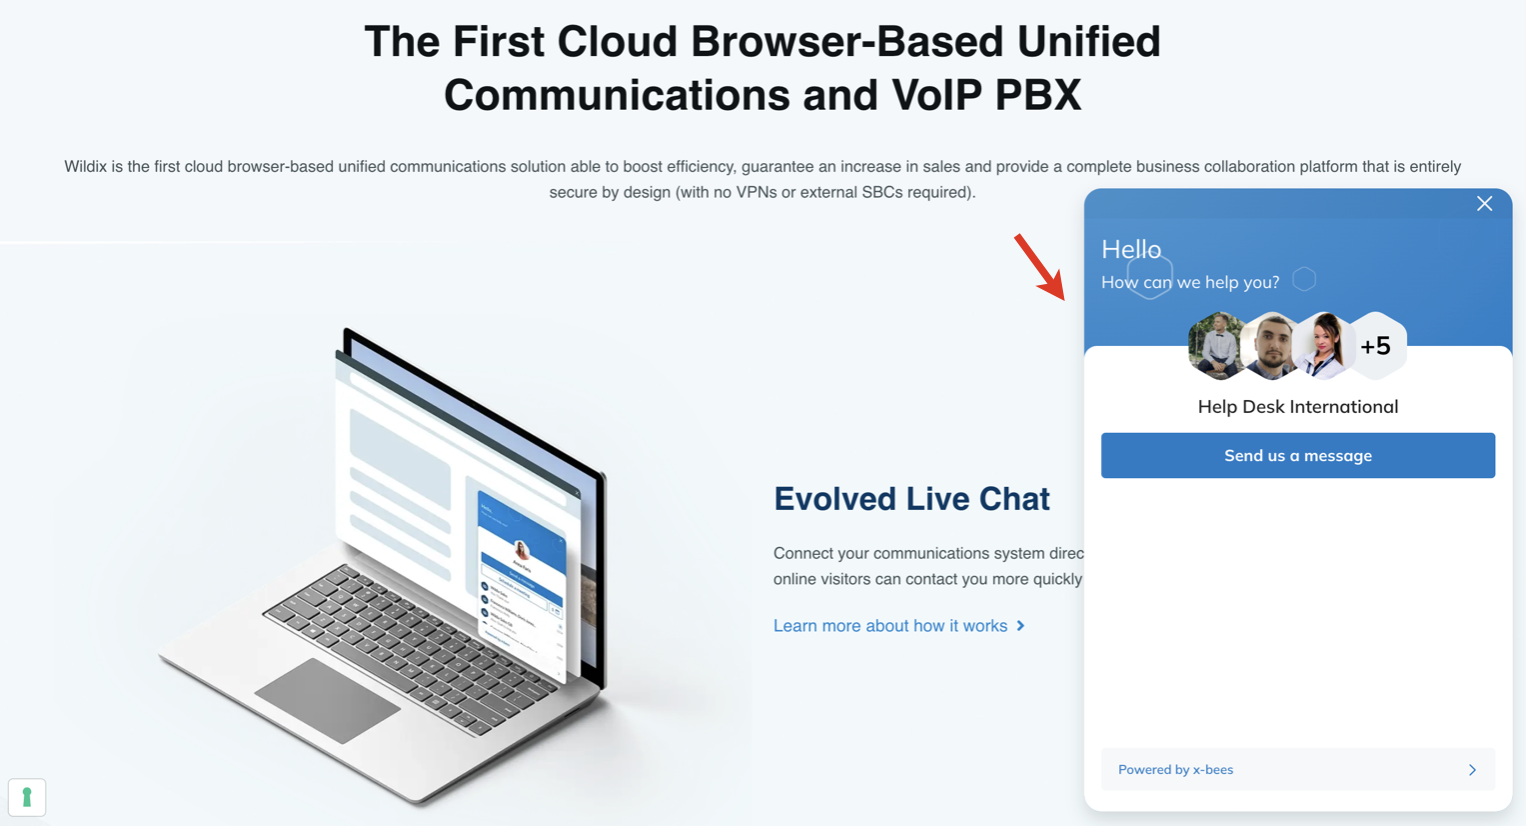
- Via website widget (example from Wildix website below)
Note: For instructions on how to set up and use Meeting Scheduler and Website Widget, check out documentation:
How to manage conversations
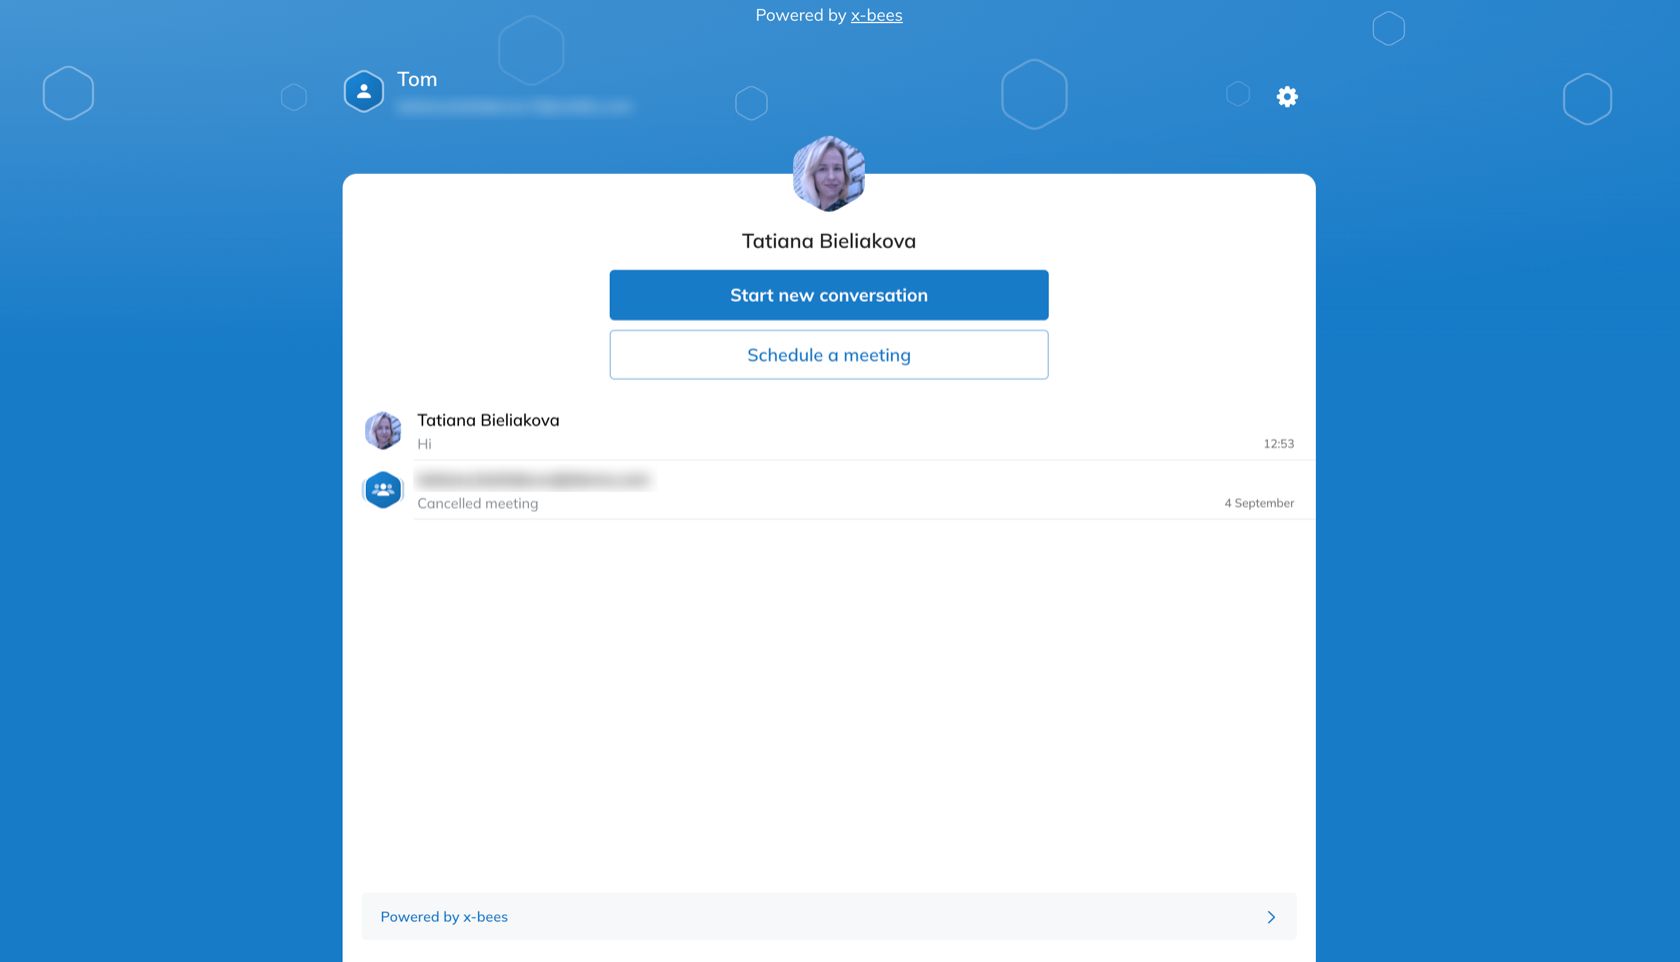
Following agent's personal contact-me link or using website widget, external user can start a new conversation or schedule a meeting with the agent:
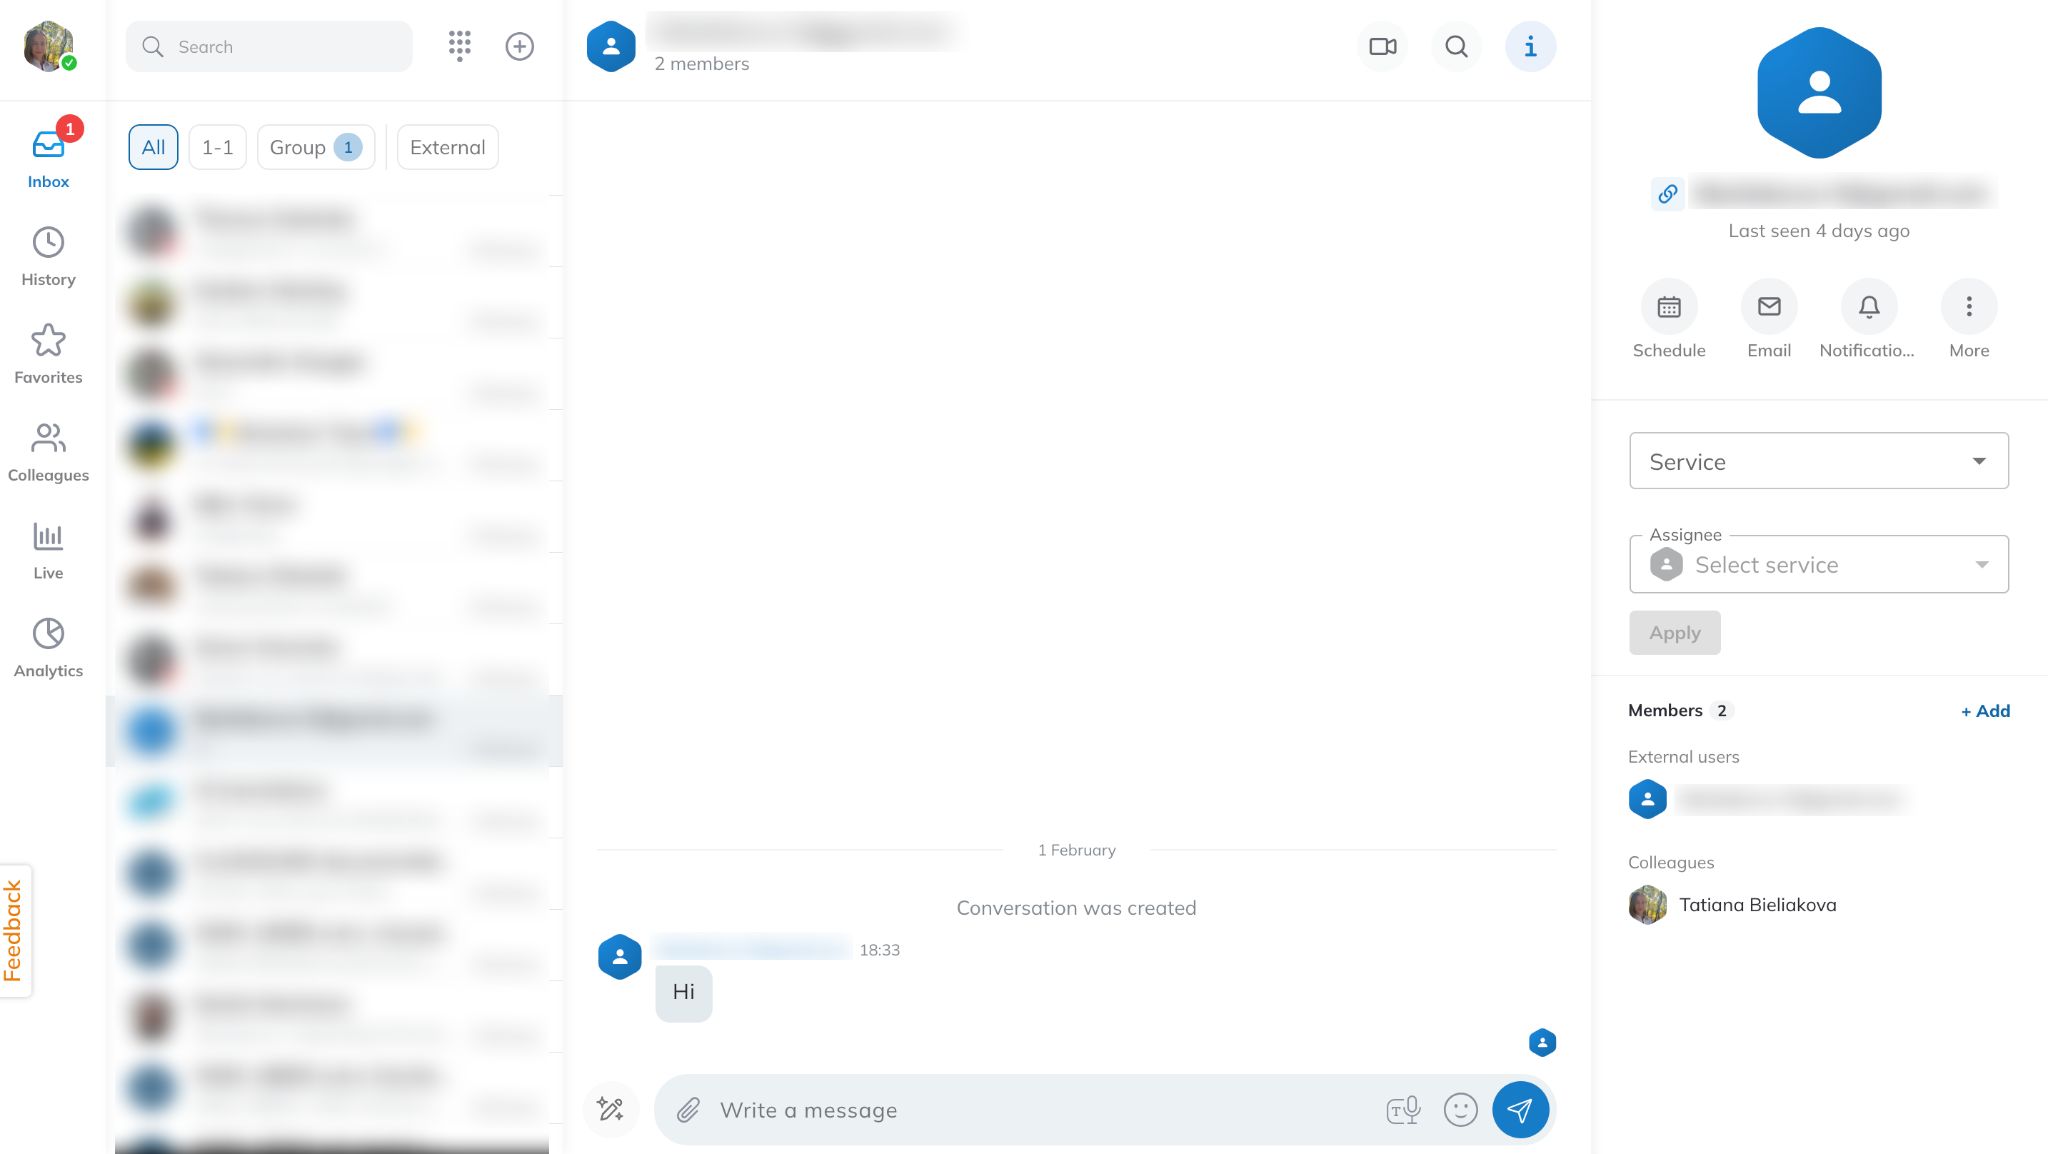
When external user clicks Start new conversation and sends a message, the relevant conversation is created with the agent / Service (Call group):
Title of the conversation is displayed according to the following rules:
- For an agent, the guest name is displayed in the conversation title both in one-on-one and group conversations.
- In case another guest is added to the conversation, their name is added to the conversation name.
- For guest, agent name is displayed in the conversation title in case of a one-on-one conversation.
- In case of a group conversation or direct conversation via widget, service name is displayed in the conversation title.
- In case the conversation is renamed, the new name is displayed both to agent and guest.
- Avatars are set according to the displayed name (agent or service for guest). In case of adding or removing users, conversation avatar is updated accordingly.
Limitation: When an agent or guest adds other guests or agents, search is limited to initial members of the conversation. It is not possible to find the conversation by entering new members’ names in the search field.
As in other conversations, agent can perform the following actions:
- Schedule an event
- Send email invitation
- Mute the conversation for a period of time
- Add more participants
Other actions include possibility to assign conversation to another agent or service, create a CRM lead and add contact to a phonebook.
In both one-on-one and group conversations with external users, the Info frame displays information about an external user first:

In case of a group conversation with multiple external users, the user to be displayed on the Info frame is selected randomly.
Assign conversation
The conversation can be assigned to a particular agent of a Service (Call group). You can assign a conversation to yourself or any other agent.
Assign conversation to a Service
1. Click on the Service field: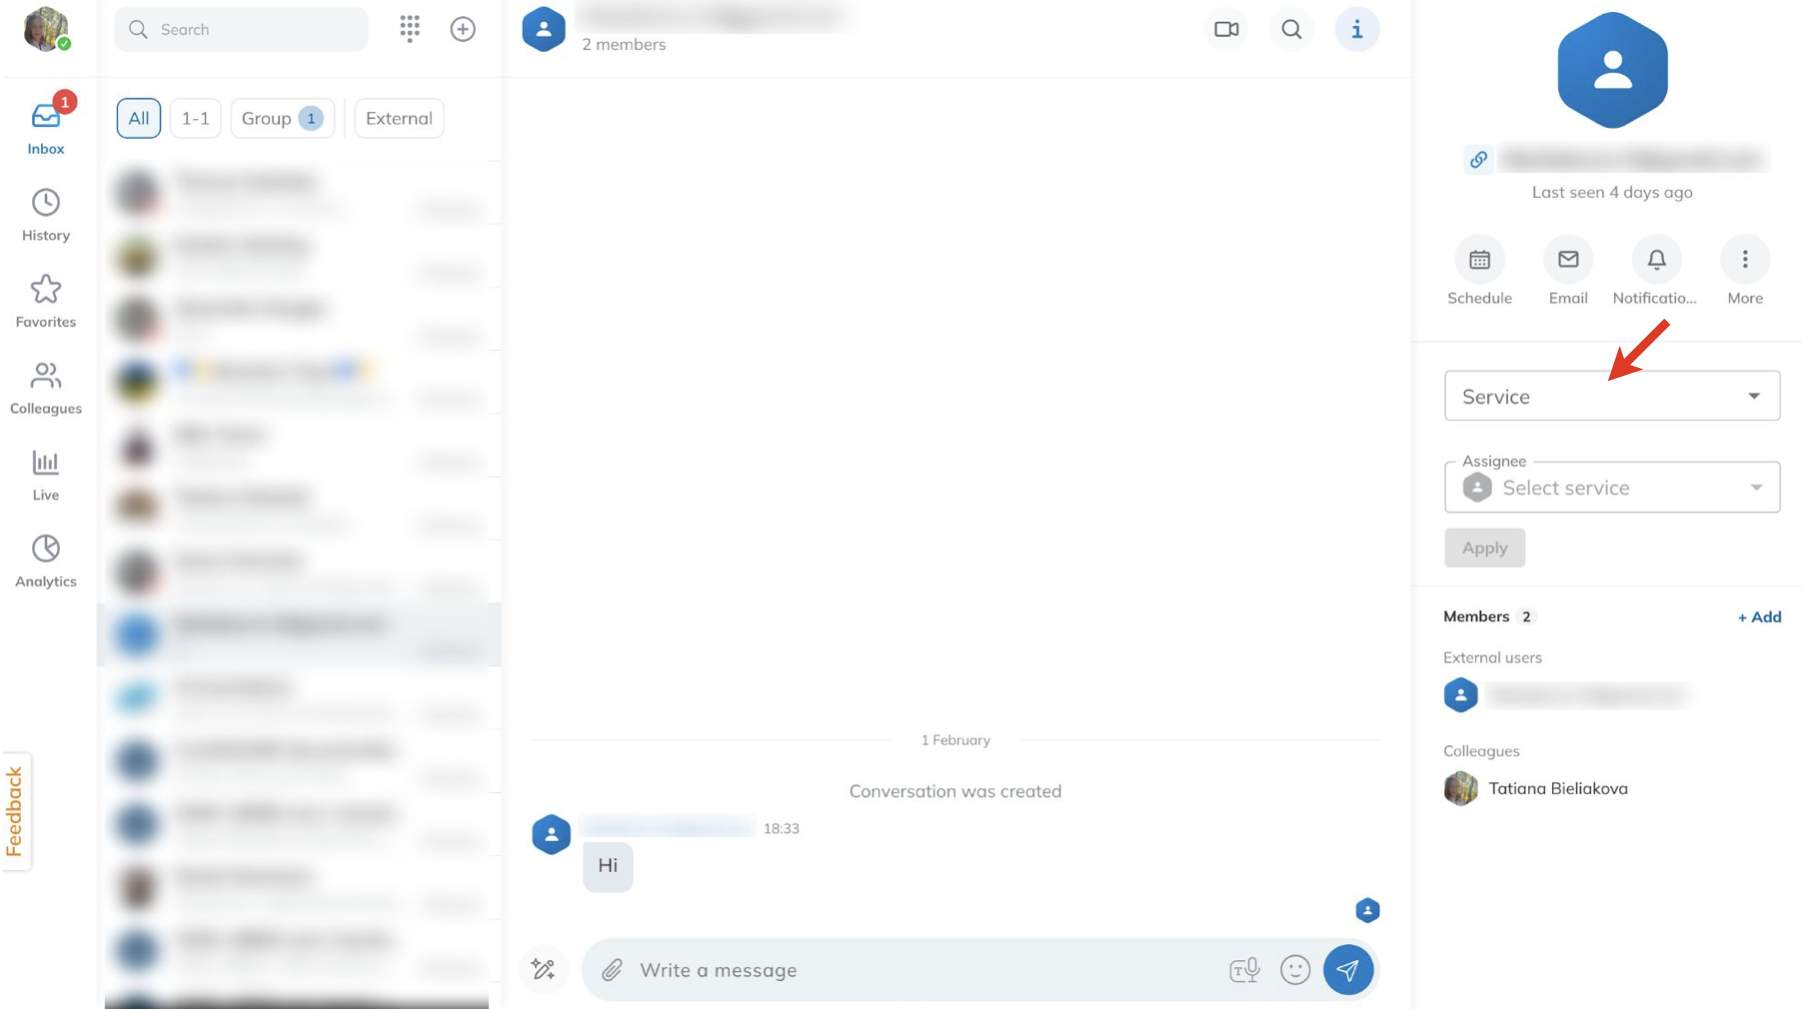
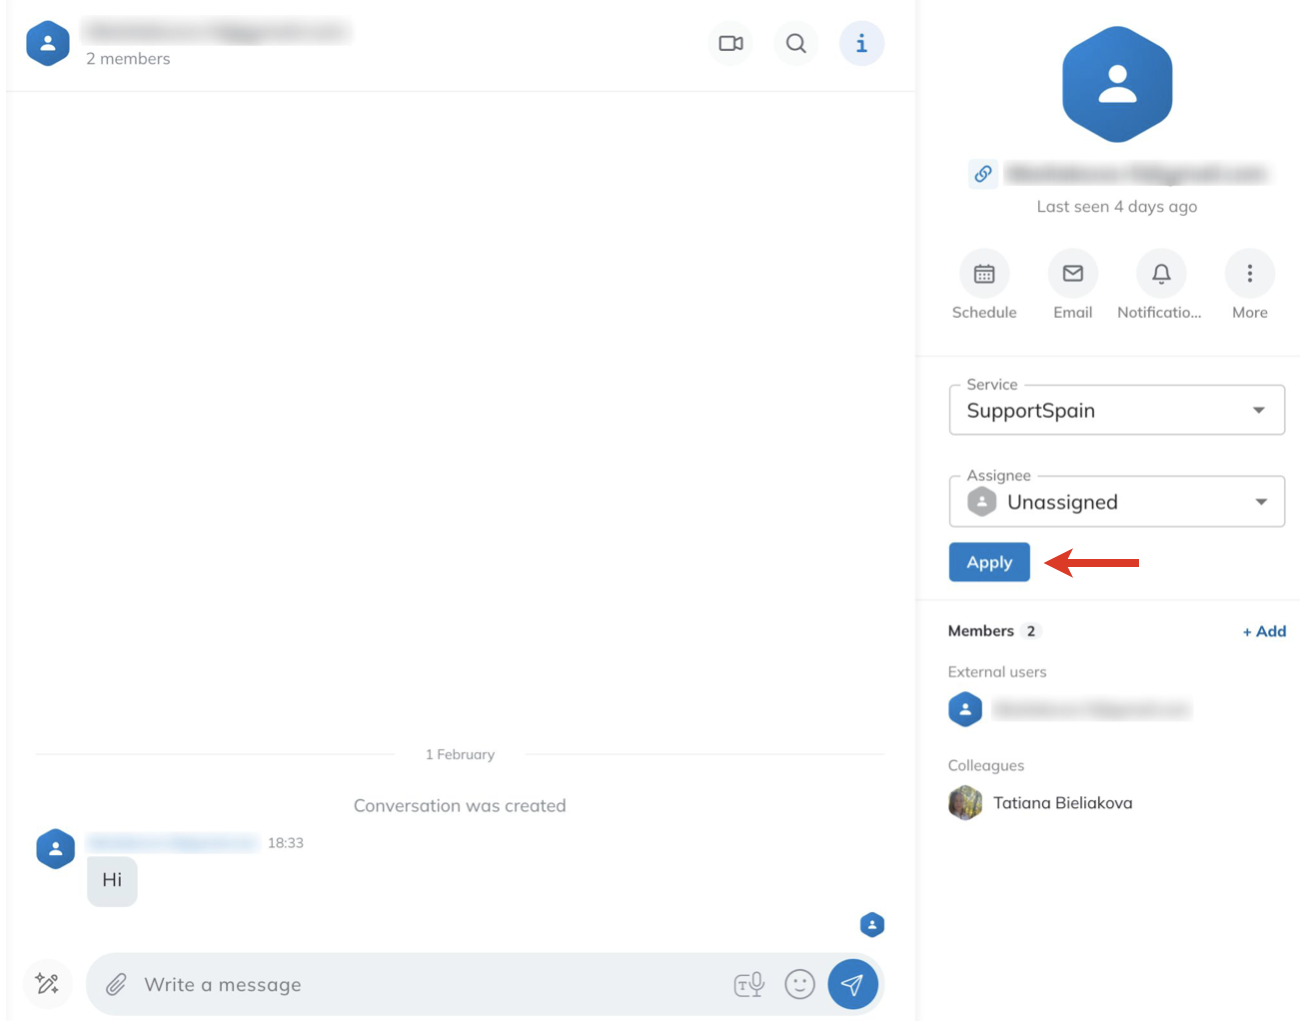
2. Choose the necessary Service, leaving Unassigned option in the Assignee field. The list of available services is grouped by the PBX they belong to (with the first PBX being the PBX of the user), and sorted alphabetically.
3. Press Apply:
Then, depending on the type of conversation, the logic is as follows:
- One-on-one conversations (created via direct chat link or via a widget with 1 agent): after reassigning the conversation to a service group where the agent is not present, the members of the call group are added and the agent is not removed from the conversation.
- Group conversations (e.g. conversation with Call group members created via website widget): after assigning the conversation to another service group, the members of the previous group are removed, and the members of the new group are added. Members of a service are removed only after the first assign. On subsequent reassigns, existing members of the conversation are no longer removed.
Any additional members or guests remain in the group. If the agent that assigns conversation to another service, doesn't belong to the group, the agent is automatically removed from the conversation after clicking the Apply button.
Current limitation:
- Service groups without at least one agent with x-bees Standard license are displayed in the list, but there is no possibility to reassign the conversation to such service group.
When an external user writes a message to a Service, which they already contacted before, the conversation is reused.
Assign conversation to another agent
1. Choose the relevant Service
2. Select the agent you want to assign the conversation to in the Assignee field:
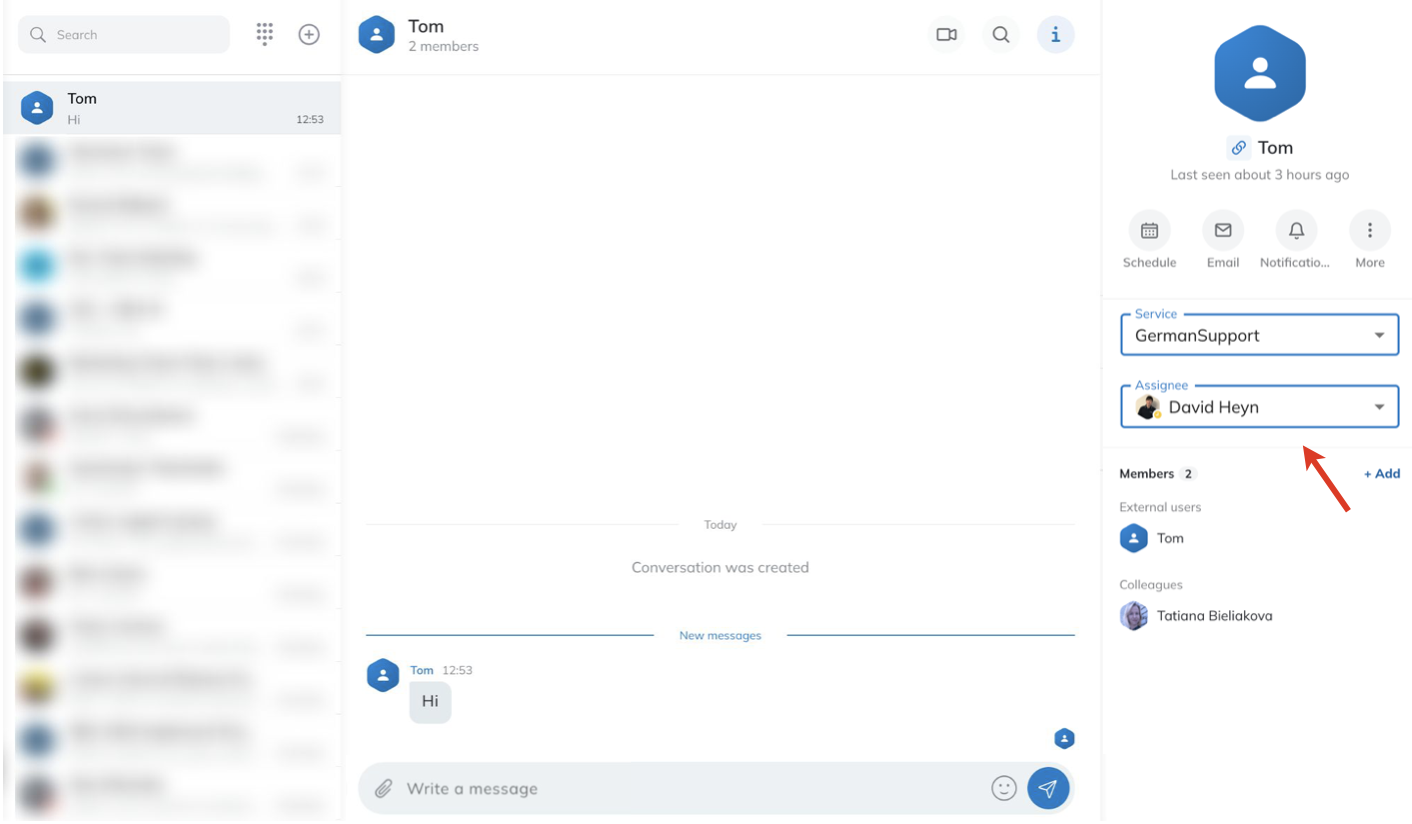
Once you select the Assignee, the agent is automatically added to the conversation.
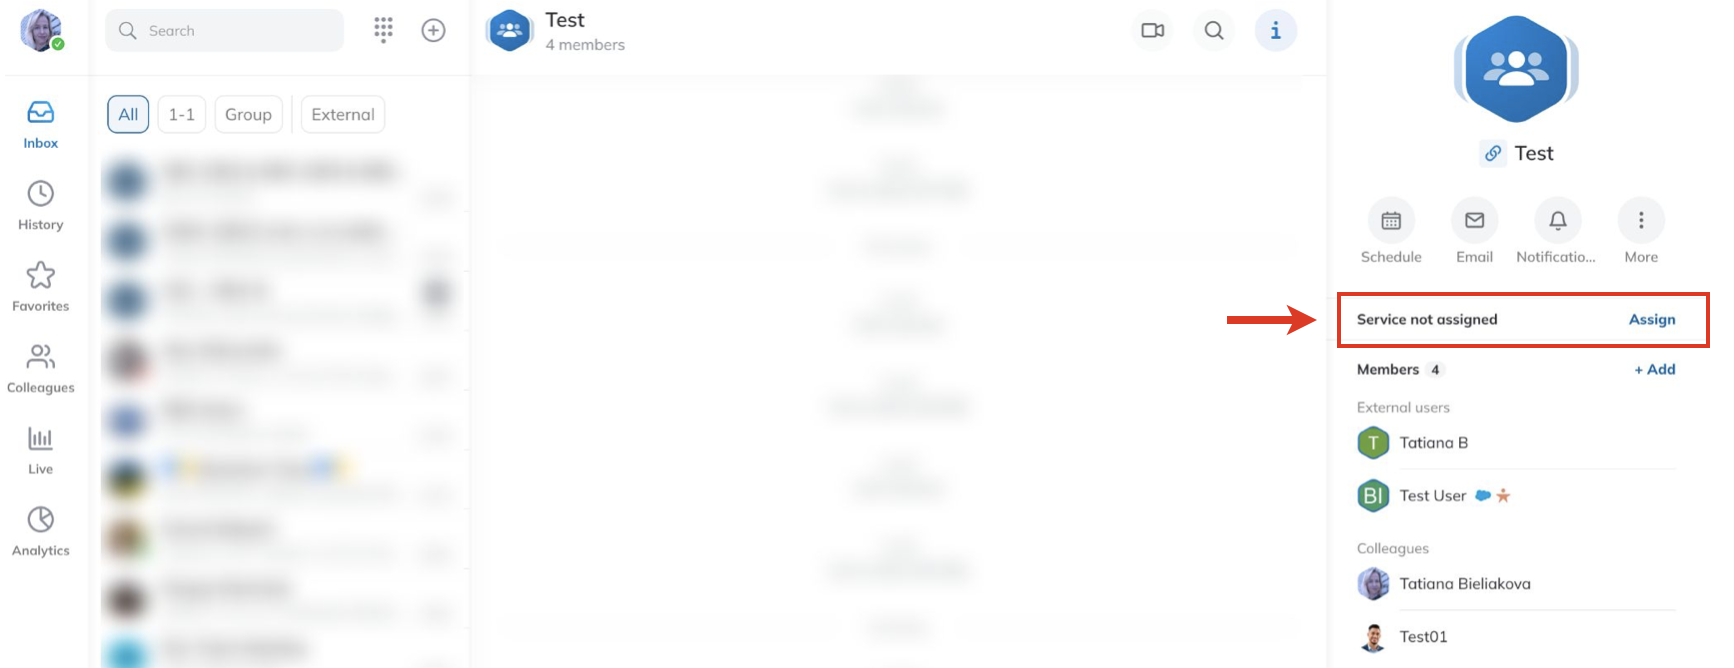
In case of a conversation created by an internal user, as soon as at least one external member is added to the conversation, the field Service not assigned appears on the Info frame, with the button Assign:
Click Assign, select the necessary service and click Apply:
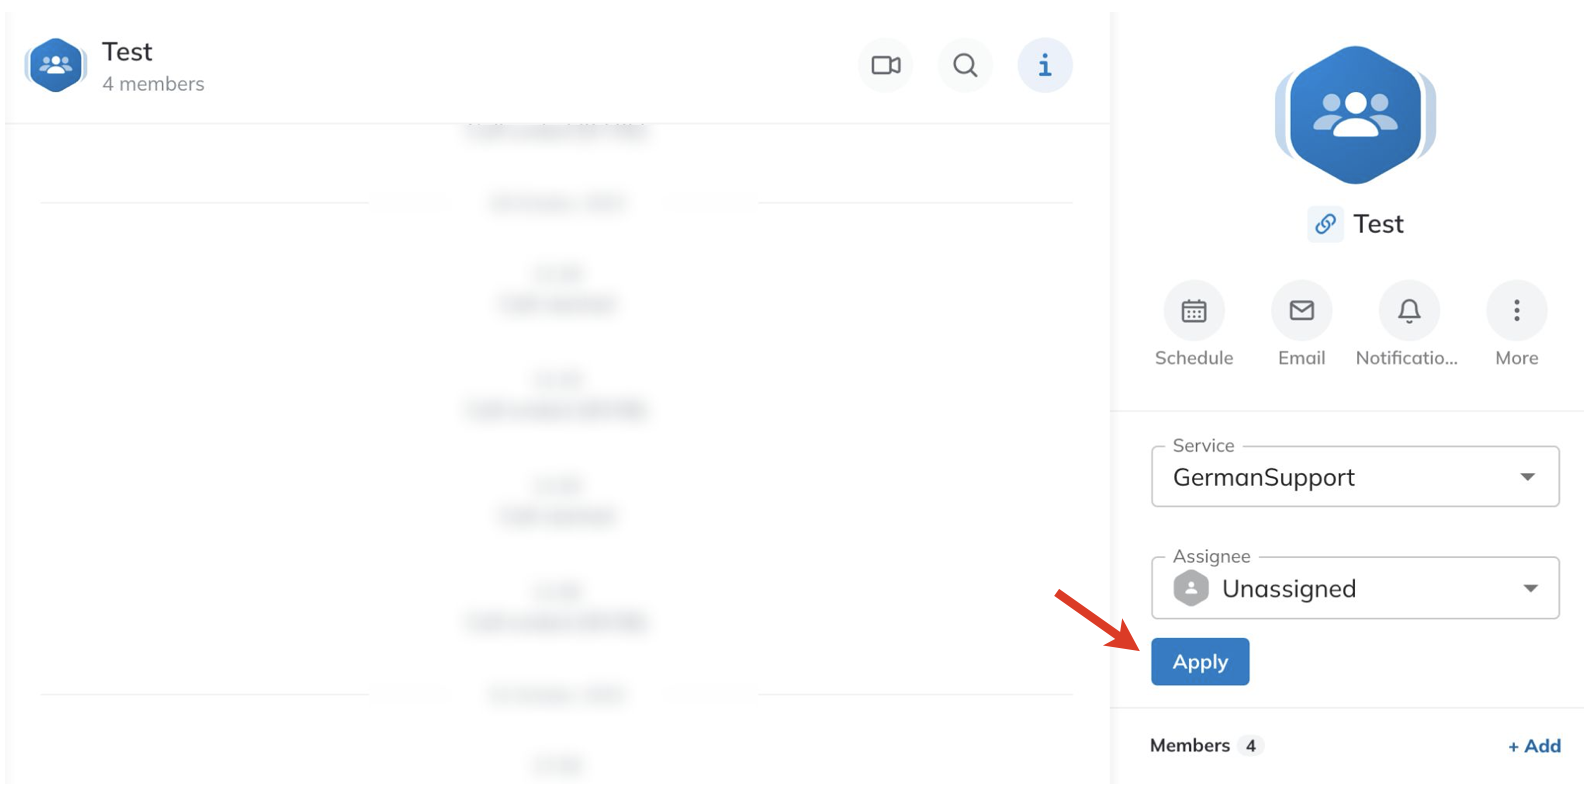
Or, if you want to assign the conversation to a particular member of the selected service, click on the Assignee field and select the relevant member whom the conversation should be assigned to:

Conversations with no agents left
There may be a case when communication with external user was completed and agents left the conversation. In case external user writes a message to such a conversation, the logic is the following:
- All agents belonging to the Service are added back to the conversation (even if the conversation was previously assigned to a particular agent, all agents belonging to the Service are added back to the conversation).
- The conversation gets assigned to a Service (rather than to the previously assigned agent).
Note:
- If external user writes a message in less than 2 seconds after agent leaves, the agents are not added, unless the external user writes another message.
- Only agents with x-bees-Standard and x-bees-SuperBee licenses are added to the conversation.
- In case conversation Service was changed (e.g. external user stated communication with particular group of agents (Service A), but then the service was changed (e.g. to Service B)), agents from the service which external user originally wrote to (Service A), are added back to the conversation.
Conversation tags
Under conversations with external users, you can find the relevant Service (Call group) or Company from HubSpot/ Salesforce tags, if available:
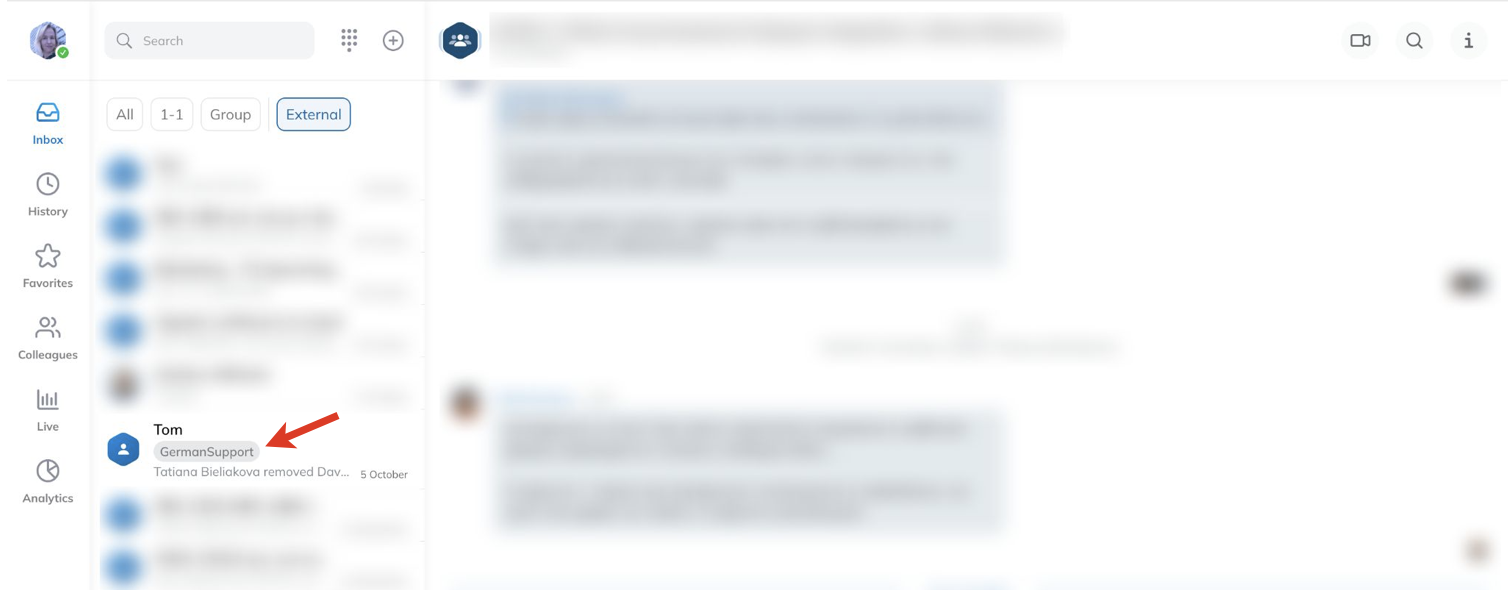
Service tag is displayed if the conversation is assigned to a service. Company from HubSpot/ Salesforce tag is shown if the contact is found in HubSpot/ Salesforce.
Create a CRM contact
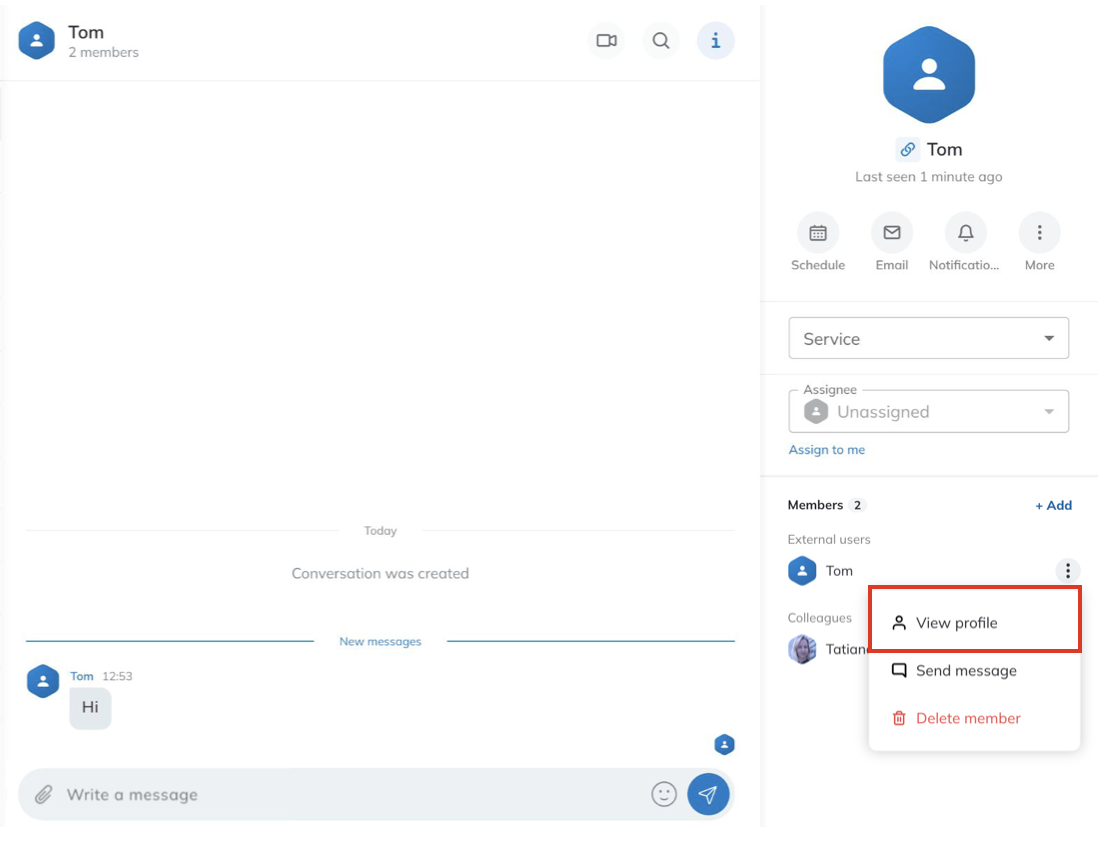
When an external user creates a conversation, you can add the user to CRM contacts:
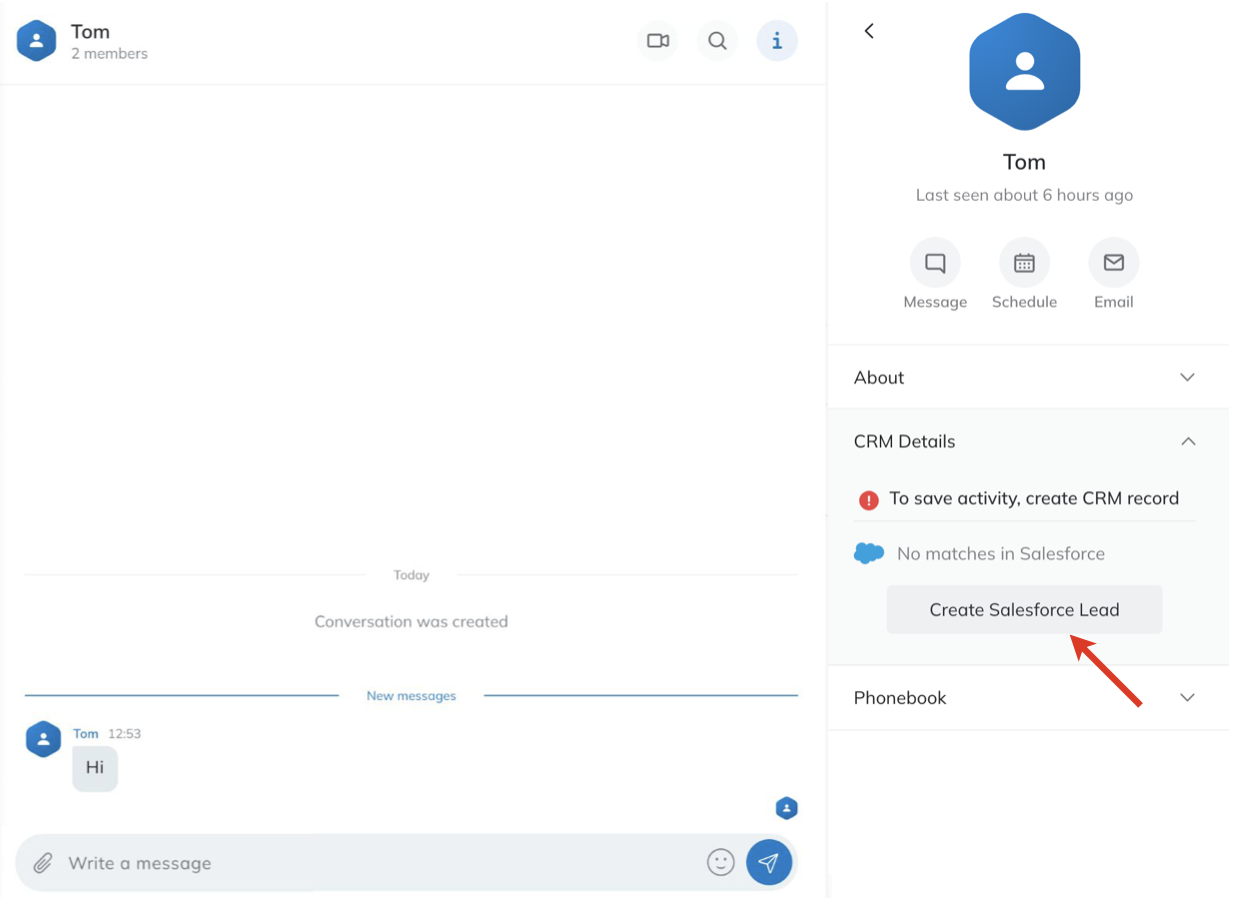
1. On the Info frame, click the three dots button next to the user and select the option View profile:
2. Click on the CRM details:

3. Click Create Salesforce Lead (or Create HubSpot Contact in case of HubSpot integration on the PBX):
4. Enter the necessary details and click Save:
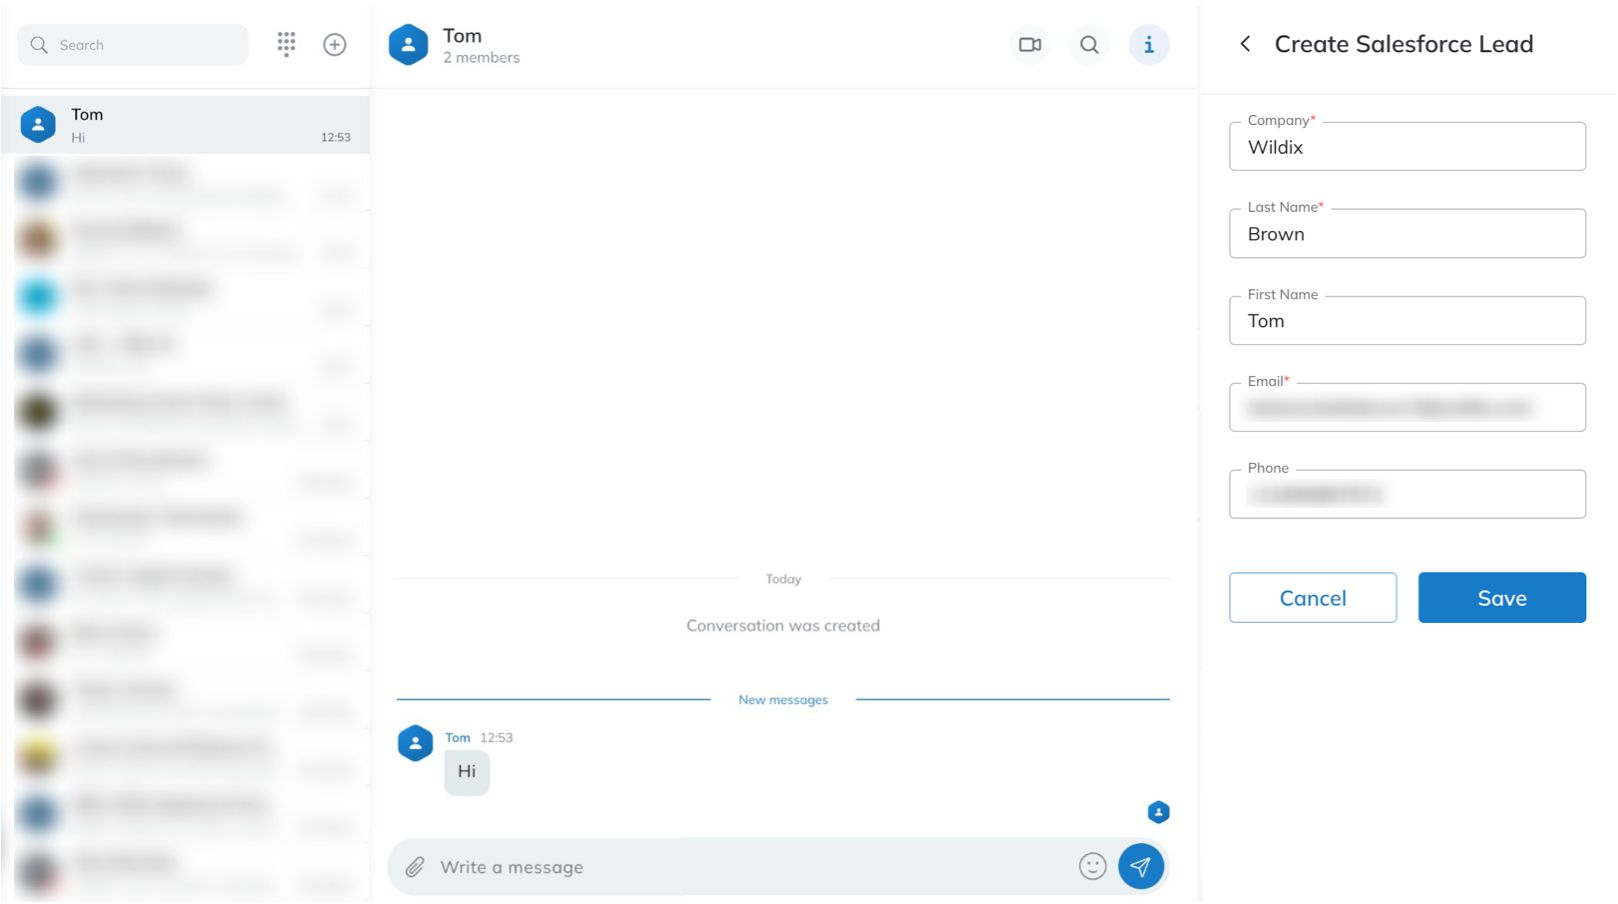
This opens up possibilities to manage the contact as a CRM lead, log activities. For more details, refer to the guide Salesforce Integration with x-bees or HubSpot Integration with x-bees.
Add user to Phonebook contacts
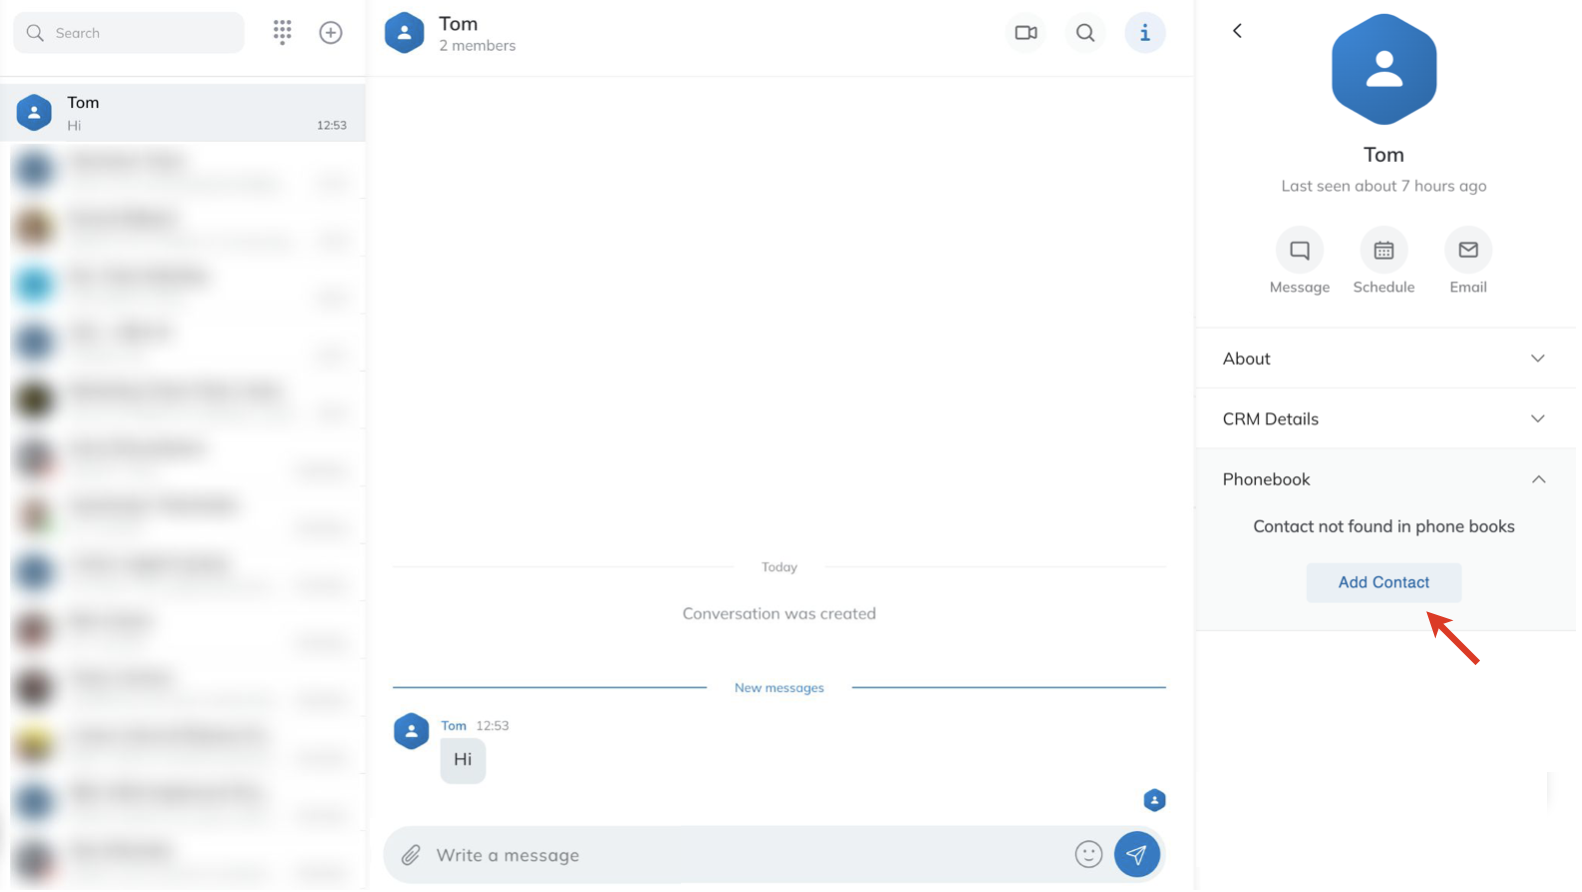
1. On the Info frame, click the three dots button next to the user and select the option View profile:
2. Click on the Phonebook option:

3. Click Add Contact:
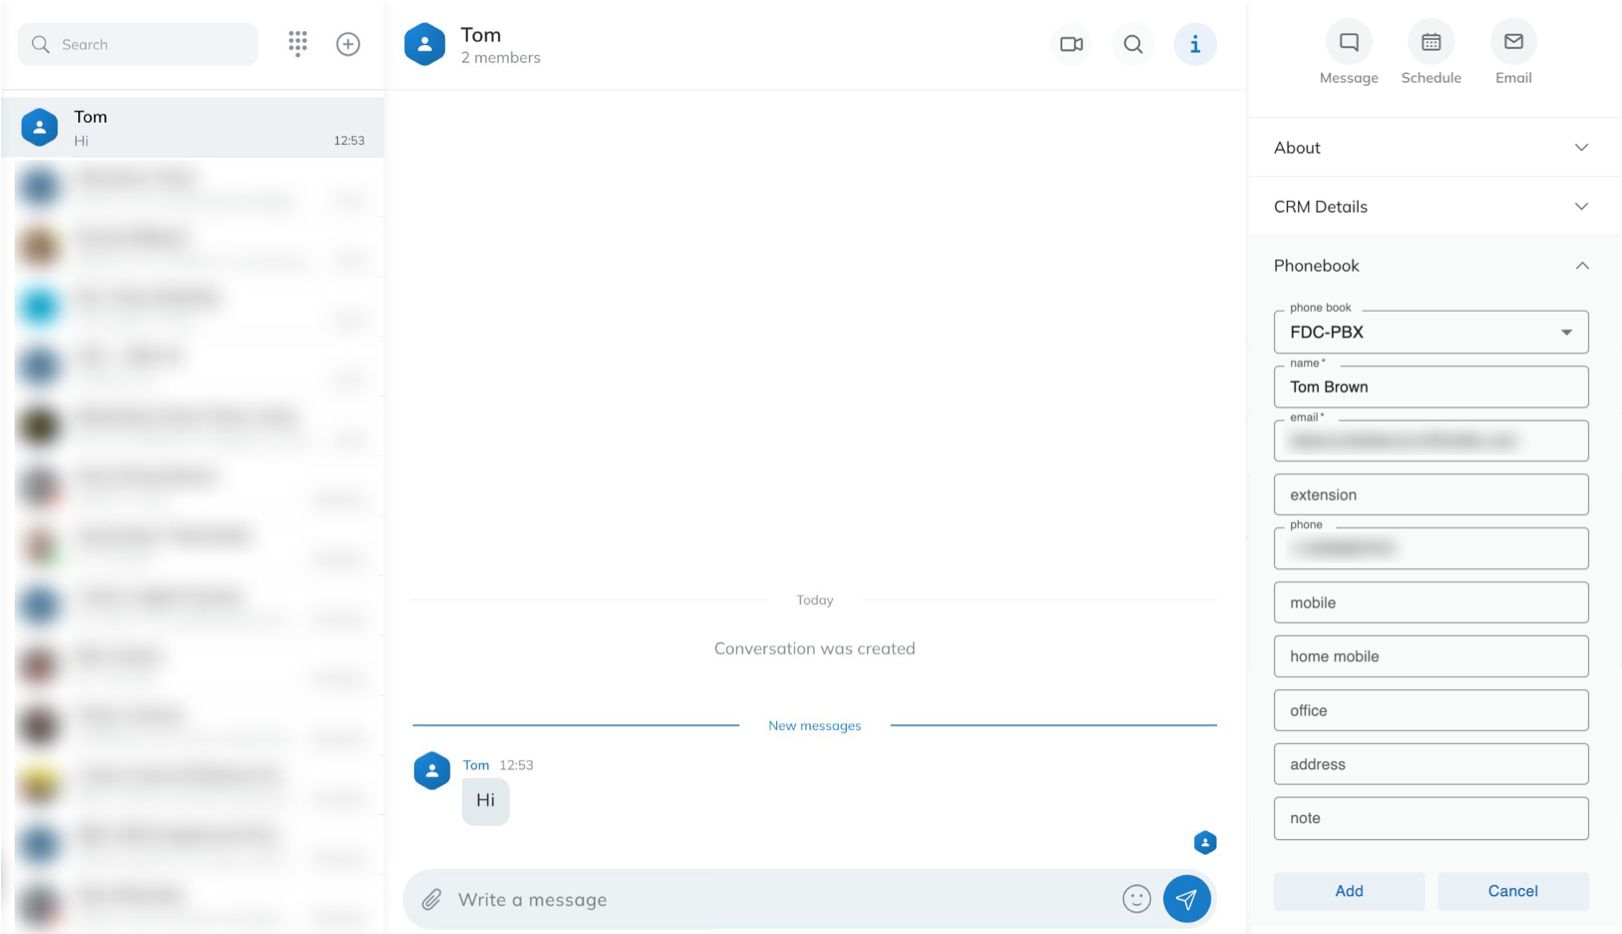
4. Enter the necessary details and click Add:
Manage conversations created from calls
Conversation with external user is also created when receiving an incoming call from an external number / performing an outgoing call to an external number:
- The conversation is created in case the call was answered.
- When opening the conversation, there is a Call button which allows to perform a SIP call from the conversation:
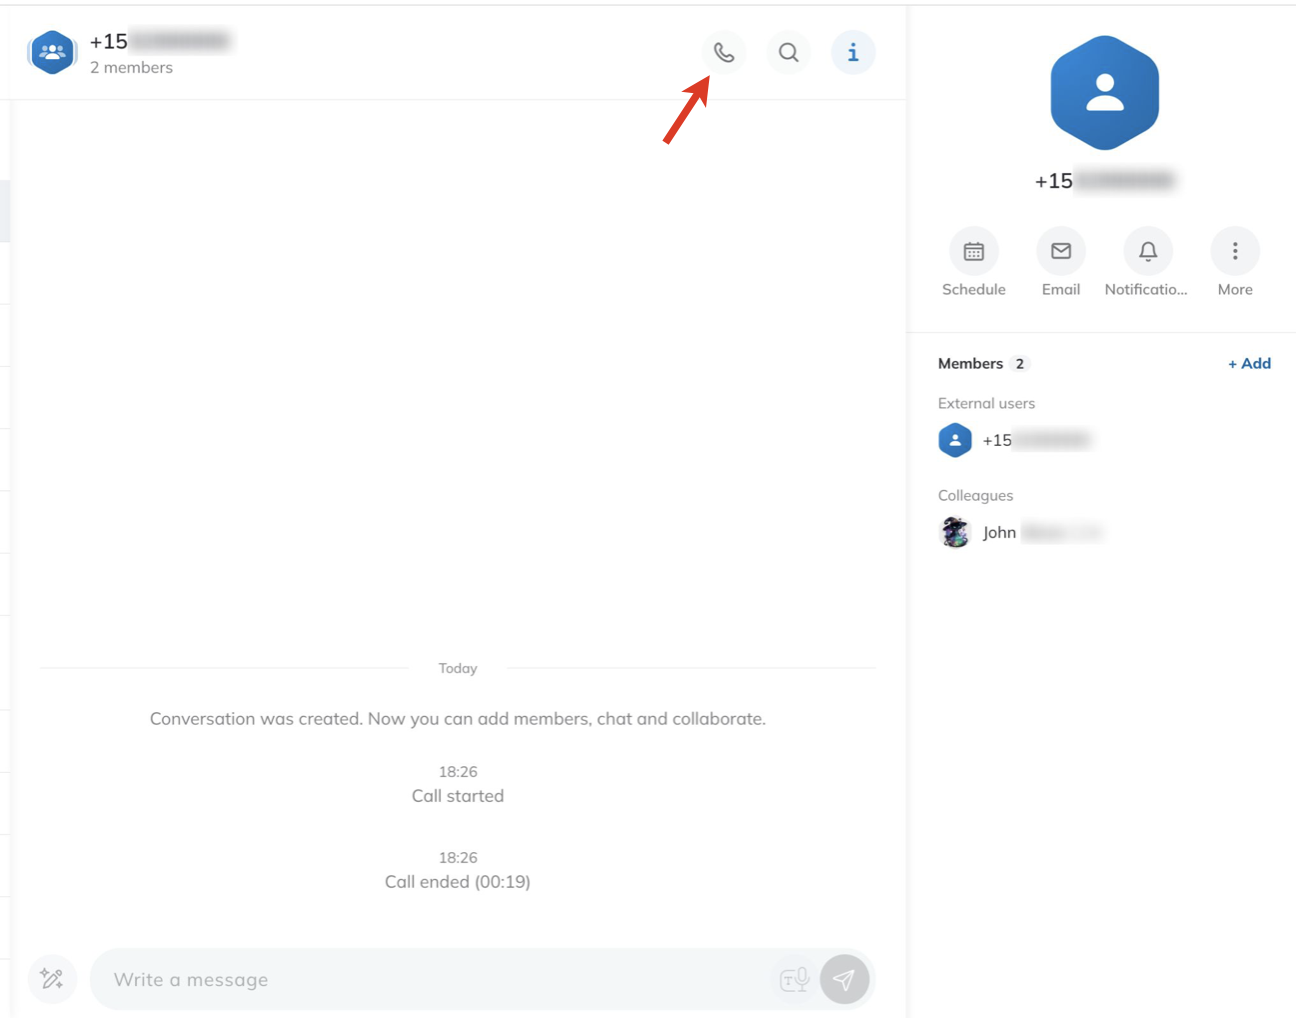
- Service, to/ from which the call was made, is automatically added to the conversation. It is not possible to change the Service.
- In case the Service doesn’t have an SMS number, the message field in the conversation is inactive.
- It is possible to add colleagues to the conversation. If the invited agent calls the external user via the same service, the conversation is reused. Otherwise, a new conversation is created.
Limitation: In case of a WMS v. 6.05.20231215 or lower, Service tag may be missing for conversations created after performing an outgoing call, and a duplicate conversation can be created for the same external phone number in case of a missing Service tag.
Manage scheduled meetings
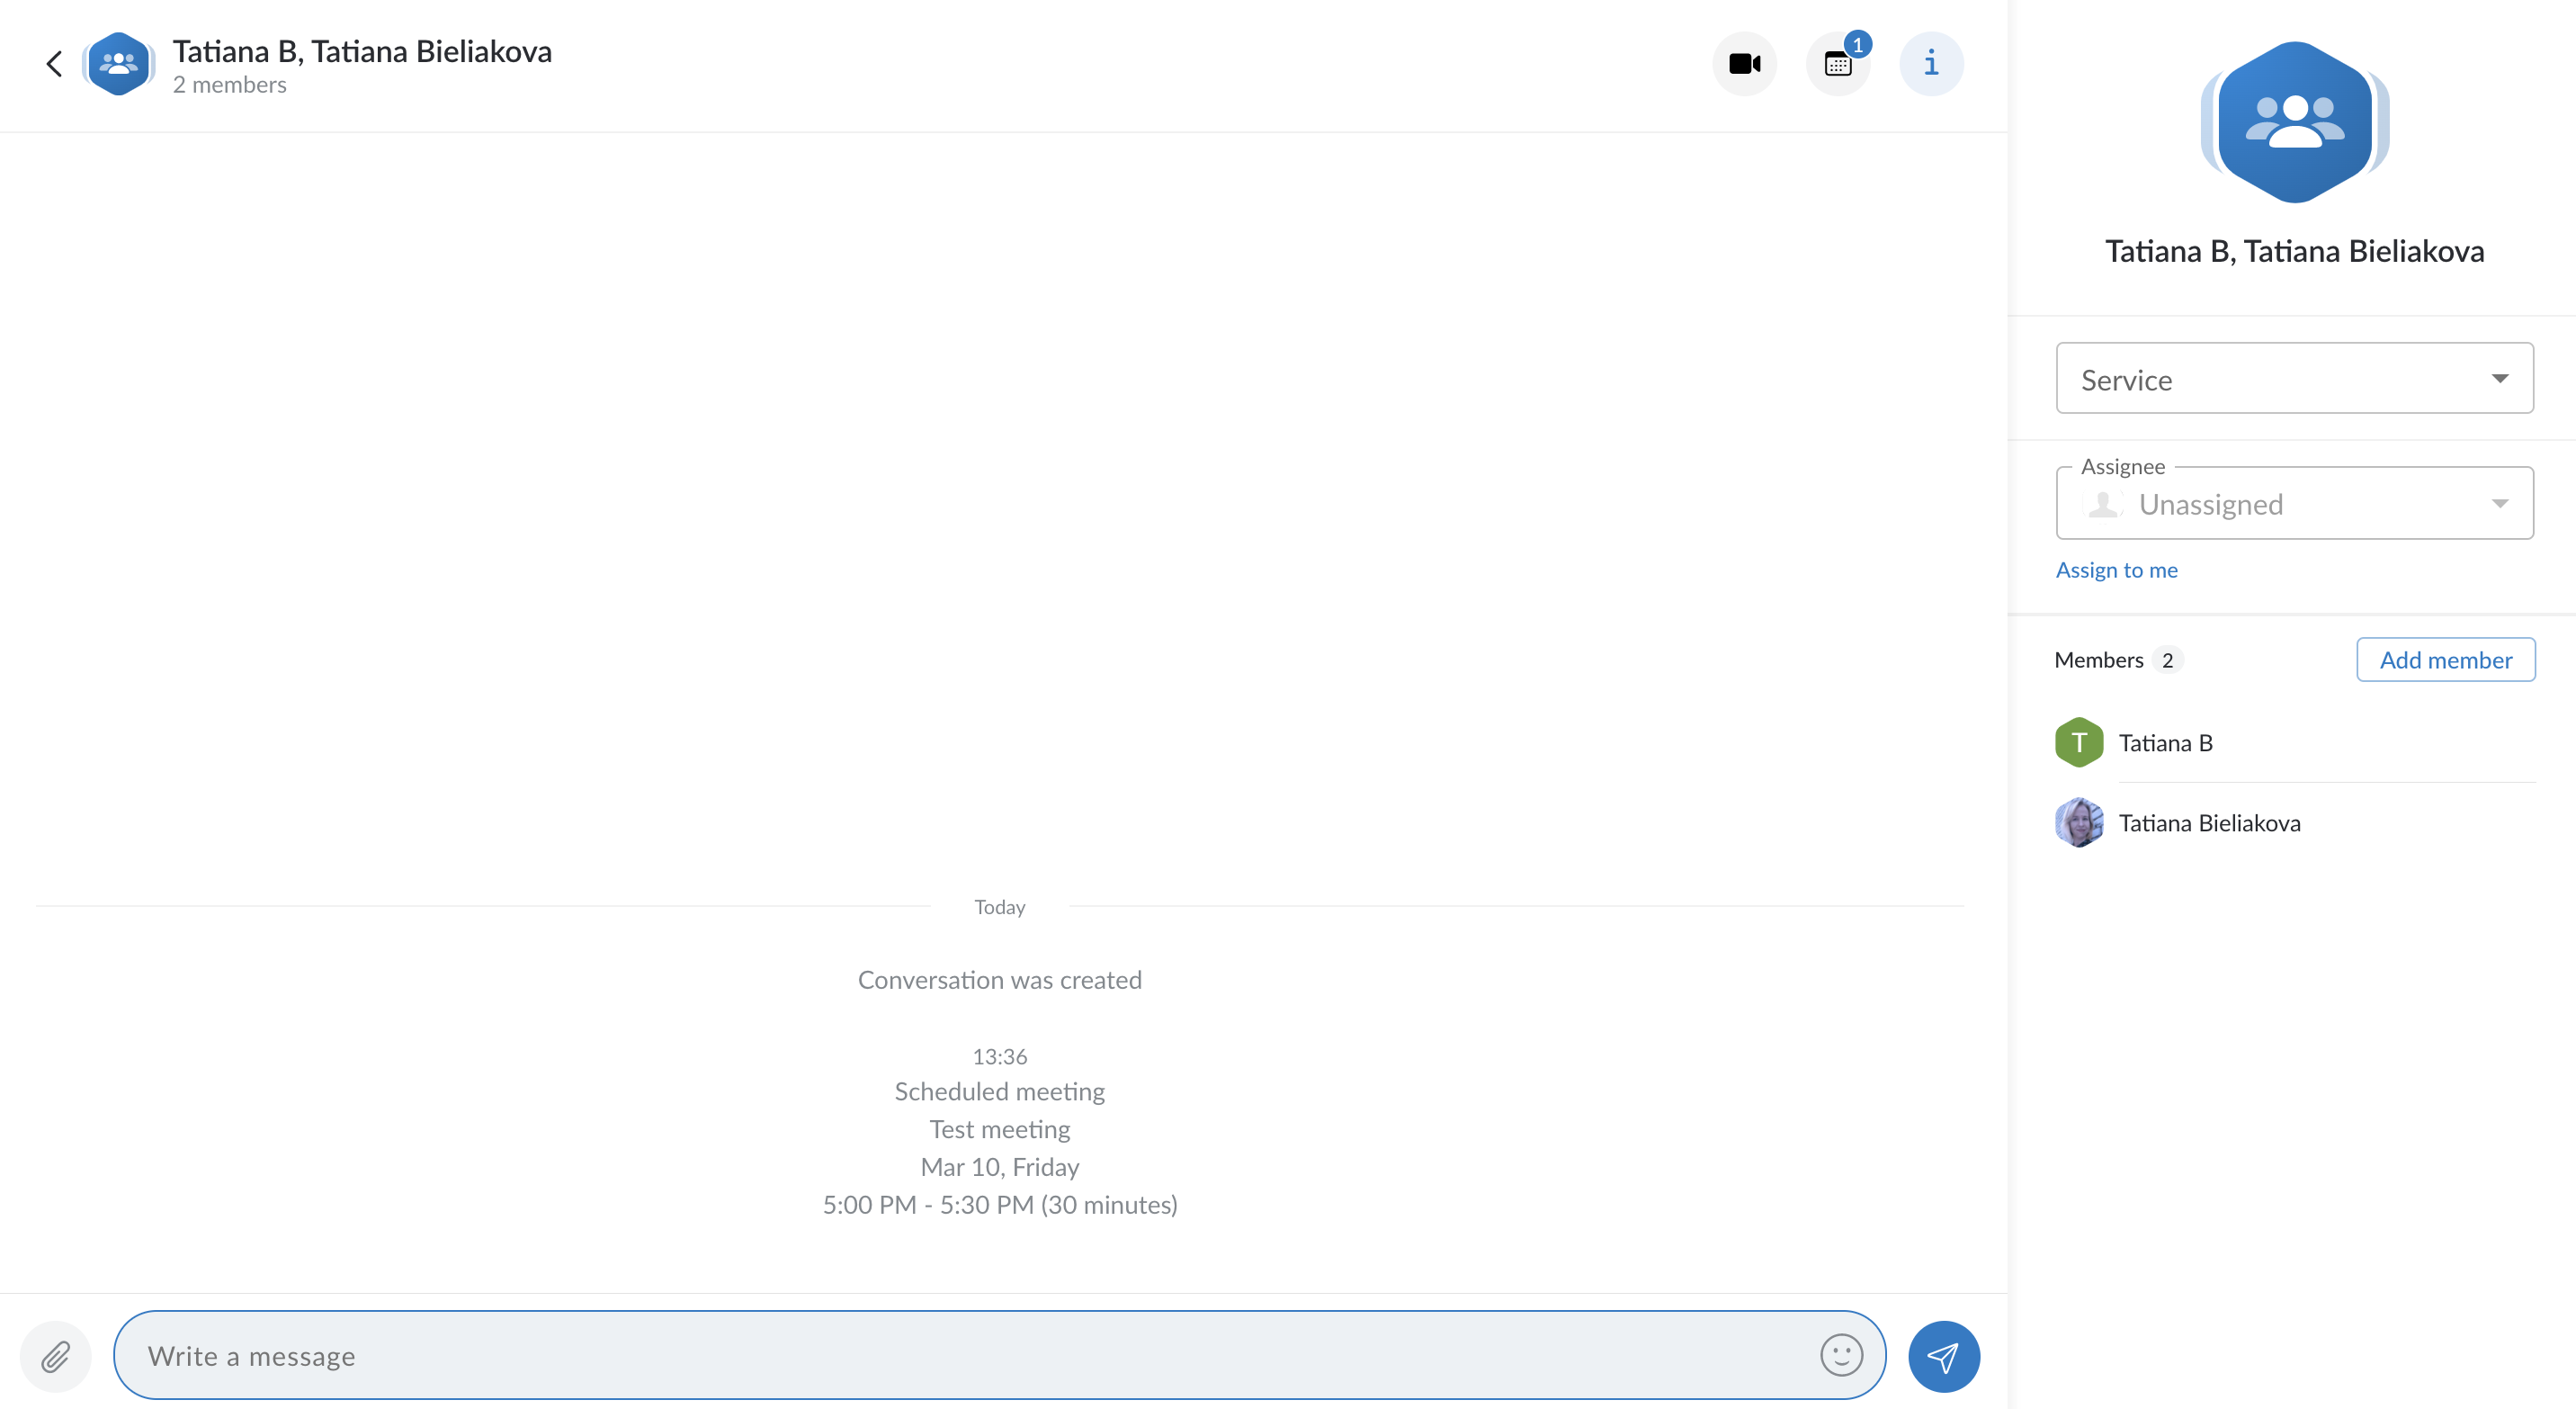
When Guest User schedules a meeting, a dedicated conversation is automatically created
Note: Conversations created by external users are public by default (available by link).
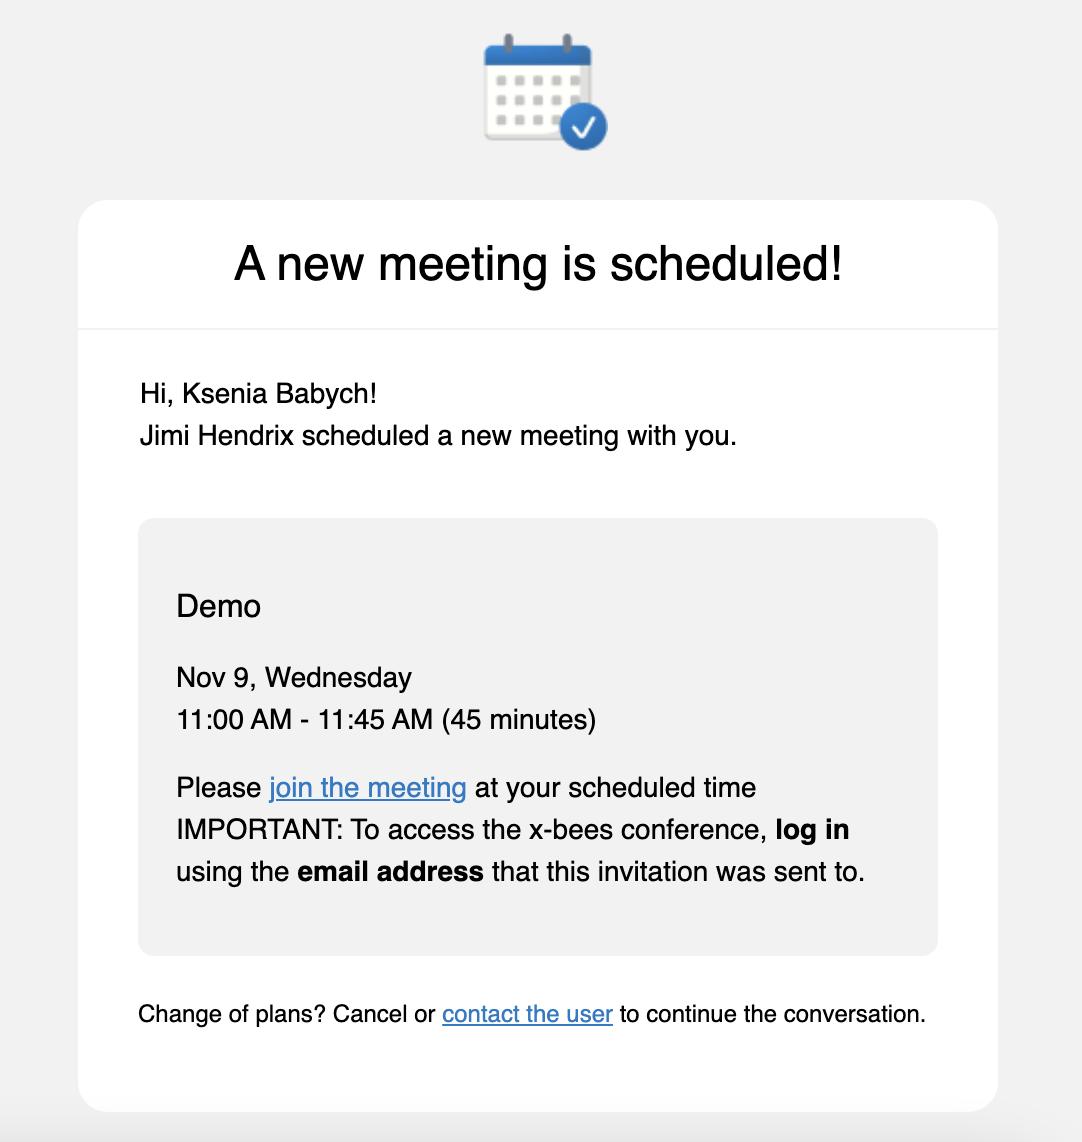
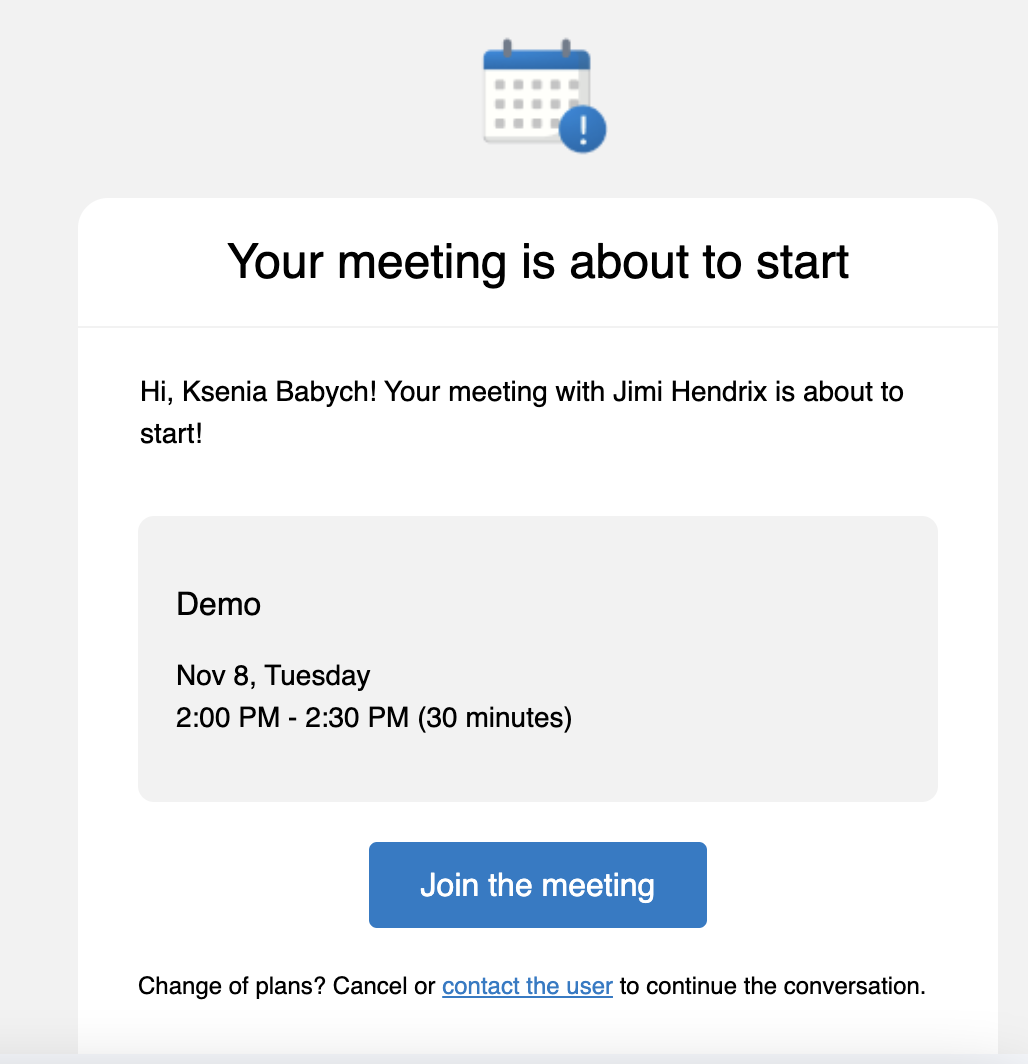
- Agent also receives an email notification about the scheduled meeting
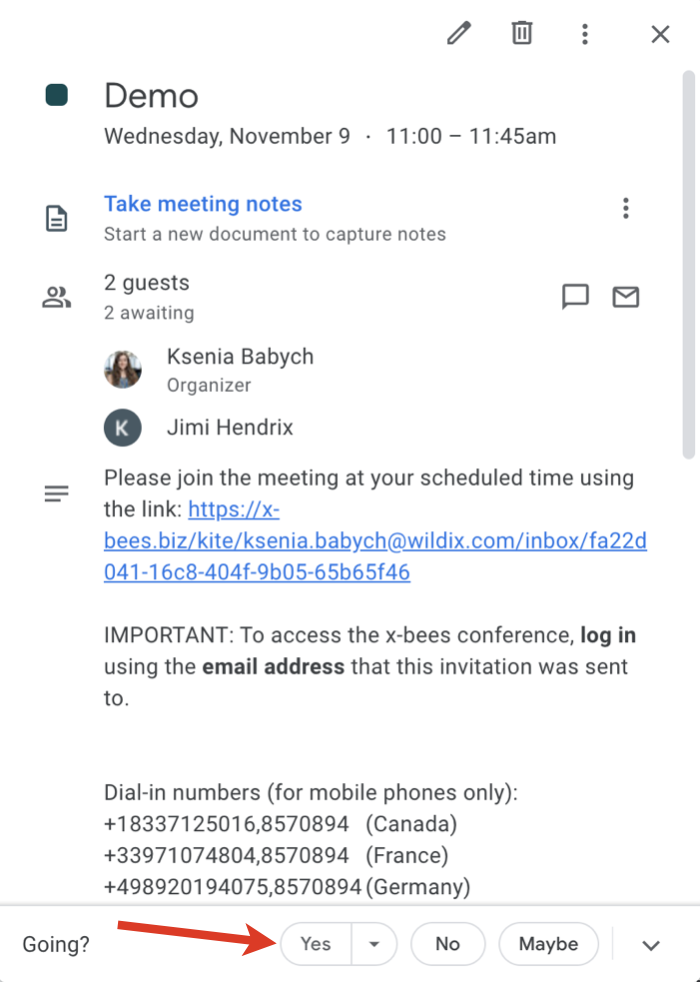
- An event for the scheduled meeting is automatically added to Agent’s calendar. For Google Calendar it is necessary to confirm it by clicking Yes, otherwise, the slot is assumed as available
- Agent can change the meeting's duration, reschedule or delete it. In case of changing meeting details, the relevant notification is displayed in the conversation and emails are sent both to Guest User and Agent
- Before the meeting, a reminder notification is sent
Schedule meeting in your own Calendar
Agents can schedule meetings in their own Meeting Scheduler, which can speed up the meeting booking process in some cases. For this, follow the steps below:
- Open x-bees Scheduler page
- Type the Subject
- Enter the external user email in the Additional members field
- Choose a slot and press Schedule

Manage conversations with external users on mobile
On mobile, you also can manage conversations with external users as on the web:
- Assign a conversation to a Service or to another agent:
- Create a CRM contact:
- Add external user to Phonebook contacts:
External users on mobile can reschedule a meeting or schedule a new one via the relevant schedule button right in the conversation: