How to set up x-bees Client integrations
This Guide describes how to set up and manage custom integrations with x-bees, for different user applications and services.
Client integrations in x-bees documentation: How to manage Client integrations in x-bees
Other x-bees documentation: x-bees documentation.
Created: October 2023
Permalink: https://wildix.atlassian.net/wiki/x/AQCFDw
Introduction
x-bees Client integration allows to set up integration with applications and services and, if required, have the data displayed in the Info frame section in x-bees.
Requirements
- x-bees-Standard license for each user who needs to use the integration
How to add integration
Note: The maximum number of integrations allowed is 5.
1. Go to WMS -> PBX -> Integrations -> Cloud integrations
2. Wildix Integration Hub opens. Click on x-bees Client integrations
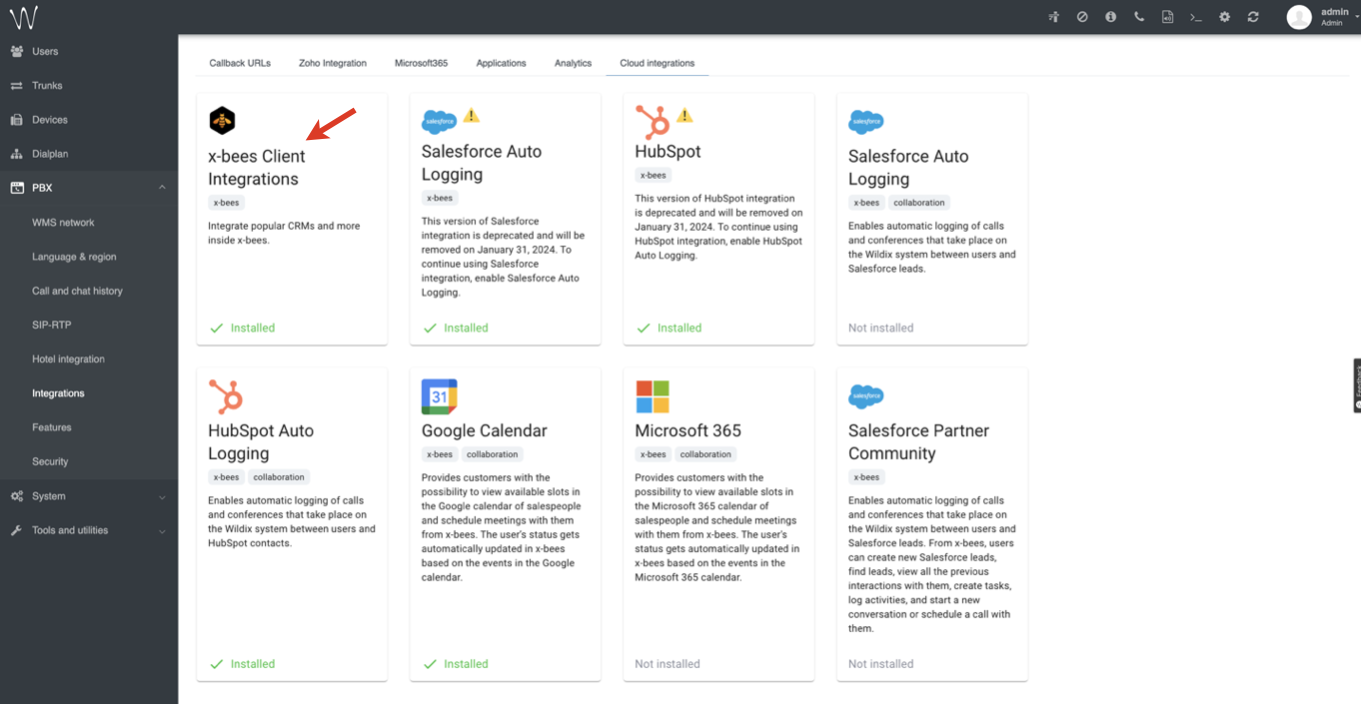
Note: Your PBX should be on the x-bees licensing, otherwise, the option is not present.
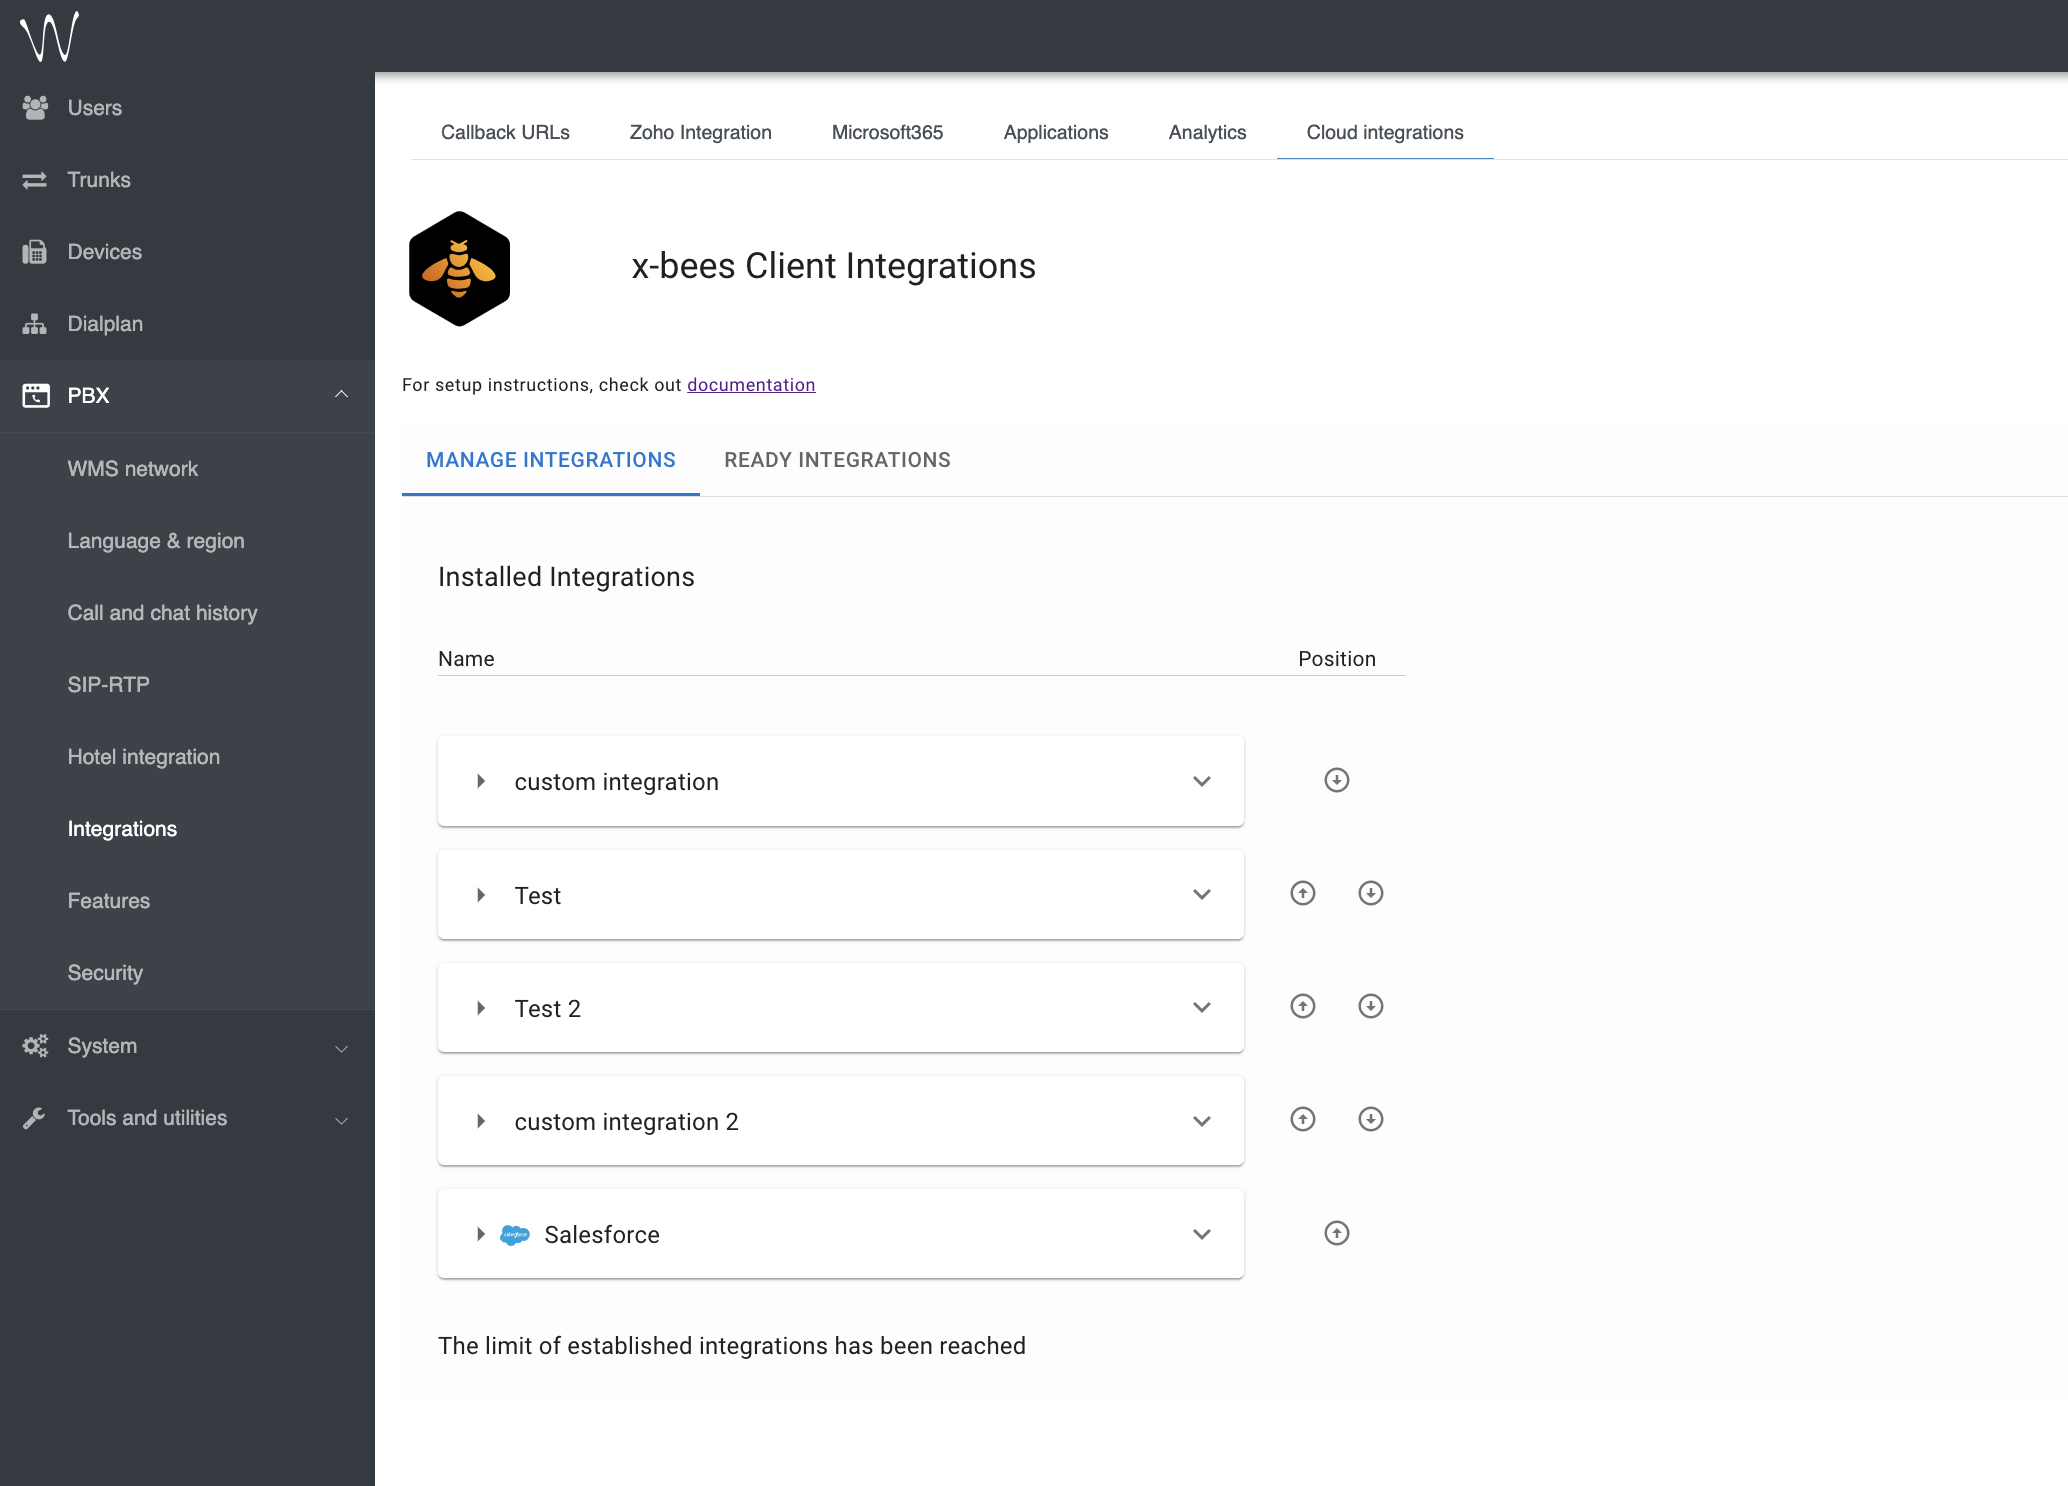
3. There are two tabs:
- Manage integrations: here you can add a new integration and view the list of already installed ones
- Ready integrations: integrations that are already pre-configured and ready to be installed
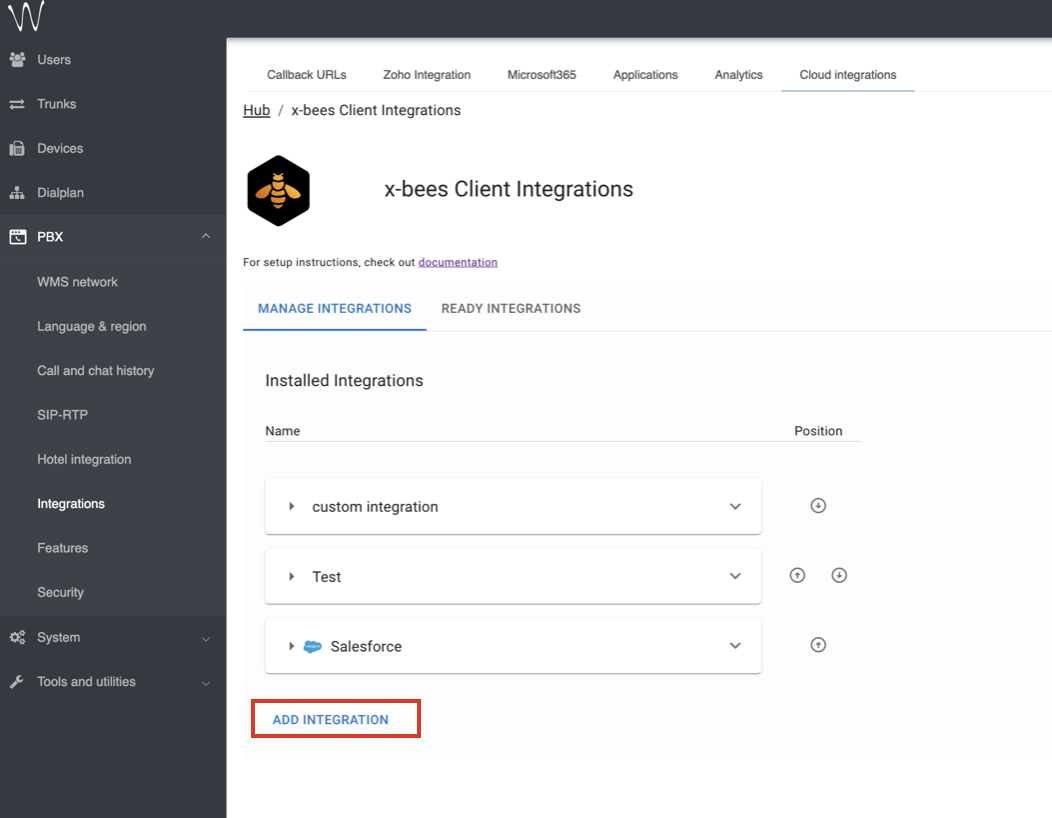
To add a new integration, click the Add Integration button on the tab Manage integrations:
Note: If you want to develop your custom integration that can be embedded in x-bees, check out this template.
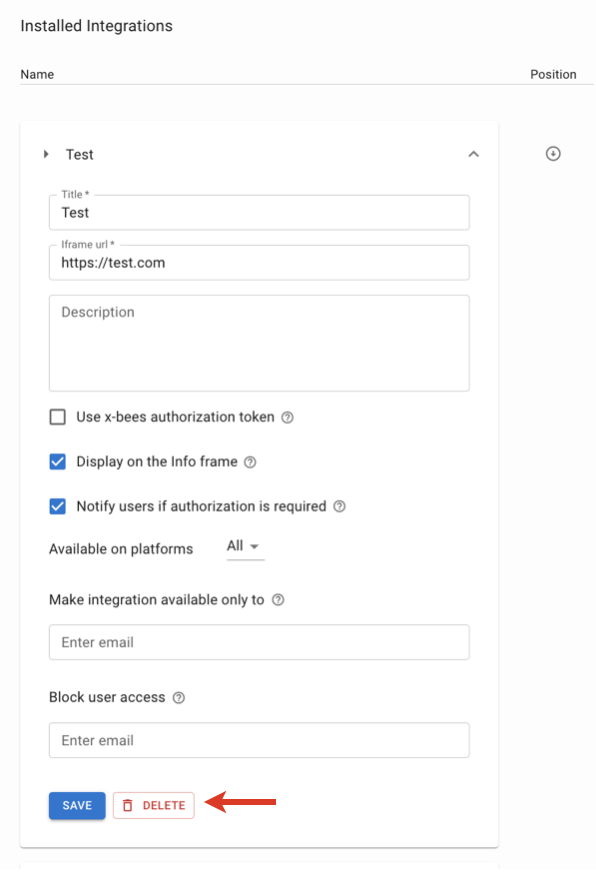
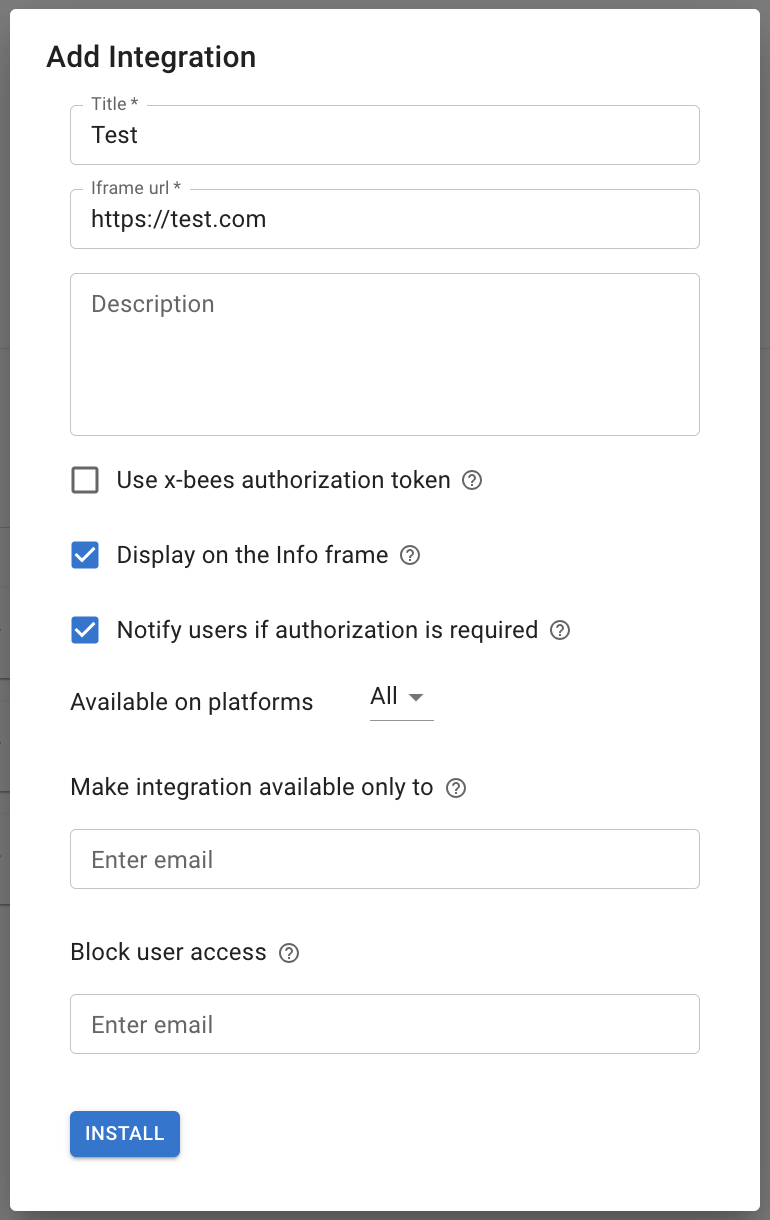
4. Fill out the following fields:
Title: enter name of your integration
Note: The maximum number of allowed characters in title name is 25.
- Iframe URL: link to the iFrame client
- Description (optional): enter description or leave any comments if required
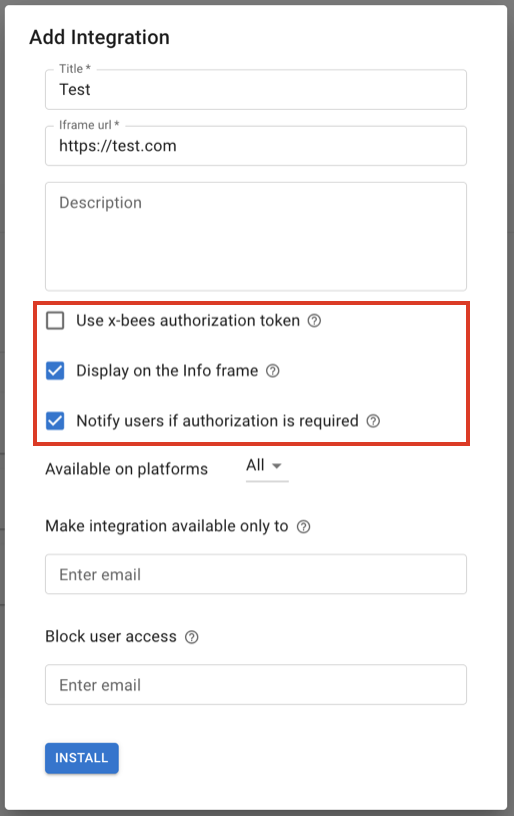
5. Enable the necessary settings:
- Use x-bees authorization token: enable if you want to receive PBX token in requests for secure communication with the integration.
- Display on the Info frame: if enabled, the integration data is displayed in the Info frame section in x-bees.
- Notify users if authorization is required: when enabled, in case the integration requires authorization, the relevant notification is displayed to users, e.g. when Info frame is opened or search is used.
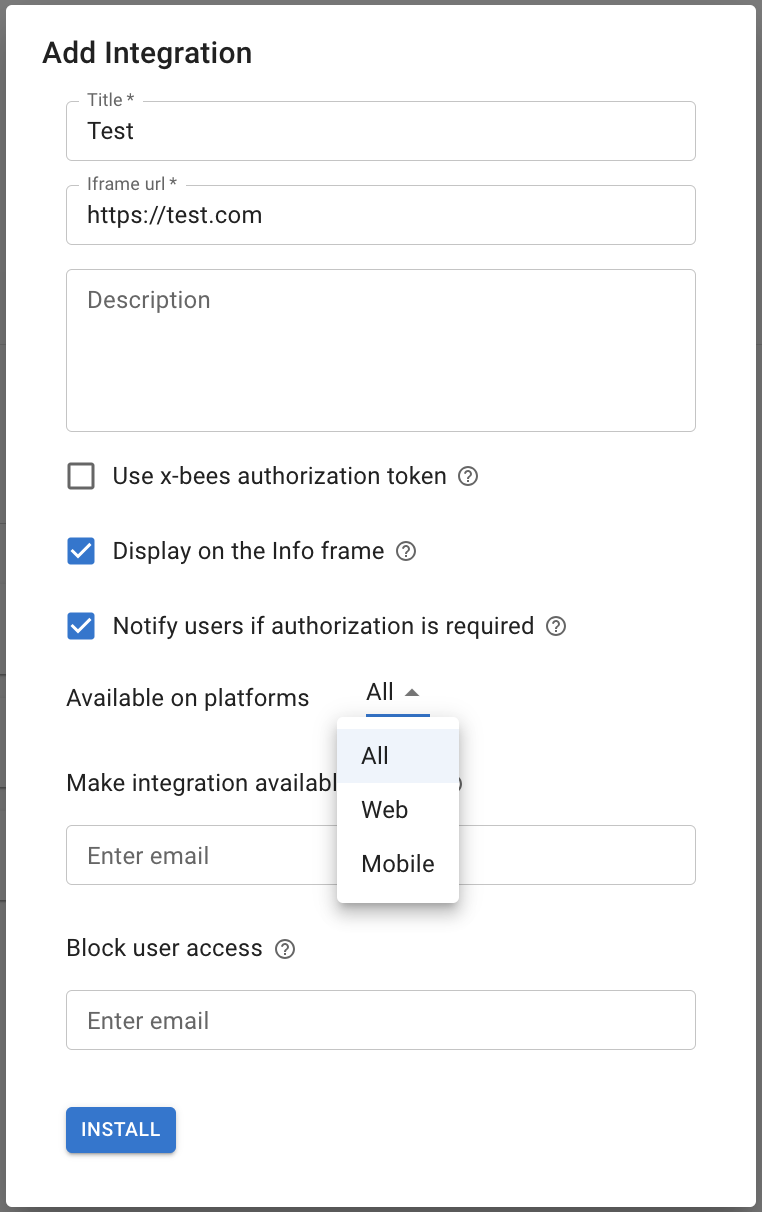
Choose on which platforms the integration should be available (Web / Mobile / All):
By default, the integration is available to all users. But you can allow or block access to the integration for certain emails:- Make integration available only to: make the integration available only to a limited number of users by entering their emails here. You can enter multiple emails separated by commas.
- Block user access: enter emails of users who should not have access to the integration.
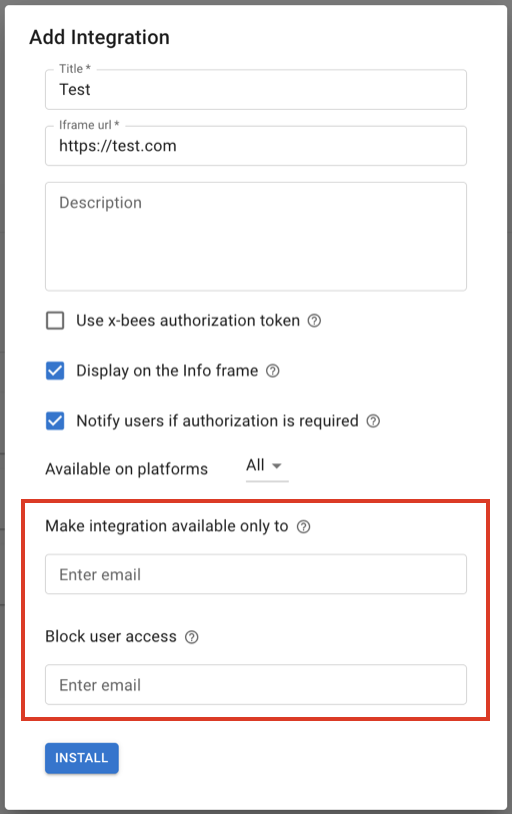
Important: "Block user access" has higher priority, meaning that if both fields are configured, for example, "Make integration available only to=agentA@wildix.com" and "Block user access=agentB@wildix.com", access to the integration will be blocked for agentB@wildix.com, while it will be granted to all other users who are not specifically listed in "Block user access".
Once completed, click Install.
How to manage integrations
Edit integration
To edit an installed integration:
- Go to WMS Settings -> PBX -> Integrations -> Cloud integrations
- Choose x-bees Client integrations
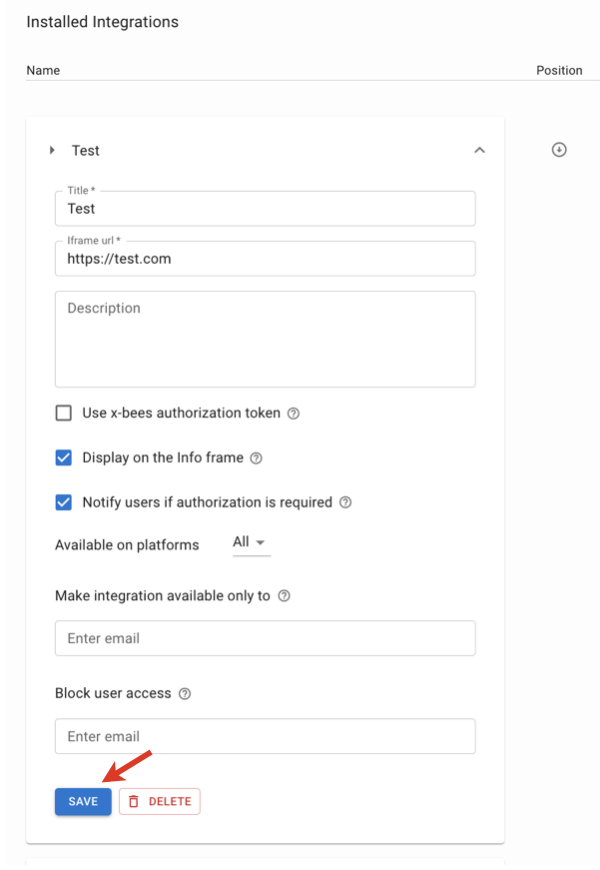
- Click on the necessary integration on the Manage integrations -> Installed Integrations tab, make required edits and click Save:
Integrations position
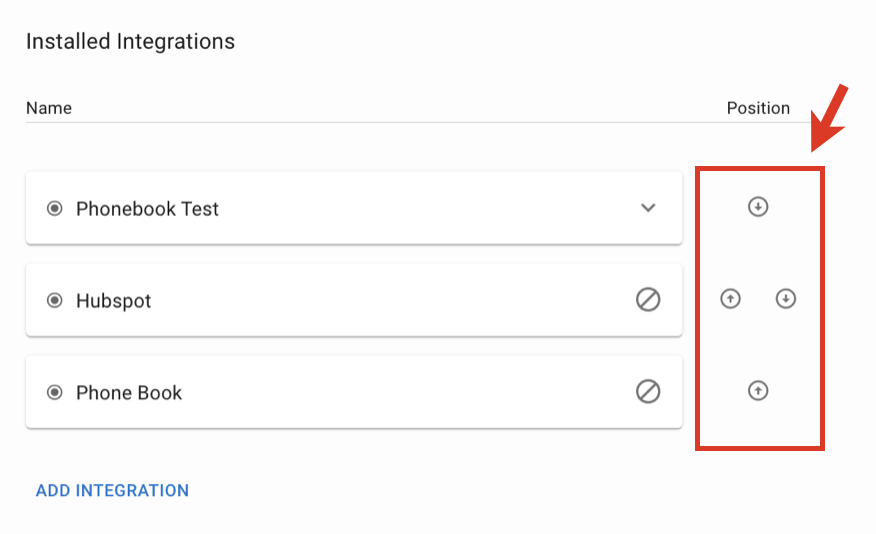
The order in which integrations data is displayed on the Info frame in x-bees depends on the the order of the integrations in the list.
If you want to prioritise an integration, move it up in the list, using the arrow buttons to the right of the integrations in the Position column:
Delete integration
To delete an integration:
- Go to WMS Settings -> PBX -> Integrations -> Cloud integrations
- Choose x-bees Client integrations
- Click on the necessary integration and press the Delete button: