x-bees Meeting Scheduler
This Guide explains how to set up and use Meeting Scheduler allowing Guest Users to access Agents' calendars and schedule meetings with them.
Other x-bees documentation: x-bees documentation.
Created: July 2022
Updated: October 2024
Permalink: https://wildix.atlassian.net/wiki/x/dgHOAQ
Introduction
Thanks to Google Calendar and Microsoft 365 integrations, it is possible for external users to schedule meetings with Agents using Meeting Scheduler.
General Requirements
- Min. supported WMS version: 6.01.20220621.2 and higher
- Licensing: min. x-bees-Standard for access to Kite settings to set up calendars
Current limitation
- Scheduling of meetings is currently not available for group of Agents
Google Calendar
- Admin access to PBX, Google Suite Admin Console and Google Workspace
Microsoft 365
- Admin access to PBX, Microsoft organizational account with enabled Global administrator role (Azure AD)
- Agents should have a valid license allowing them to use Outlook and mailbox
Notes
- Sync of users from Azure AD is performed basing on the Primary email address: user’s primary email in Azure AD and in WMS should match. User’s primary email address can be changed by an administrator
- New custom calendars are added once a day at night when fully synced or as soon as they are updated (e.g. renamed)
- In order for avatars and icons to be displayed in emails about calendar events in Outlook, the user must confirm that they trust the no-reply@x-bees.com address (this can be done directly through the notification from Outlook, displayed in the header of the mail).
- On the Kite Settings -> Calendar Settings page, working hours correspond to the settings from Outlook. A lunch break from 1 pm to 2 pm is available. Time zone value is also synced, but time zone name may differ.
Limitation
- Calendars added via Outlook -> Settings -> Add personal calendars / Add from directory are not synced
Google Calendar and Microsoft 365 Integrations Activation for Admins
Google Calendar Activation
To activate Google Calendar integration, follow the steps described in x-bees Admin Guide.
Microsoft 365 Activation
To activate Microsoft 365 integration, follow the steps described in x-bees Admin Guide.
Integration Settings for Agents
Calendar Settings
Once the integration is activated, Agent needs to set up calendars and available slots:
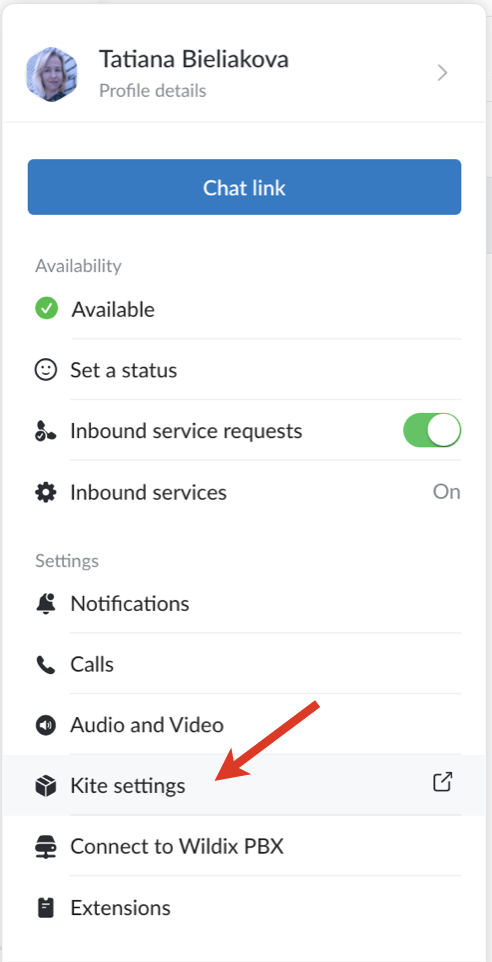
- Click on your user picture in the upper left-hand part of the screen to open Settings. Under Settings, click Kite settings
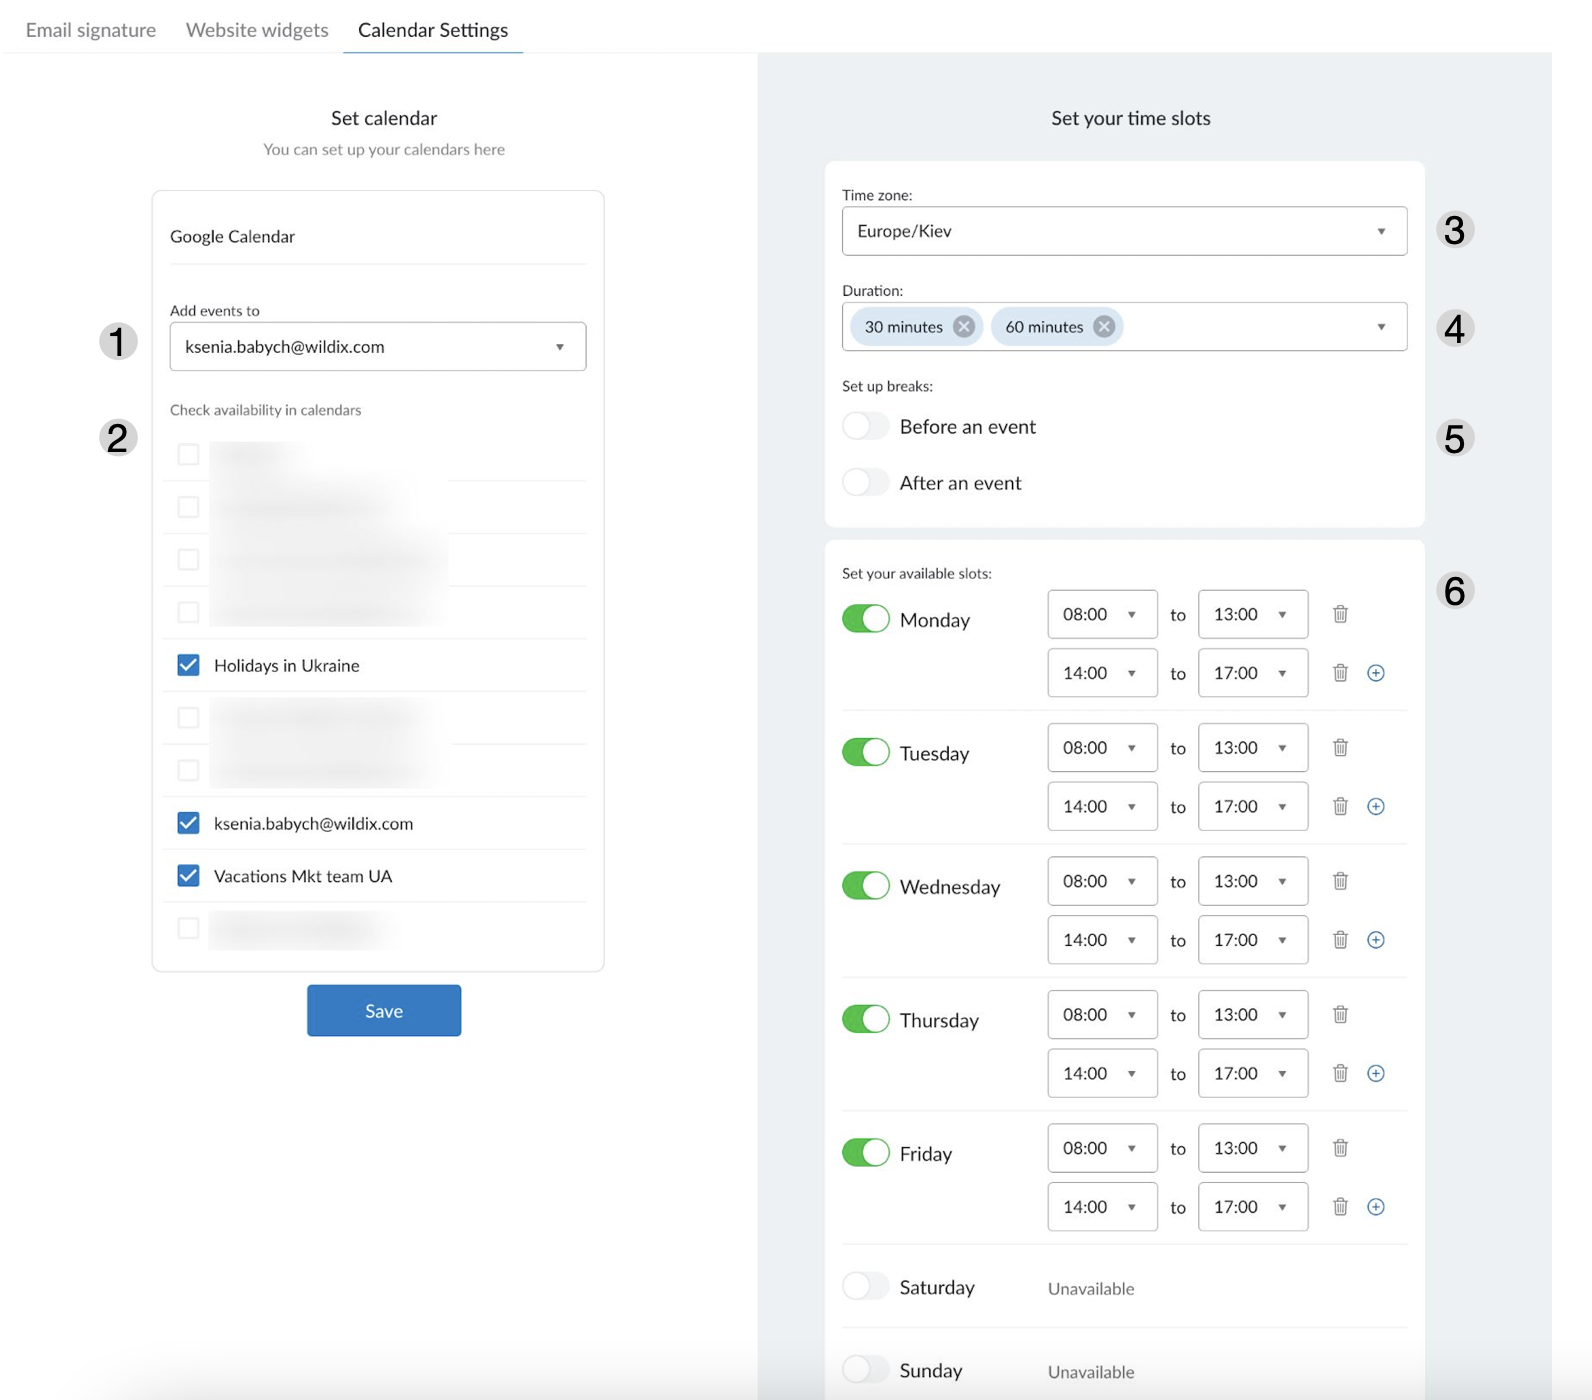
- Go to Calendar Settings tab
- 1 - Select calendars to add booked meetings to
- 2 - Select calendars to check available slots
- 3 - Change timezone if needed
- 4 - Set duration options (min - 15 minutes, max - 360 minutes)
- 5 - Set up 15/ 30 minutes breaks before or after a meeting
- 6 - Set available working days and hours (when using Microsoft calendars, working hours correspond to the settings from Outlook. A lunch break from 1 pm to 2 pm is available. Time zone value is also synced, but time zone name may differ)
- Click Save
The link under Profile details appears on the Calendar button:
Clicking on the button, there are 2 options:
- Schedule event: an Agent can schedule a meeting with Guest user
- Copy link: Agent can copy it and share with Guest User. Guest User can also schedule a meeting via 1-1 widget
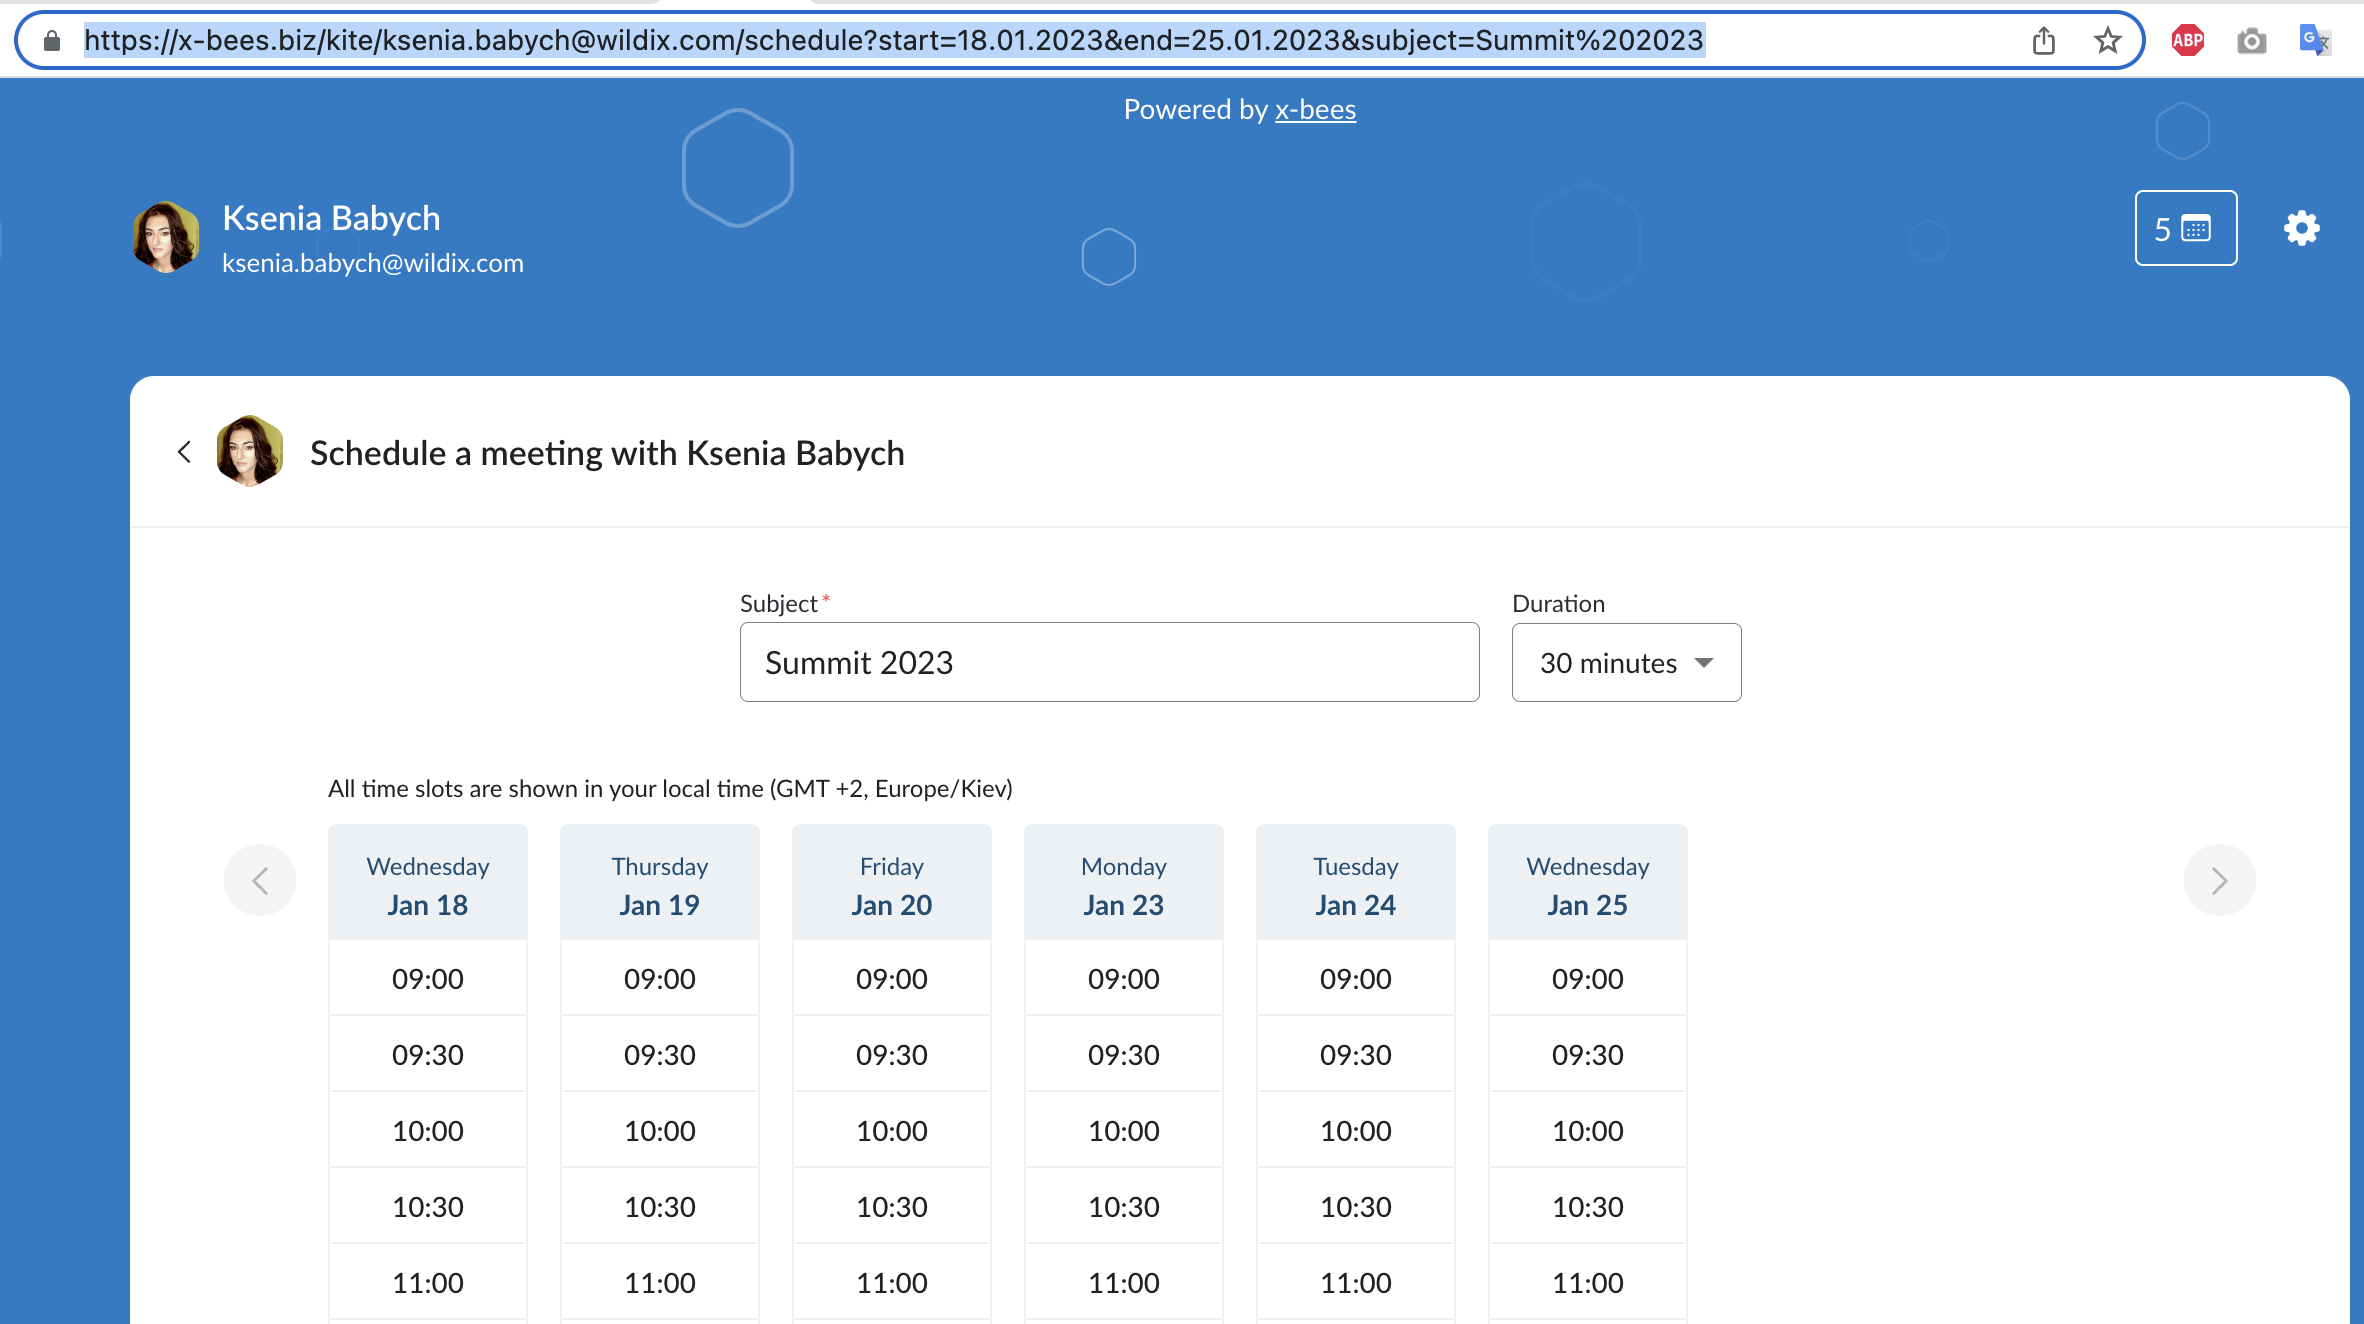
Agent can also limit the dates when a meeting can be booked. For this, the following part should be added to the Calendar link:
- ?start=dd.mm.yyyy&end=dd.mm.yyyy&subject=meeting%20subject
where “dd.mm.yyyy” is the start date, “dd.mm.yyyy” is the end date, and “meeting%20subject” is the subject, for example:
Manage scheduled meetings
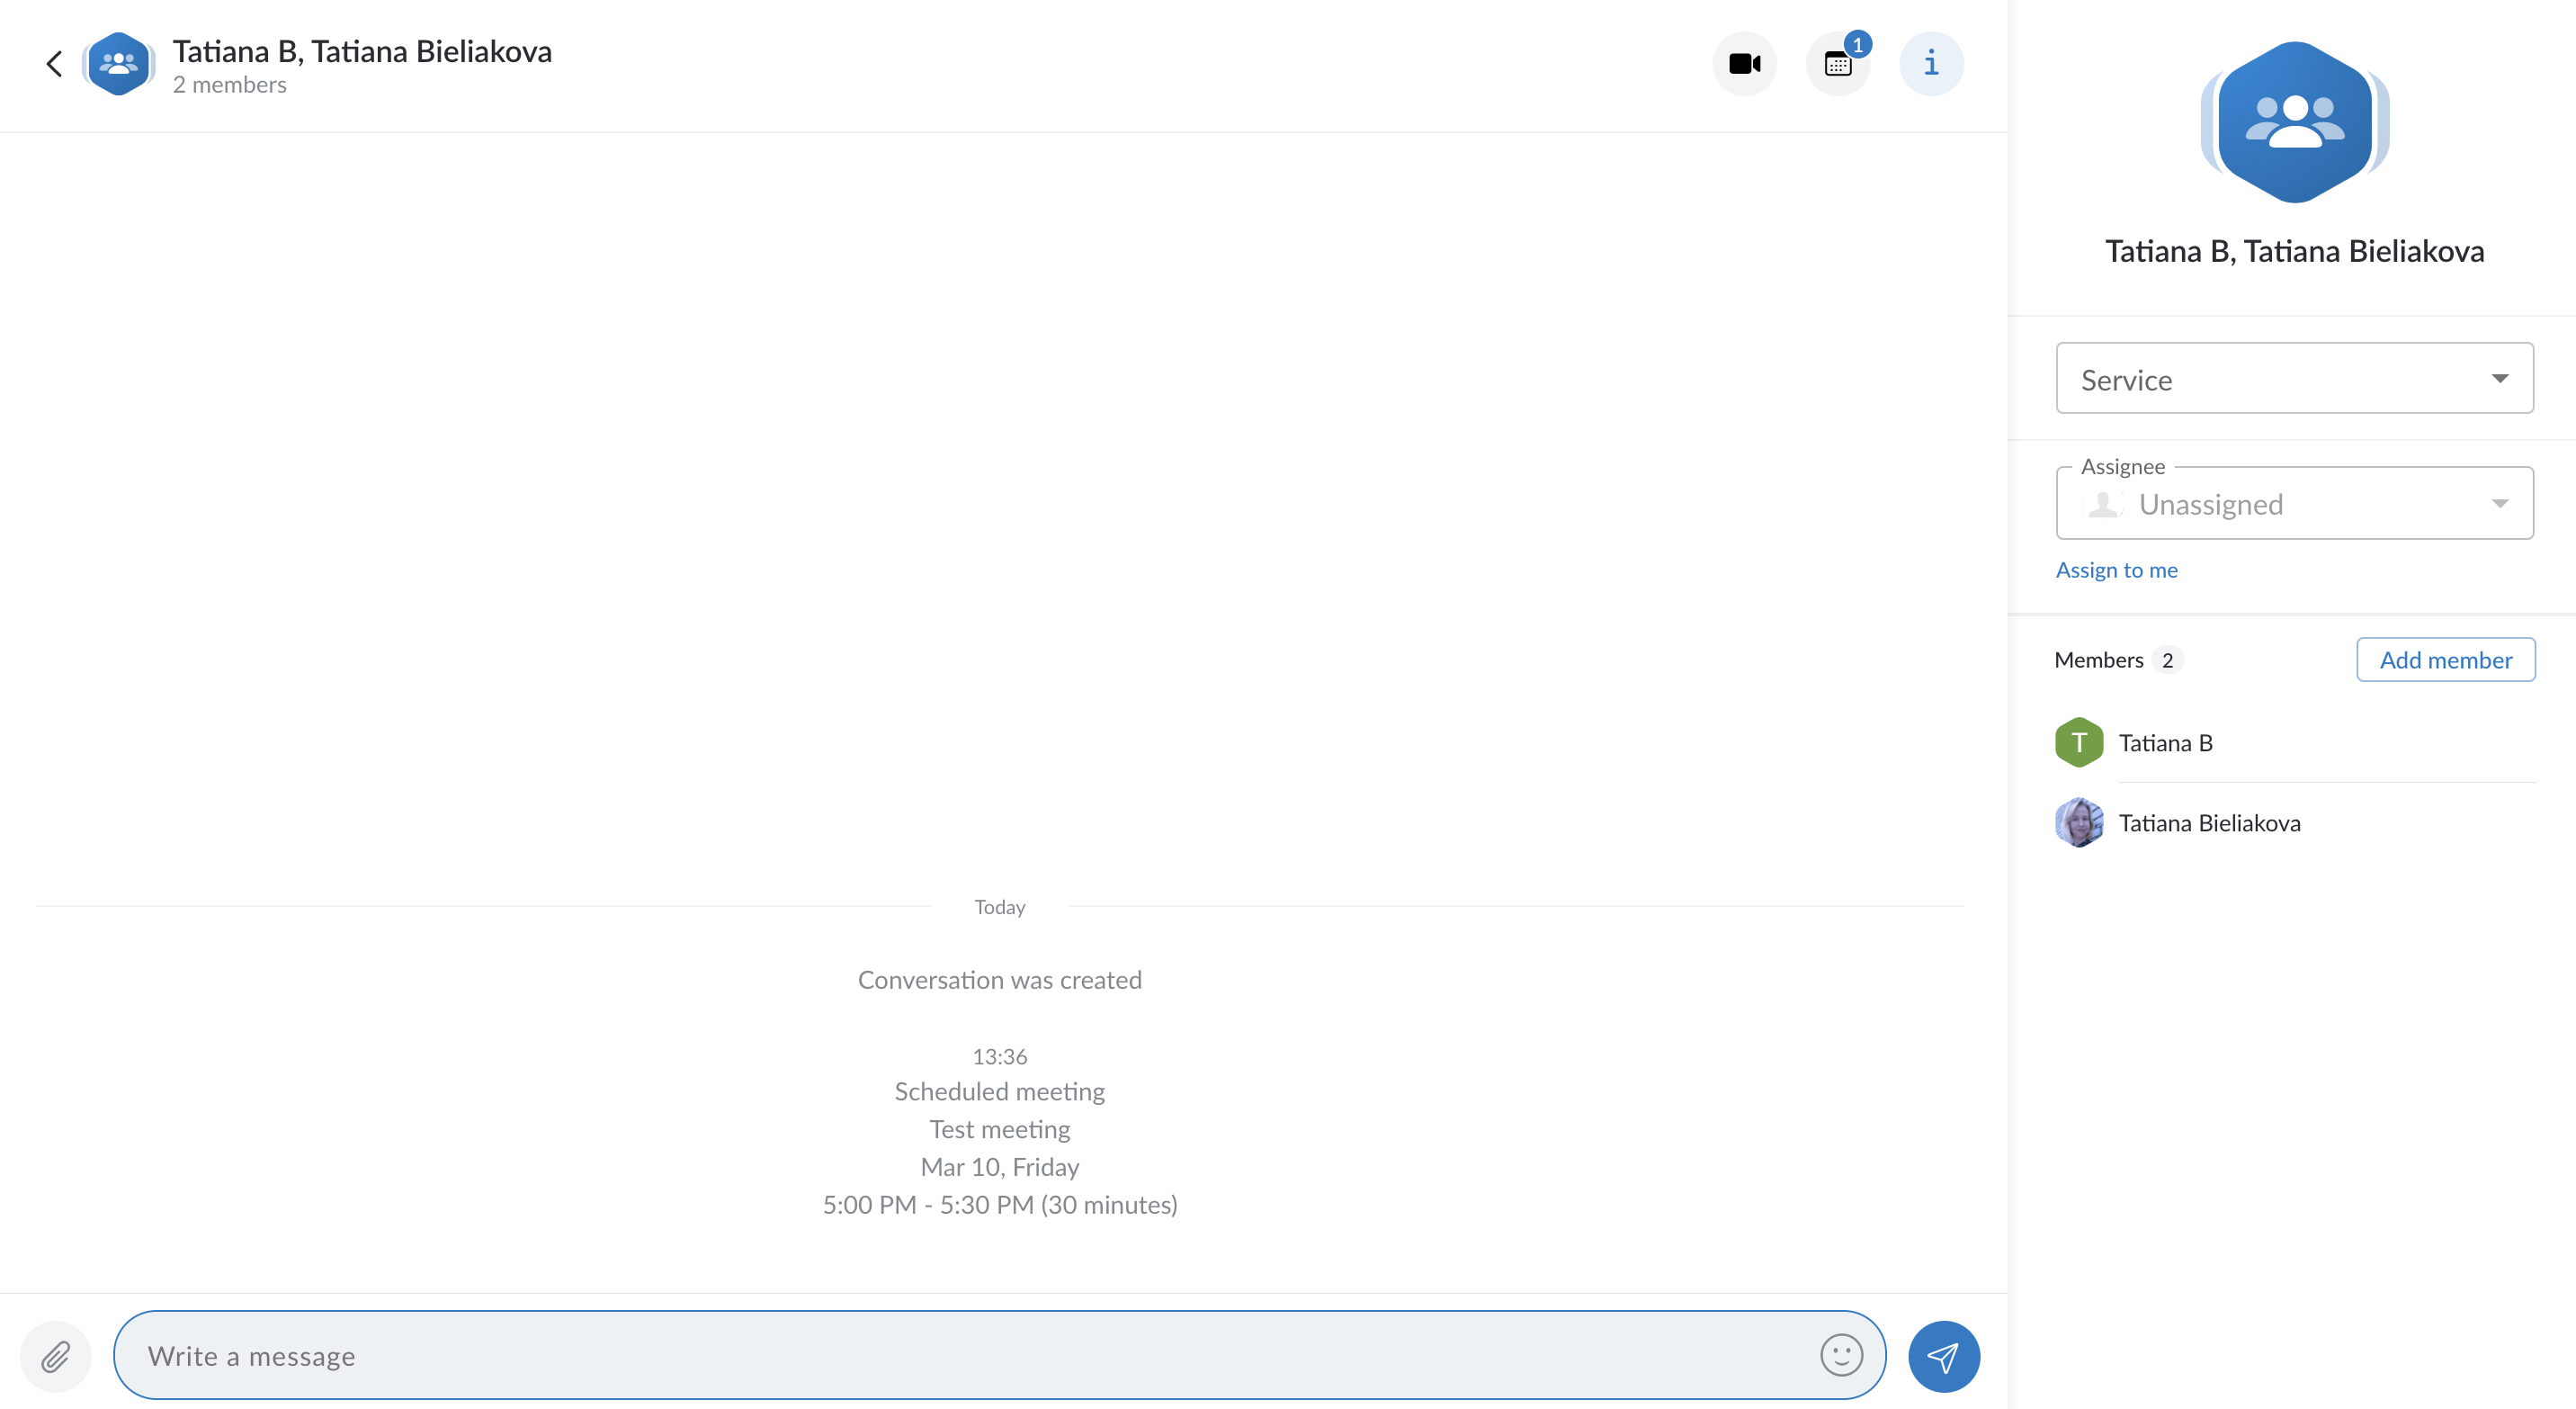
When Guest User schedules a meeting, a dedicated conversation is automatically created
Note: Conversations created by external users are public by default (available by link).
Title of the conversation is displayed according to the following rules:
- For an agent, the guest name is displayed in the conversation name. For guest, agent name is displayed in the conversation title.
- In case another guest is added to the conversation, their name is added to the conversation name.
- In case the conversation is renamed, the new name is displayed both to the agent and the guest.
- Avatars are set according to the displayed name (agent or service for guest). In case of adding or removing users, conversation avatar is updated accordingly.
Limitation:
- When an agent or guest adds other guests or agents, search is limited to initial members of the conversation. It is not possible to find the conversation by entering new members’ names in the search field.
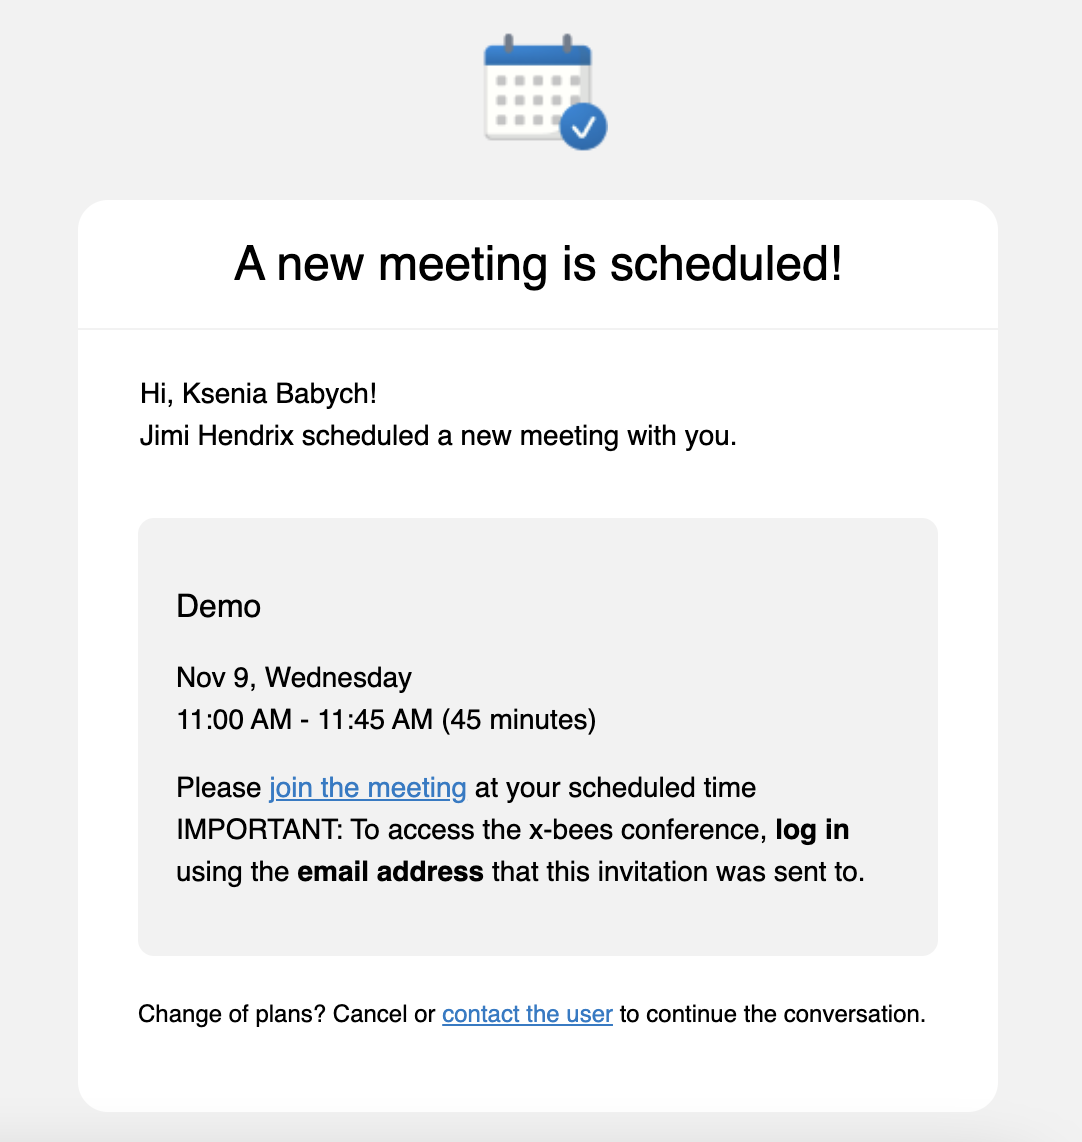
- Agent also receives an email notification about the scheduled meeting
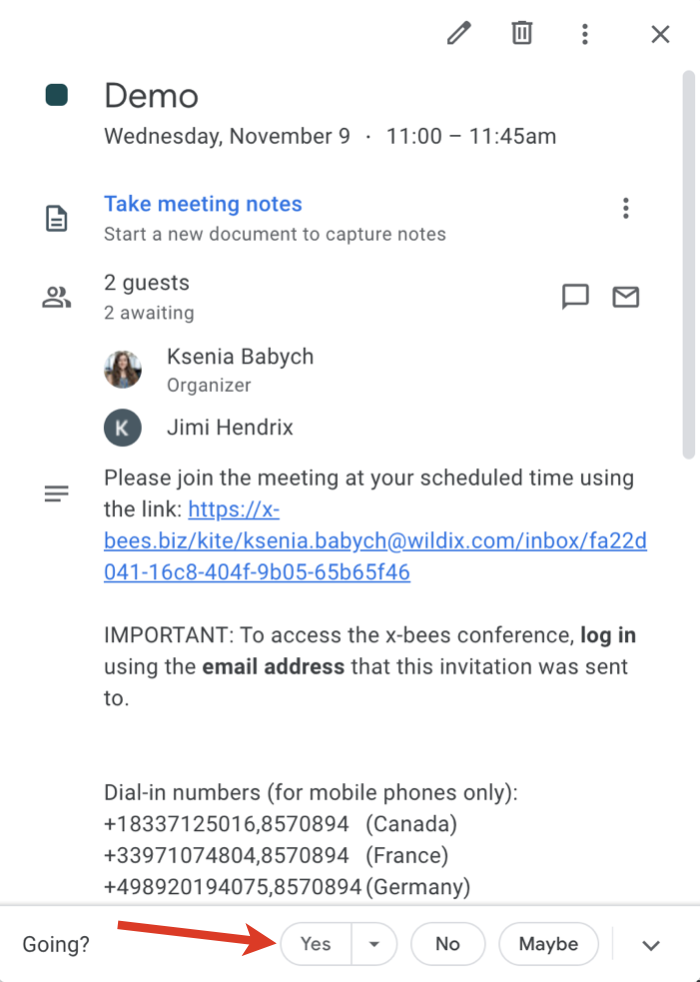
- An event for the scheduled meeting is automatically added to Agent’s calendar. For Google Calendar it is necessary to confirm it by clicking Yes, otherwise, the slot is assumed as available
- Agent can change the meeting's duration, reschedule or delete it. In case of changing meeting details, the relevant notification is displayed in the conversation and emails are sent both to Guest User and Agent
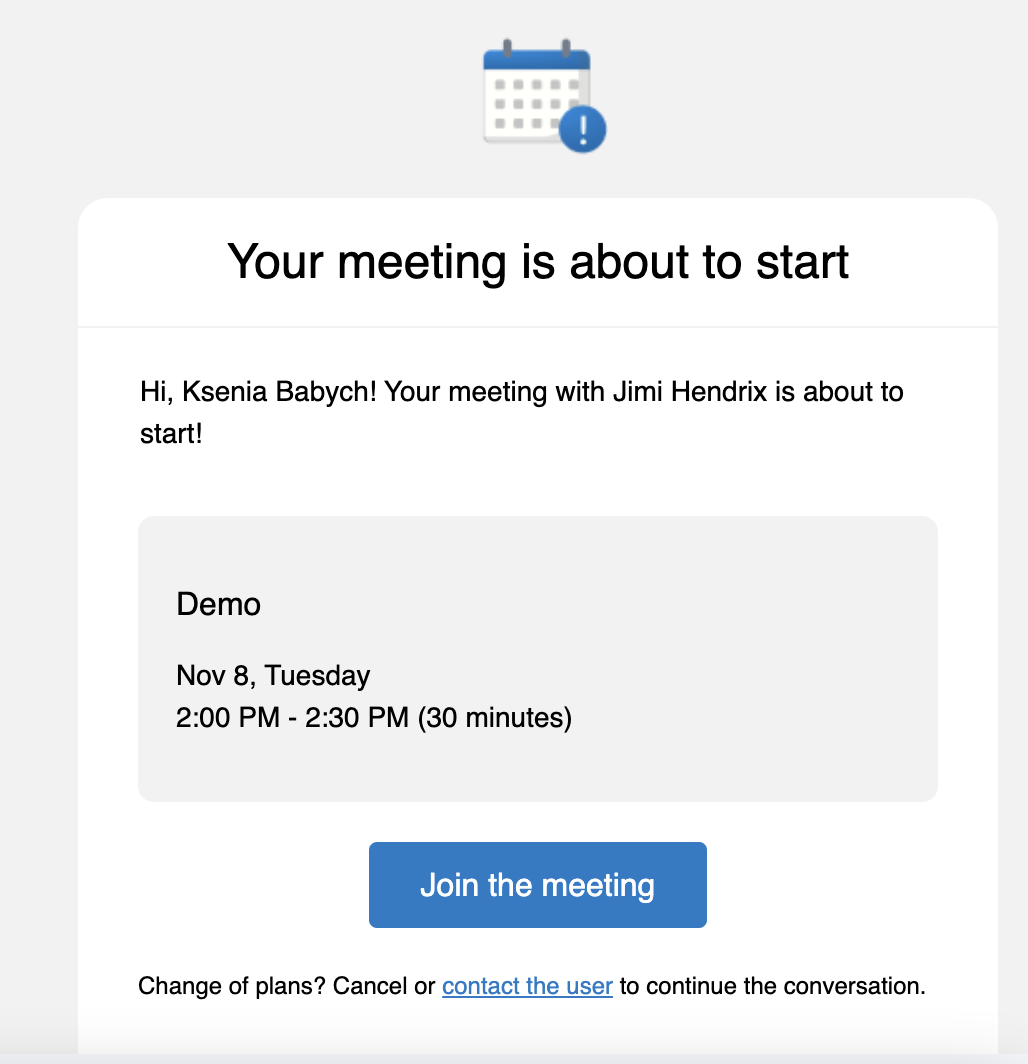
- Before the meeting, a reminder notification is sent
Scheduling meeting in own Calendar
Agents can schedule meetings in their own Meeting Scheduler, which can speed up the meeting booking process in some cases. For this, follow the steps below:
- Open x-bees Scheduler page: open Profile details -> click on the Calendar button -> choose the option Schedule event:
Meeting Scheduler opens in a separate tab, where you need to enter the following data: - Type the Subject
- Enter the external user email in the Additional members field
- Choose a slot and press Schedule
Meeting scheduling for external users
Schedule a meeting
It is possible to schedule a meeting:
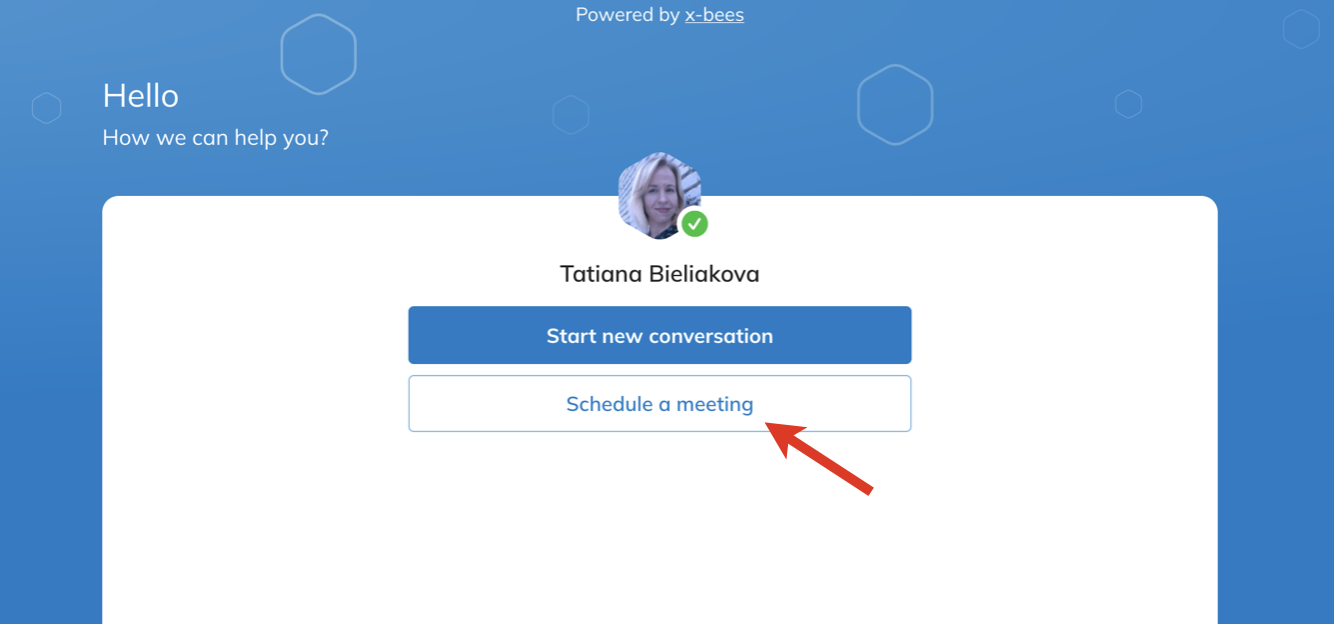
- in 1-1 widget
by direct link to the Meeting Scheduler shared by a specific Agent, e.g. https://app.x-bees.com/kite/ksenia.babych@wildix.com/schedule
To schedule a meeting, proceed with the following steps:
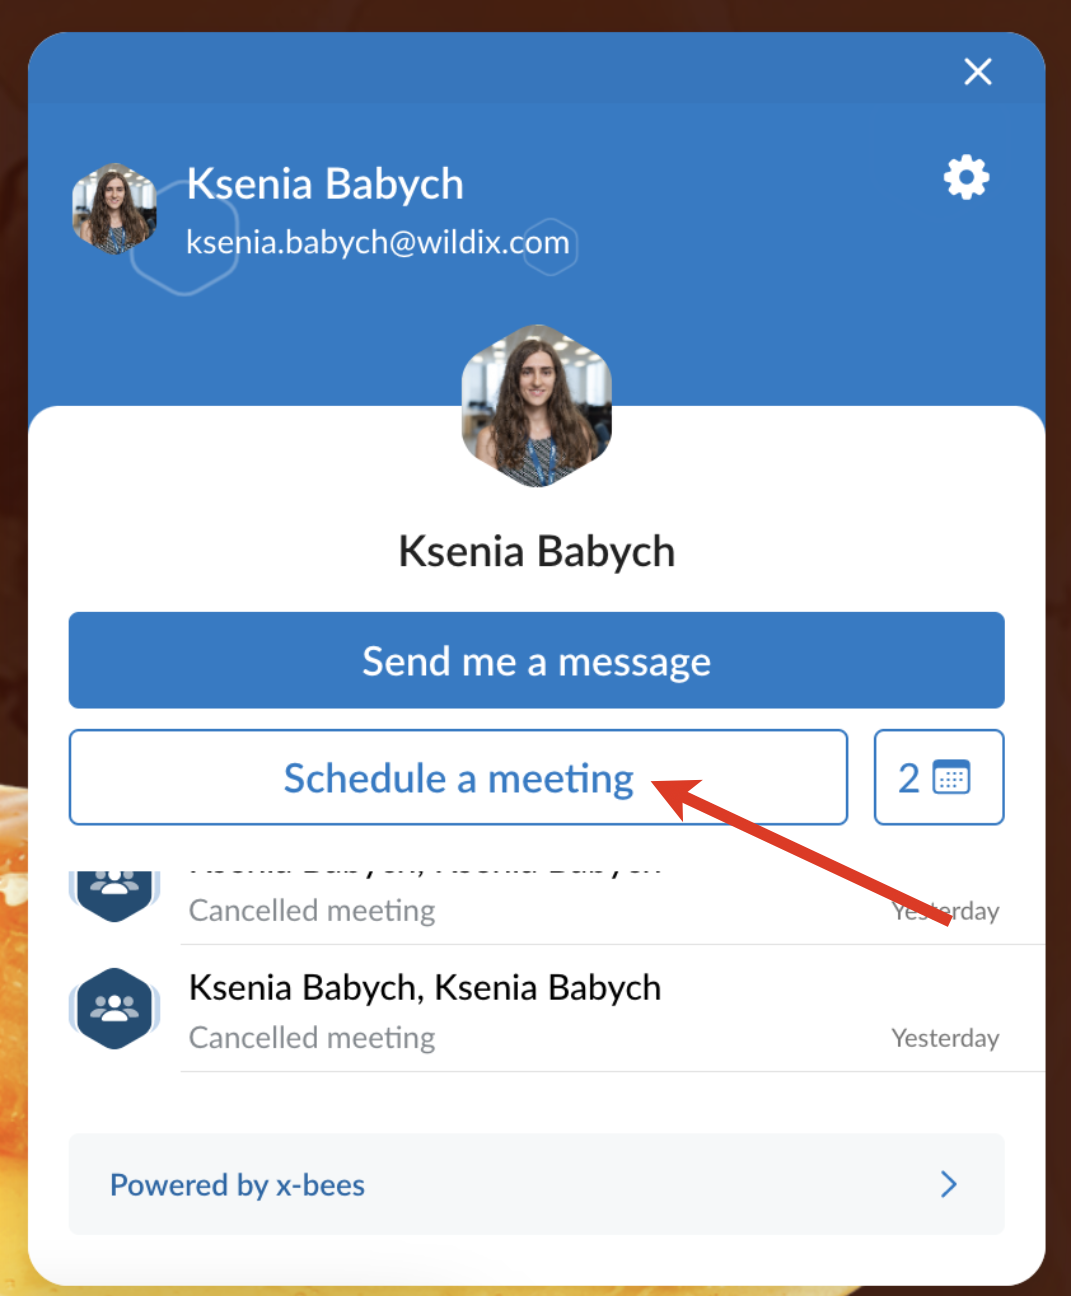
- Click Schedule a meeting
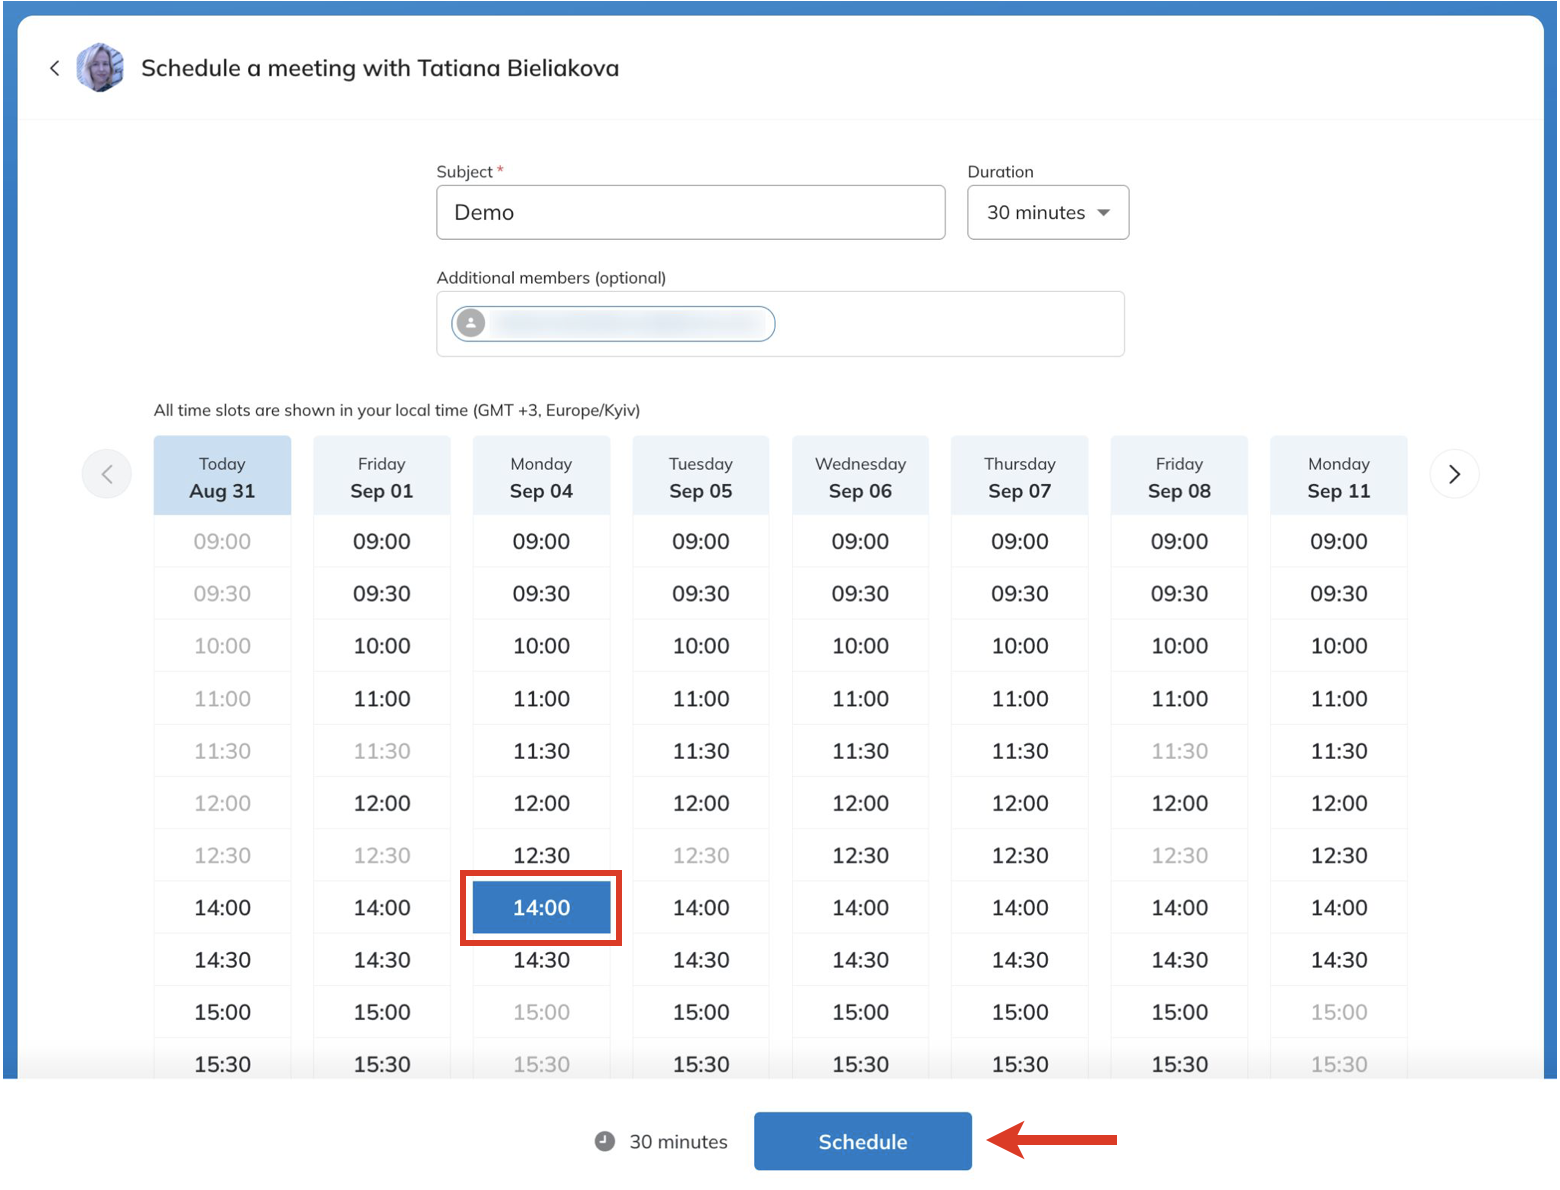
- Specify a subject, duration (by default, meeting duration is 30 min), enter emails of additional members (optional), and choose an available slot (it is possible to schedule a meeting 12 months in advance at maximum)
- Click Schedule
- Log in if required
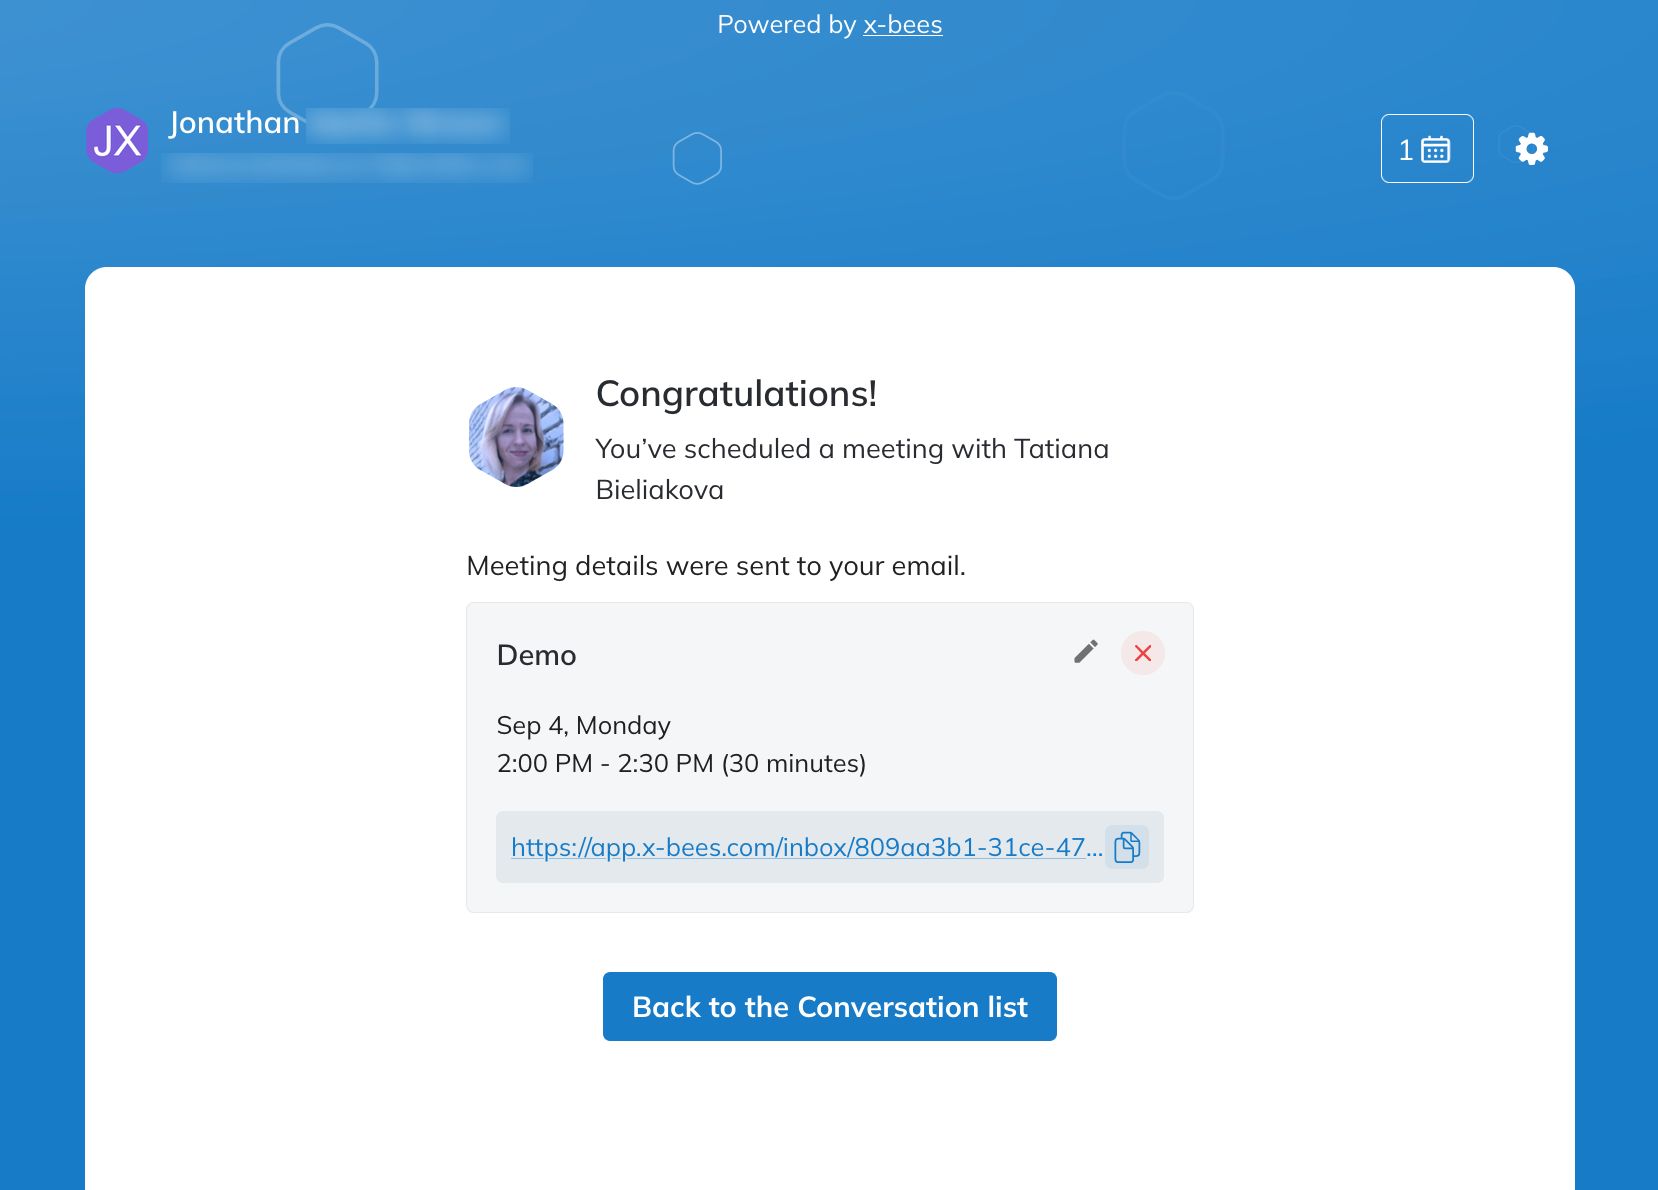
The meeting is scheduled
Note: Maximum 10 scheduled meetings with one agent are allowed. Further meetings with the same agent can be scheduled after at least one of the meetings has passed.
Manage scheduled meetings
When a meeting is scheduled, a dedicated conversation is automatically created
Note: Conversations created by external users are public by default (available by link).
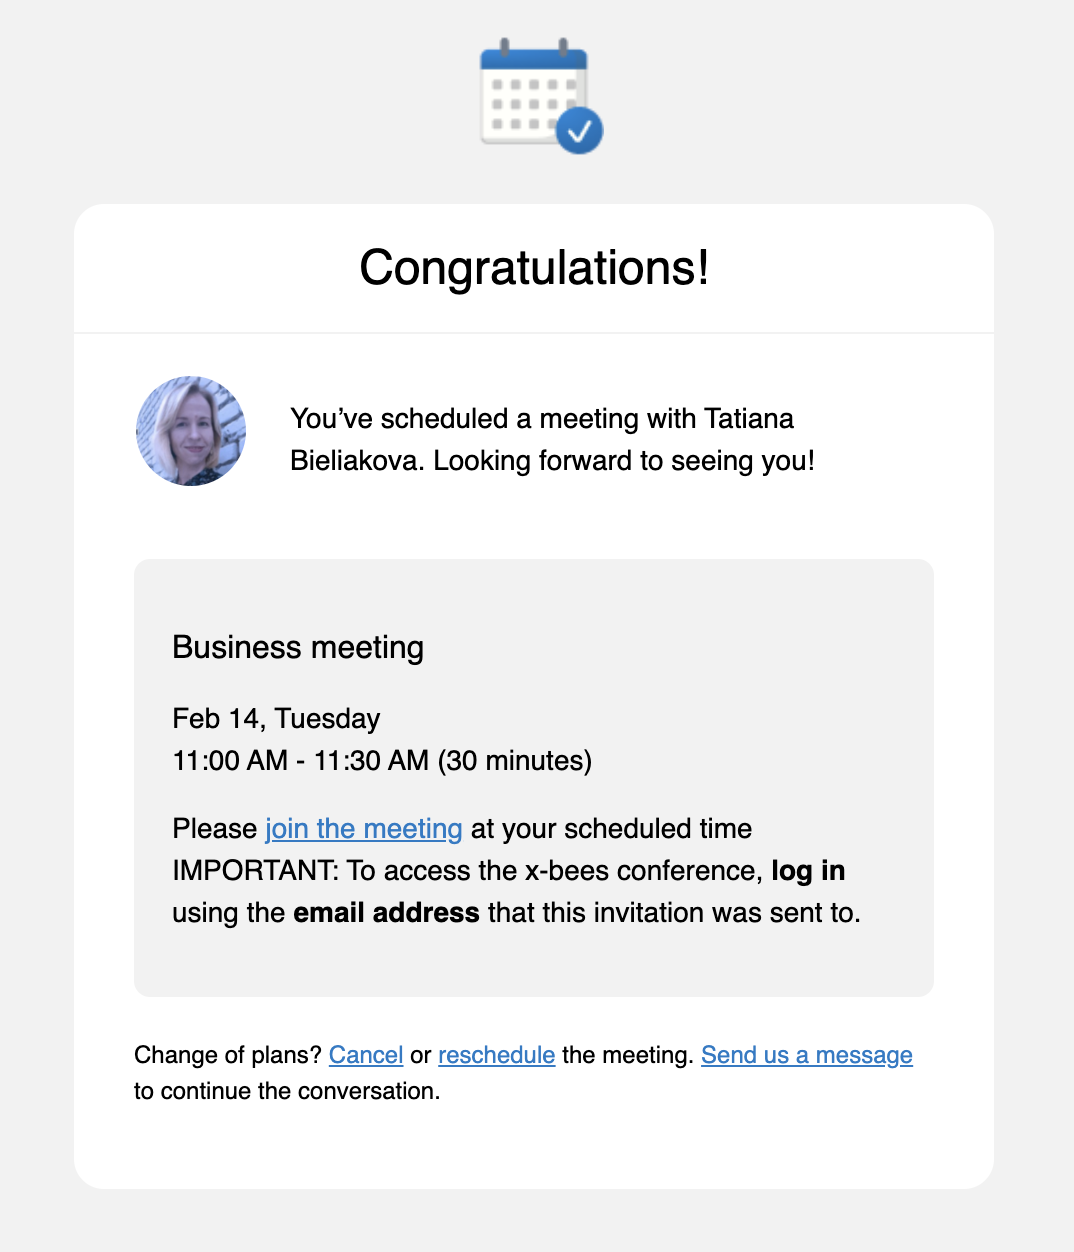
- Guest User also receives an email notification about the scheduled meeting. An event for the scheduled meeting should be manually added to Guest User's calendar
- Guest User can change the meeting's duration, reschedule or delete it via the scheduler interface or in a conversation by clicking on the calendar icon. In case of changing meeting details, the relevant notification is displayed in the conversation and emails are sent both to Guest User and Agent
- Before the meeting, a reminder notification is sent
Invite other members
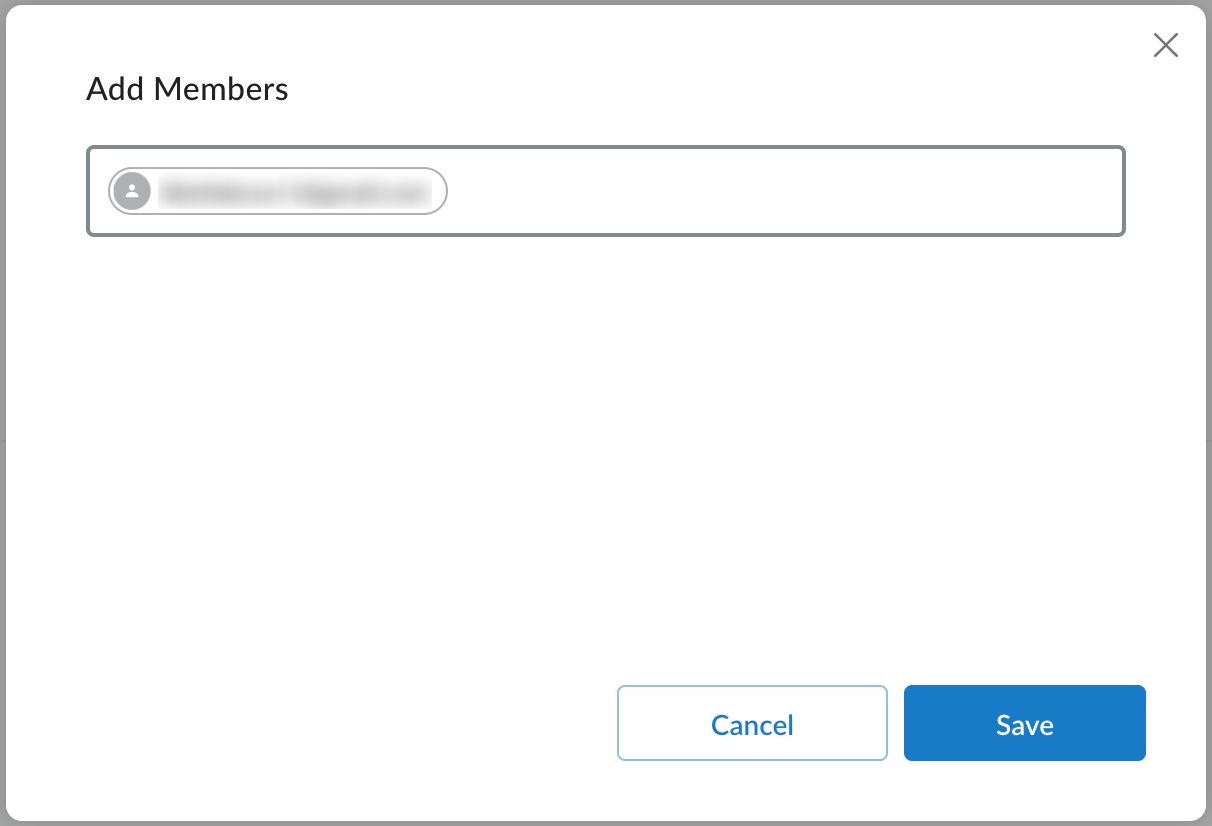
Guest user can invite other members to the conversation via the Add member button:
Enter email(s) and click Save:
The invited members get email invitation with link to the conversation.
LinkedIn integration
With this integration, your x-bees meeting scheduler can be linked directly to your LinkedIn profile, making it easier to turn your connections into leads using x-bees’s communication tools.
Requirements
- x-bees Standard license or higher
- LinkedIn Premium Business profile
How to activate
- Navigate to your LinkedIn profile, click Me icon at the top of your LinkedIn homepage and click View Profile
- In your introduction section, click Add custom button
- In the Custom Button pop-up window, select Premium custom button
- Click Select button and choose Book an appointment
- Open your x-bees user settings and copy Chat link, paste your copied link into the URL text box in the Custom Button pop-up
- Click Save to add the button to your profile
