| Scroll export button | ||||||||
|---|---|---|---|---|---|---|---|---|
|
| Info |
|---|
This step-by-step guide leads you through the process of activation and configuration of the Wildix system. WMS version: 6.0X / 5.0X / 4.0X (Note: WMS 4 reaches end of life on December 31, 2022. Make sure to upgrade PBXs to WMS 6 or 5: use rel60 / rel50 repository). Updated: November 2022 Permalink: https://wildix.atlassian.net/wiki/x/hhbOAQ |
| Table of Contents |
|---|
Introduction
...
User interface for access to UC&C, completely web-based and accessible via the browser; requires at least Essential license. Additionally, you can download mobile apps for iOS/ Android from App store / Google play market.
WMP
Accessible at https://my.wildix.com/. Wildix PBXs should connect to the WMP server for:
...
Tech Wizards FB group (please add yourself to the group): https://www.facebook.com/groups/wildixtechwizards/
Official website: www.wildix.com
WMP (activation, licenses, orders, tickets): https://my.wildix.com/
- eLearning platform: https://training.wildix.com/
Blog: https://blog.wildix.com/
DOCUMENTATION: https://wildix.atlassian.net/wiki/spaces/DOC
...
Proceed as follows:
Connect to WMP using your credentials
Go to Customers tab; to create a new PBX, you first need to add a customer (if it does not exist yet); click Add:

Create a new customer (company): fill in the fields and click Save:

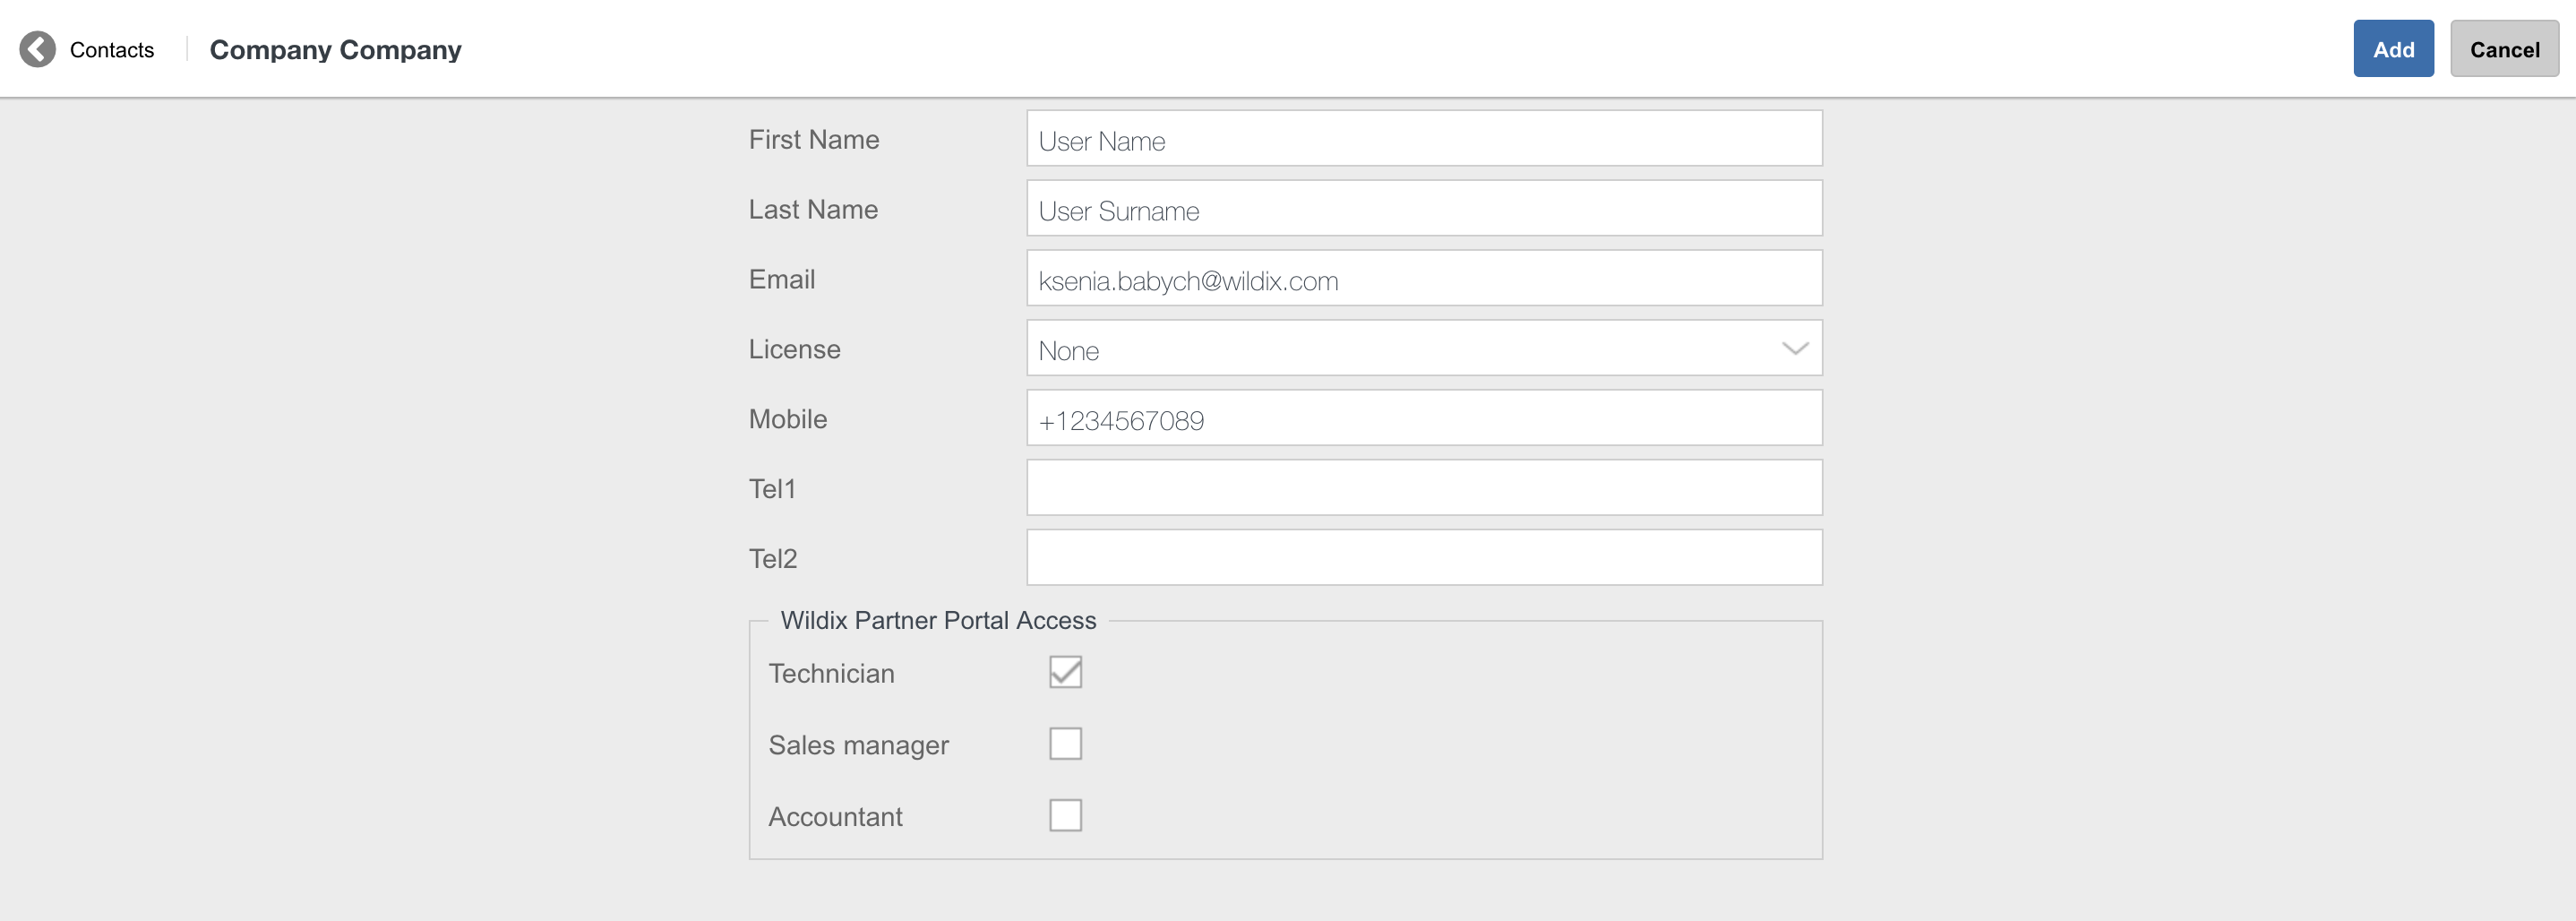
You need to create at least one contact: fill in the fields and click Add:
Now you can proceed with adding a new PBX: go to PBXs tab:

You are now under PBXs tab, click + to add a new PBX:

Fill in the fields:
Model: select WPBX-CLOUD for Cloud / WPBX-VM/HW for Virtual or Hardware
Region (only for Cloud PBX): select the datacenter region
Name: PBX domain name by which your PBX is accessible via the browser; in the example provided below, the PBX can be accessed by URL https://elenatest2.wildixin.com
Expire: select the recurring billing period: monthly / yearly / 5 years / lifetime (lifetime is not available for Cloud PBX)
PBX-BASIC / UC-Essential / UC-Business / UC-Premium / UC-Wizyconf Room / UC-Wizywebinar / PBX-Service: add the number of users of each profile (more about each profile: https://www.wildix.com/licensing/)
Storage size and enable Static IP (only for Cloud PBX): increase Cloud instance storage size. For more details, refer to the chapter: Increase storage on Cloud PBX
Note Note: Starting from July 1 2021 onward, all PBXs will get a dynamic IP address by default. If you need to reserve static IP for your Cloud PBX, there are several options:
- Switch to CLASSOUND to provide a more modern service
- Ask your provider to switch from the IP-based authentication to the password/login one
- Buy the storage (If you have previously purchased an extra storage, the IP is reserved)
- x-caracal: tick the option to activate x-caracal ACD stats service on this PBX. Important: make sure you add at least 10 Business/ Premium + 1 Premium licenses on this PBX to be able to activate x-caracal. More information on how to activate x-caracal on the WMS side: x-caracal documentation. Important: x-caracal is supported only on Cloud or Virtual PBXs, Hardware PBXs are not supported. Make sure you have the min. required WMS version
MS-PhoneSystem: this is an extension of the teams4Wildix (integration of Microsoft Teams with Wildix PBX). It requires the CLASSOUND service to be activated on the PBX. Important: Make sure you have the min. required WMS version
Click Add; your PBX has been created:

...
To upgrade the system, proceed as follows:
The system checks whether there is a new version available in the selected repository: rel50 rel60 / rel40rel50:


| Note |
|---|
For Hardware/ Cloud PBXs: you need to first upgrade your PBX to the latest WMS4 WMS5 version and then update it to WMS5WMS6:
|
In case there is a new version available, click Perform upgrade
As a rule, the Upgrade procedure takes several minutes:


As soon as the update procedure is over, the button Reboot is shown:


Click Reboot and wait till the system is being rebooted:

- As soon as the PBX has been rebooted, the login page appears
- Log in to the WMS, the current WMS version is shown in the upper right part of the screen:


PBX Activation (Hardware, Virtual PBXs)
| Note |
|---|
Cloud PBXs are automatically activated after they are created in WMP (see chapter Creation of Per User PBX on WMP). |
- Copy PBX key from WMP:
Go to the tab PBX per user, select your company, then select the PBX that you have created on step 1
Click Copy PBX key to clipboard

...
- 10 - Sounds: via this menu you can upload music on hold and ringtones, record the messages for operator (More information in chapter Record and playback audio messages); you can generate audio files using TTS (Text-to-Speech), more information: Wildix Business Intelligence - Artificial Intelligence services
- 11 - Terminal: access to the console (enabled only for the admin user)
- 12 - Debug: click to view the simple
- log of each call generated on the PBX (More information in chapter Dialplan debug)
- 13 - Reboot / Power Off
- 14 - Logout
...
Available repositories for upgrade:
- rel60 / rel50 / rel40: stable version, it is recommended to upgrade customers PBXs from this source; changelog: WMS Stable Changelog rel60; WMS Stable Changelog rel50; /wiki/spaces/DOC/pages/30279960
- rel60beta / rel50beta / rel40beta: beta version, available for Wildix Partners for tests in the lab before this version becomes stable; changelog: WMS Beta Changelog rel60beta; WMS Beta Changelog rel50beta; /wiki/spaces/DOC/pages/30279395
| Warning |
|---|
Downgrade is not supported! |
...
Calls history can be accessed from Collaboration, WP, iOS / Android apps (W-AIR shows only local call history).
| Note |
|---|
Note: It is possible to configure SSL connection for sending CDR data to external MySQL server. See the following guide for instructions: Custom config parameters List: Enable SSL connection to remote MySQL server. |
SIP-RTP
Go to WMS Settings -> PBX -> SIP-RTP
...
Multisite environment: you need to enable flawless communication between different offices of the company
Failover / redundancy or load sharing: one PBX is the primary, another PBX is the secondary (backup PBX), which works in idle mode and receives all the updates from the primary PBX; in case of the primary PBX failure, the secondary PBX takes on, ensuring the continuity of the service. In this case all the devices have a double SIP registration (both to the Primary and the Secondary PBX). Read the guide: Failover Guide.
Wildix system supports Hybrid scenarios, where Hardware, Cloud and Virtual PBXs can be connected in the same WMS Network.
...
| Note |
|---|
Call classes can be set for Contacts in Collaboration -> Phonebook, more information in Collaboration user guide (Phonebook chapter): Collaboration 5.0X / Collaboration 4.0X. It is also possible to set the call class via Dialplan applications Set / Jump to if call type is, more information in Dialplan applications guide: Dialplan applications Admin Guide. |
...
For provisioning of Vision/ SuperVision, see chapter Provisioning and login of Vision / SuperVision.
WMP provisioning (Hardware, Virtual, Cloud PBX)
...
- 1 - + Add: add a new device via Auto-provisioning or Semi-provisioning mode
2 - Edit: edit device settings for one or multiple devices:
Comment: unique identifier, displayed in the Comment column of Devices table
Default zone / Tone zone (FXS/FXO): select the country / the geographical area for the correct tone recognition
DNS Server / Secondary DNS / NTP Server / NTP Zone: allows setting DNS and NTP settings, which can be useful in some network scenarios, e.g. with remote devices
Use DST: enables automatic switching to DST
Voice VLAN ID / CoS voice priority / Data VLAN ID / CoS data priority: allows setting priority for Voice and Data traffic and assign VLAN IDs
Use received IP: enables static IP
Syslog Server: you can specify the server IP address to which you would like to send syslog
SNMP Access (BRI, PRI, W-PA, some of WP4X0): authorizes SNMP monitoring on devices (it is also possible to authorize SNMP monitoring of the PBX in WMS Settings -> System -> SNMP Server)
Disable SIP Firewall (BRI, PRI, FXO, W-PA, GSM): it is necessary to enable this parameter in some complicated network scenarios, where a SIP Firewall is present between the PBX and the connected devices
3 - - Delete: delete one or multiple devices
4 - Configure / Sync device: send new configuration to one or multiple devices
5 - Assign to user: assign WP4X0 and W01FXS to users; more information in chapter Assign WP4X0 to users
6 - Sync from WMP: sync devices, assigned to this PBX from WMP; more information about WMP provisioning in chapter WMP Provisioning (Hardware, Virtual, Cloud PBX)
7 - Reset password: in case there is a risk that the provisioning password (displayed in the column Password) of one or several devices has been compromised, it’s possible to reset it without resetting the device: select one or multiple devices, click Reset password to reset the password, then click Configure / Sync device to assign a new password to the device
8 - i: the blue icon indicates that there is a new firmware version available; more information about firmware upgrade in chapter Update firmware
9 - Status icon: displays the device status, hover over it to see additional information (SRC port, transport used):
Green: device is registered (connected via SIP)
Grey: device is not registered
10 - Model: for provisioned devices, the model is indicated correctly (e.g. wp480gr3), for not provisioned devices, only the device type is indicated (e.g. phone) in this column
11 - Connect: enable / disable direct access to device (available for non-Cloud PBXs for devices which are in the same network as the PBX); more information is available in the guide Provisioning of Wildix devices
12 - Extension: available for WP4X0 and W01FXS, displays the extension, this device is assigned to; displays loginX in case device is not assigned
13 - Firmware: the current firmware version
14 - Password: password to access device’s web interface after provisioning; password is displayed only for provisioned devices
15 - Search field
...
| Note |
|---|
Note: a new FW notification is not indicated for BRI/ PRI media gateways. To update their firmware, upgrade your PBX to the latest version. Within half an hour after the procedure is over, media gateways are automatically updated. |
Assign WP4X0 to users
After you have provisioned WP phones, proceed with assigning phones to users.
...
Base station: the basic component of the DECT infrastructure
W-AIR Sync Plus / W-AIR Sync Plus Base Outdoor: multicell, up to 4000 bases, up to 16000 users, up to 8 concurrent calls per base, up to 8 handovers
W-AIR Small Business (SB): single cell, up to 20 users, up to 10 concurrent calls
Repeaters: this optional component allows extending the signal coverage of the base station
Wireless handsets / headset: choose one of the models of handsets W-AIR Basic / W-AIR 100 (End Of Life)Basic2 / W-AIR LifeSaver/ W-AIR Med/ W-AIR Office and W-AIR Headset. Detailed documentation: W-AIR DECT Handset - User Guide, W-AIR Headset User Manual
...
Go back to WMS -> Devices
Select the same base station and click Configure / Sync device
| Warning |
|---|
For CLOUD PBXs, you need to power the base station down and then power it up again (reboot the base station) to apply the new parameters! |
| Note |
|---|
Note: Base station is displayed with grey status in the table of devices, unless you register at least one handset / headset. |
...
| Note |
|---|
Note: Starting from WMS 5.04.20220309.1, it is possible to assign registered W-AIR handsets/ headsets to users via WMS -> Devices -> W-AIR Devices. See the section: Assigning W-AIR handsets/ headsets via WMS |
...
| Note |
|---|
Note: Starting from WMS 5.04.20220309.1, it is possible to assign registered W-AIR handsets/ headsets to users via WMS -> Devices -> W-AIR Devices. See the section: Assigning W-AIR handsets/ headsets via WMS. |
...
| Note |
|---|
Notes:
|
...
For more information on CDR-View, refer to https://www.wildix.com/monitoring/.
CDR-View User Guide: CDR-View User Guide.
...
- Connect antennas to the rear panel of the gateway
Insert the SIM card to the slot
Note Note: Make sure the PIN code of the SIM card is disabled.
Connect the WAN interface of the gateway to the Wildix Switch
Provision the gateway as described in chapter Provisioning of devices
Once you have provisioned the gateway, a new trunk automatically appears in the corresponding section in WMS > Trunks -> GSM/UMTS section
The status is green, which means the media gateway is registered
Note Important: Status of signal quality is currently not supported!

Double click on the trunk to edit the trunk parameters:
Default Tone: select the country where the trunk is used
Country Code: select the country where the trunk is used for correct number normalization; select Custom country to manually enter the country code
Dialplan (main by default): Dialplan procedure used for calls via this trunk
Number of SIM: called number, which should be present in the Dialplan procedure, used for calls via this trunk; more information on Wildix Dialplan to follow, in chapter Wildix Dialplan
Enable SMS receiving: enable incoming SMS messages to the SIM card; specify the e-mail address in the field below
SMS2EMAIL service e-mail: e-mail address used for new messages notifications
...
An example of Kite implementation can be found here: www.wildix.com/contacts.
One of the advantages of Kite is that it’s fully integrated into the Wildix telephony system:
...