This User Guide explains how to use SuperVision and Wildix Phone App. Other useful links:
HW Version: 73.145.2.114 Android app Version: 5.1.1 Created: April 2019 Updated: February 2022 Permalink: https://wildix.atlassian.net/wiki/x/cwnOAQ |
Current limitations:
SuperVision Changelog: https://www.wildix.com/new-releases-and-updates/supervision-changelog/ |
Additionally you can purchase handsets, headsets, power adapter in WMP cart.

Home screen:

1 – People (personal phonebook)
2 – Wildix Phone app
3 – Applications folder
4 – Chrome browser
5 – Phone settings
6 – Notification drawer and status bar
Ethernet


In case the phone has not received an IP address automatically, you can set up the Static IP:
Wi-Fi
Note: After the phone has booted, the Phone app opens automatically. |
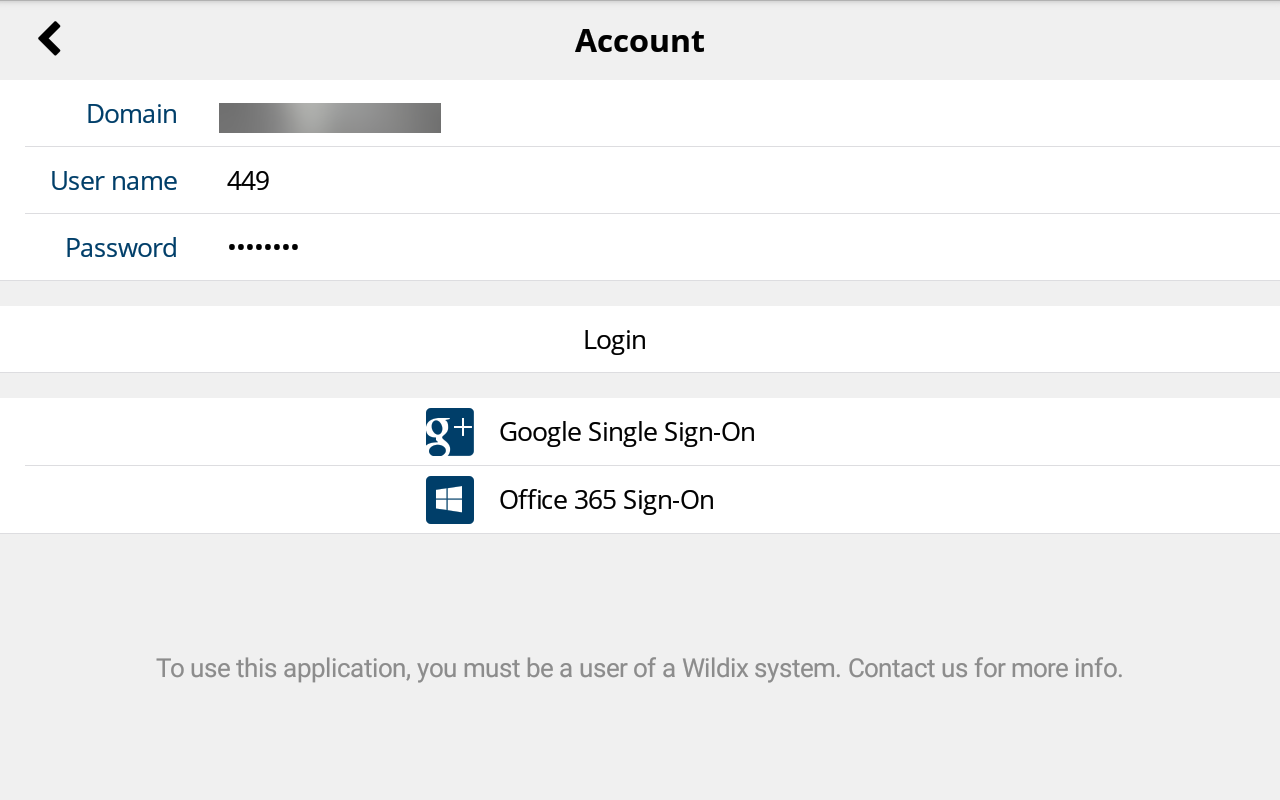
Use your Collaboration credentials to access the App:

Domain: PBX IP address or domain name
Note: You can enter the PBX name, wildixin.com domain is added automatically; if you leave this field blank, auto.wildixin.com is automatically added. |
Or
You can either use Google/ Office 365 credentials for single sign-on.
Current limitation: Impossible to login to PBX via Google sign-on from the first attempt. It’s necessary to make a second try. |
Go to App Settings -> Advanced -> Check for Updates. In case there is a new version available, follow the instructions on the screen to update.

1 – Status
2 – Voicemail
3 – History
4 – Dialpad
5 – BLF Keys
6 – Chat
7 – Web application Integration (this menu becomes visible only if you have configured it in App Settings -> Advanced -> Integration URL). More details in Web application Integration
8 – Settings
Note: You can swipe between the Phone app menu tabs by swiping with the finger on the phone screen to the right / to the left. |
Tap user status to:

This menu allows you to:
You can also tap on a voicemail message to display the drop-down list: Call a user who left a message, Mark as read or Delete it.

This menu allows you to:

You can also tap and hold an entry to display the drop-down list: call the user, archive or delete the call. |
This menu allows you to search for contacts in PBX phonebooks, place and manage calls.
Live search is performed in all the shared phonebooks; first colleagues that match the searched criteria are displayed, then phonebook contacts.
Start entering a number or a name into the Search field:

Enter the number and tap the green button
Note: The number you entered is automatically dialed after the timeout of 5 seconds, if the handset is in off-hook position. |


1 – Hang up
2 – Hold / Resume
3 – Mute / Unmute
4 – Video
5 – Transfer
6 – Conference (in case there are more than one active calls)
7 – New call
Note: You can also use keypad buttons to mute/ unmute, hold/ resume, hang up and transfer. Refer to Phone overview. |

1 – Tap for Attended transfer (call recipient is notified): new call starts, tap Transfer button again from Call window to complete the transfer
2 – Tap for Blind transfer (call recipient is not notified)
3 – Tap to cancel transfer
Transfer a call to a colleague / a call group configured as BLF key

Monitoring and management of colleagues and features.
Note: Max 120 elements can be added for monitoring (features and colleagues). Swipe on the screen to the left/to the right to move between the pages of Feature keys. You can customize the size of the BLF keys in this menu in Phone App -> Settings > Advanced Settings “X keys per page”. (More info: Advanced Settings) |
Configure BLF keys
BLF keys must be configured in Collaboration -> Settings -> Fn keys / or in WMS (more info: Collaboration User Guide)
Example of BLF keys configuration in Collaboration:

Supported BLF Keys
Call number configured as speed dial
Note: you can use any shortcut based on Feature codes with Speed Dial function key, example: enter the value “cgmanager*2*[call_group_ID]” into the field for dynamic call group login / logout. |
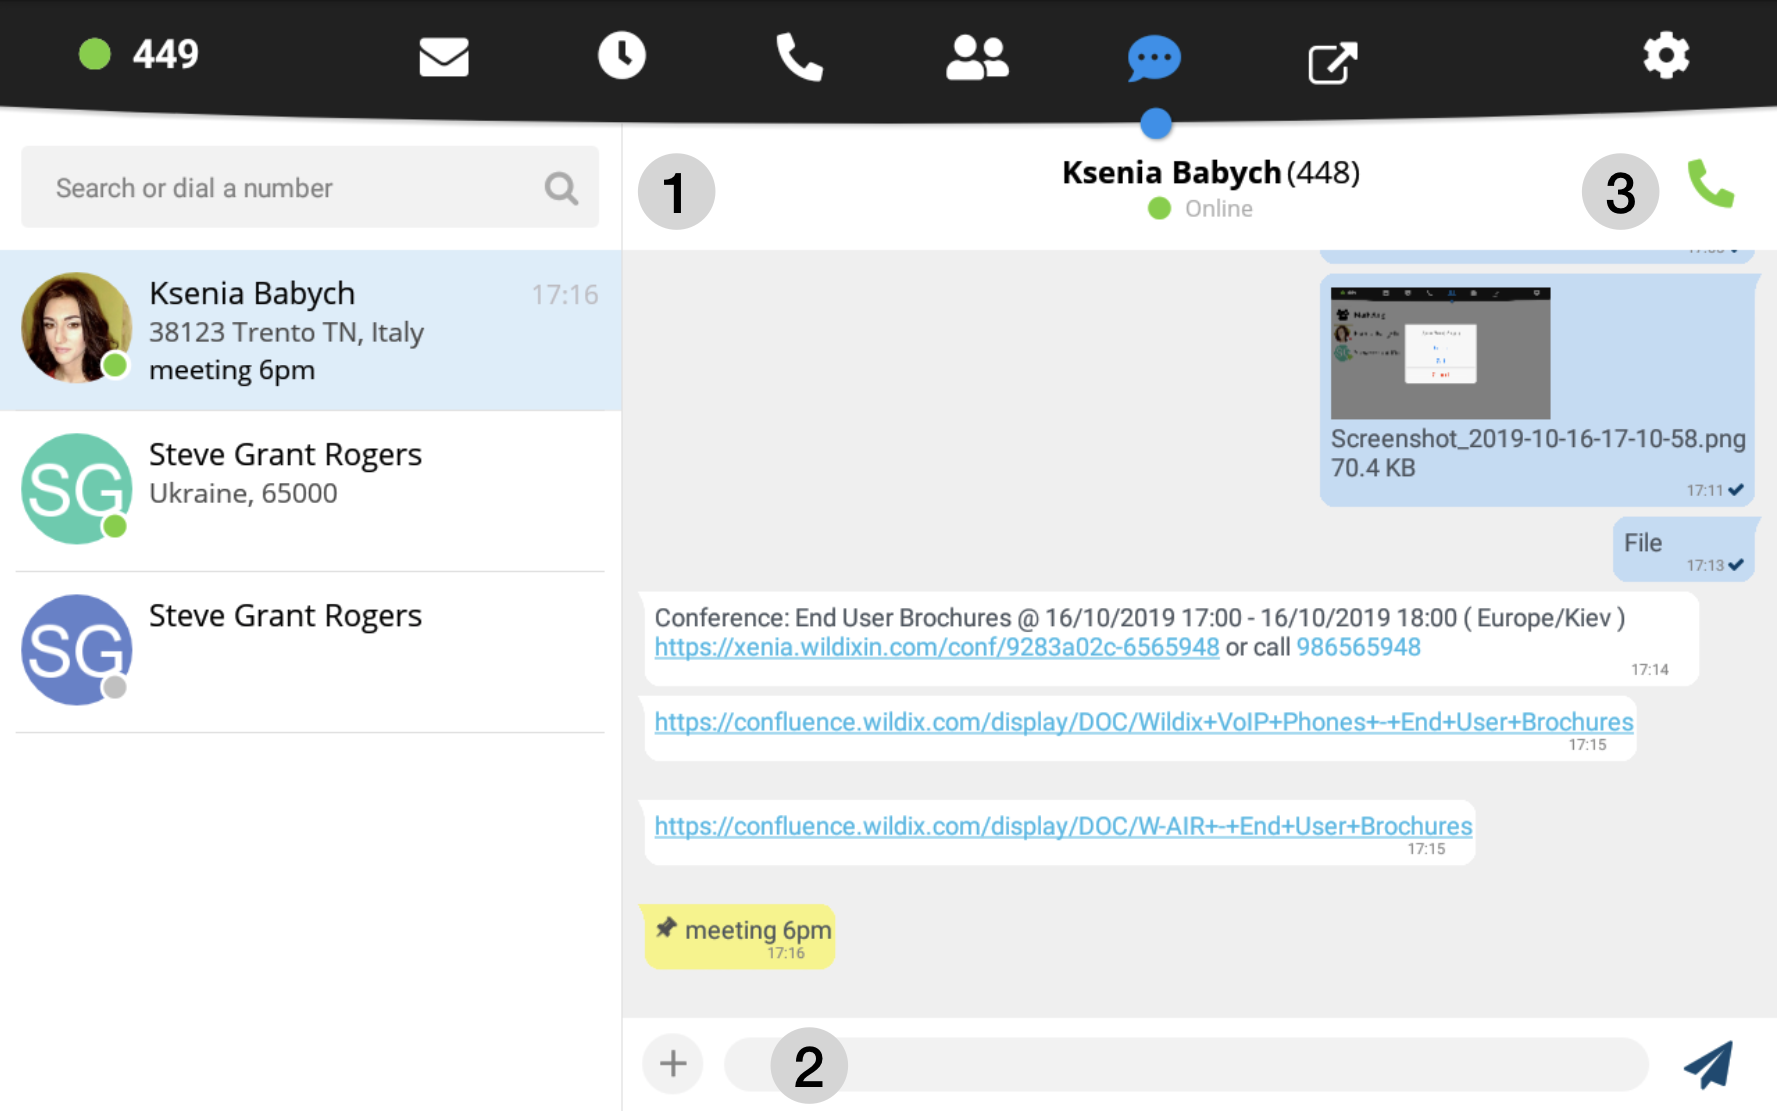
This menu allows you to:
You can disable / enable visual new chat messages notifications in Phone App Settings -> Advanced.

1 – Search field
2 – Tap to write a message, send a file, a photo (up to 100Mb) / Post-It
3 – Call
Note: You can also start a chat form live search results and History. |
Important Post-it
Important Post-it note sent via Collaboration is displayed as a modal window above all the menus and blocks access to the app:

It is only possible to answer/ hang up a call:

It is impossible to start Wizyconf videoconference from Vision, you can only participate (you must be invited).

In order not to be distracted by calls received via Phone app, go to Phone App Settings -> Advanced -> Allow usage of other VoIP Apps = ON (in this case Phone app does not open automatically during an incoming call)
Web application integration can be configured in App Settings -> Advanced -> Integration URL. It allows opening a web application inside Wildix Phone App.
You can also select the web application to be opened automatically in App Settings -> Advanced -> Default tab and specify timeout after which an application is automatically opened (the default timeout is 120 sec).

Personal and Call features for each Call class is synced with the PBX.
Ringtone: Ringtone playback and selection. A ringtone chosen in this menu is applied to all call classes. In case you want to choose separate ringtones for each call class, you can do it in Call classes settings (consult Call features for each call class, External / Blacklist / Whitelist section)
Note: You can also upload audio files to this menu and use them as ringtones. Check Upload the ringtone for details. Supported audio formats: mp3 and wav. |
To upload your own audio file to Phone App:
Internal
Make sure Mobile number is entered in Settings -> Account -> Personal -> Mobile.
External / Blacklist / Whitelist
Same Features as for Internal class, in addition, this menu allows you to select the Ringtone for each Call Class.

Tap the Switch to activate the class, then you can change other settings.
Advanced:
Check for Updates: tap to search for new versions; in case the new version is available, follow the instructions on the screen to upgrade
Note: The possibility to deploy a local upgrade server for SuperVision starting from version 2.9.95 In cases when the phone cannot get firmware from firmwares.wildix.com server (for example, connection to the server is blocked from the phone; PBX doesn't have access to the server), you can deploy a local upgrade server and indicate it in WMS Settings -> Tools and utilities -> Upgrade -> Custom firmware server. Please contact Wildix Support for details. |
Initiate video calls (On / Off): when On, video is automatically started upon starting an audio call
Note: Starting from WMS 3.85.35510, you can receive video from doorphones, even when the option is disabled. |
Automatic upgrades (On / Off); when Off, an additional option Notify of new versions – On/Off is displayed
|
Allow usage of other VoIP Apps (On / Off): when On, Phone app does not open automatically during an incoming call
Note: We recommend to enable this option for Wizyconf Videoconference. |

Check the information about Phone application and current version
Wireless & Networks
Scan for networks, view the list of available networks, add a new one.
Search for devices, view the list of paired devices, unpair devices, see the received files
Use DHCP or tick off “Use static IP” and enter the parameters manually
Select PC/ LAN Port Settings
Device (Display, Sounds, Storage, Apps, HDMI)
Display
Sound & notification
Storage: all the information about memory usage
Apps: view and manage all the applications (allows you to force-quick Phone App: select Phone App from the list -> Force stop)
HDMI: allows you to enable HDMI, select the Resolution, adjust the Screen Zoom
Personal (Security, Accounts, Language, Backup&reset)
Security: enable screen lock, device administration, credentials storage
Accounts:
Language & input
Backup & reset: allows you to enable the backup and to set up the parameters for backup, and to restore the phone to the factory defaults
System (Date and time, Accessibility, Phone information)
Supported Headsets
Wildix Headsets compatible with SuperVision: monoaural (WHS-Mono), binaural (WHS-Duo) and bluetooth (WHS-BT).
For connection of WHS-BT headset, read the guide: WHS, WP490EXT, WPEHS - Quick Start Guide
Third-party headsets integrated with Wildix: Wildix Compatible Headsets – Jabra, Plantronics, Sennheiser, JPL
Wizyconf-Voice speakerphone
To connect the Wizyconf-Voice speakerphone to SuperVision:
More information in Wizyconf-Voice Speakerphone User Guide and Wizyconf Datasheet, available on Wizyconf Videoconference Documentation. |
Info on intercoms which are fully integrated with Wildix system: www.wildix.com/integrations.
User Guides on Integration with some Intercoms are available on Doorphone integrations.
=Configuration of intercoms for sending video stream before answer and adding an unlock button: Intercoms integration with Wildix - Video before answer and Unlock button.
NOTE: THIS OPERATION MUST BE MADE BY THE SYSTEM ADMINISTRATOR |
How to perform a factory reset:
Boot menu appears: select Factory reset using Volume Up/ Down buttons and press Speaker button to confirm

To proceed with factory reset, select Yes option and press Speaker button to confirm

Select Reboot system now and press Speaker button to start the reset or wait 5 seconds for auto reboot

To be able to access your Wildix PBX corporate phonebooks from SuperVision, you need to set up CardDAV sync: CardDAV Sync of Contacts.
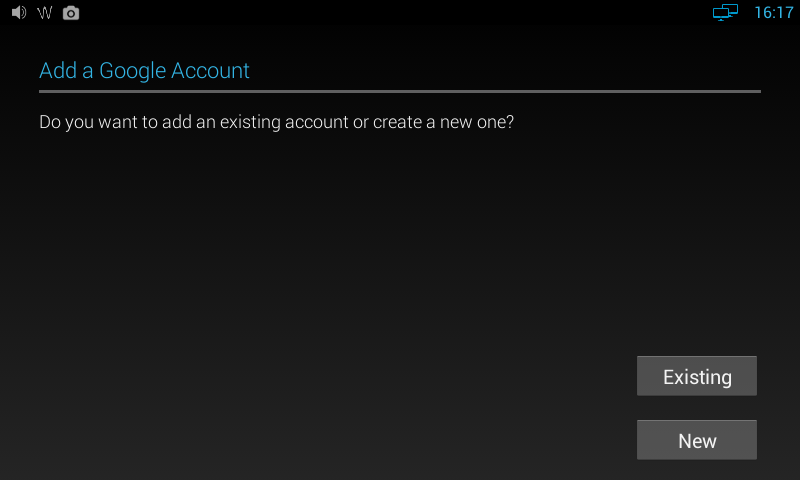
You can sync your phone with your Google account. It allows you to use Google Calendar and to download applications from Google Play Market.


Note: During the sign in process you are requested to choose which data you would like to sync. |

Customize personal phonebooks

Note: By tapping “Settings” you can choose to sort list and to view contact names by First name / Second name. |

If you wish to select several phonebooks to display: tick off Customize and select the phonebooks to display:

Call a personal phonebook contact

The call starts right away from Wildix Phone application.