...
| Html |
|---|
<div id="fb-root"></div>
<script>(function(d, s, id) {
  var js, fjs = d.getElementsByTagName(s)[0];
  if (d.getElementById(id)) return;
  js = d.createElement(s); js.id = id;
  js.src = 'https://connect.facebook.net/en_US/sdk.js#xfbml=1&version=v2.11';
  fjs.parentNode.insertBefore(js, fjs);
}(document, 'script', 'facebook-jssdk'));</script> |
| Html |
|---|
 <div class="lang-box-pdf">
	<div>
		<div class="google-lang">
			<div id="google_translate_element">
			</div>
			<script type="text/javascript">
					function googleTranslateElementInit() {
						new google.translate.TranslateElement({pageLanguage: 'en', includedLanguages: 'de,es,fr,it,nl', autoDisplay: false}, 'google_translate_element');
						}
			</script>
			<script type="text/javascript" src="//translate.google.com/translate_a/element.js?cb=googleTranslateElementInit"></script>
		</div>

		<div class="pdf-button">
			<a href="https://confluence.wildix.com/spaces/flyingpdf/pdfpageexport.action?pageId=91063030" alt="Convert to .pdf" title="Convert to .pdf"><img src="https://confluence.wildix.com/download/attachments/14549012/pdf-button-download-wildix-documentation.png"></a>
		</div>
	</div>
</div> |
...
| Scroll export button | ||||||||
|---|---|---|---|---|---|---|---|---|
|
| Info |
|---|
The Instructions describe the process of Microsoft Phone System Setup for End Customer (the user who has admin rights on the MS domain of the company). General documentation on teams4Wildix can be found here: teams4Wildix - integration of Microsoft Teams with Wildix PBX - Documentation. Additional documentation be found on teams4Wildix portal -> Services -> Teams -> Documents. Created: July 2021January 2022 Updated: May 2022 Permalink: https://confluencewildix.wildixatlassian.comnet/wiki/x/9oJtBQ |
| Table of Contents |
|---|
Prerequisites
General requirements:
- WMS version: 5.03.20210623.1 or higher
- Activated CLASSOUND
- Wildix UC-ESSENTIAL / UC-BUSINESS / UC-PREMIUM license for each user
Additional requirements for Microsoft Phone System:
- Monthly subscription fee. The fee is purchased for the entire PBX on WMP (the option for purchasing is coming soon. If you want to activate Mode 2, please contact your Area Manager)
- Microsoft 365 (Office 365) E5 or Microsoft 365 (Office 365) E3 + Phone system for each user
Step 1: Enable MS Phone System for your customer - instruction for the Wildix Partner
| Note |
|---|
The steps specified in this chapter are carried out by the Wildix Partner. |
Step 1. Request MS Teams Phone System service on WMP
...
Enable the checkbox next to MS-PhoneSystem
...
Step 2. Provide the needed information to the Wildix Customer Care
Once you request the service on WMP, a ticket to Wildix Customer care is opened automatically. You will receive an email requesting the following information regarding your customer:
- Amount of users that require Mode 2 (MS Phone System) of the Integration (please note that these users must have 365 E3 plan + phone system license or 365 E5 plan on the Microsoft side)
- Email of a customer's admin (email(s) of one user or more users who have admin rights in the customer's Microsoft domain). Multiple emails can be sent and set up
Once this information is provided, you will need to wait till the system is added to the dedicated teams4Wildix portal.
Step 2. Set up Microsoft Phone System - instruction for the end customer
| Note |
|---|
The steps specified in this chapter are carried out by the Partner's end customer (the user who has admin rights on the MS domain of the company).rwXOAQ |
| Table of Contents |
|---|
Set up Microsoft Phone System
To be able to make calls using Teams Dialpad, you need to set up the connection between your PBX and Office 365 tenant. For that, activate an account on on https://admin.teams4wildix.com/.
Step 1. Activate an account on the teams4wildix portal
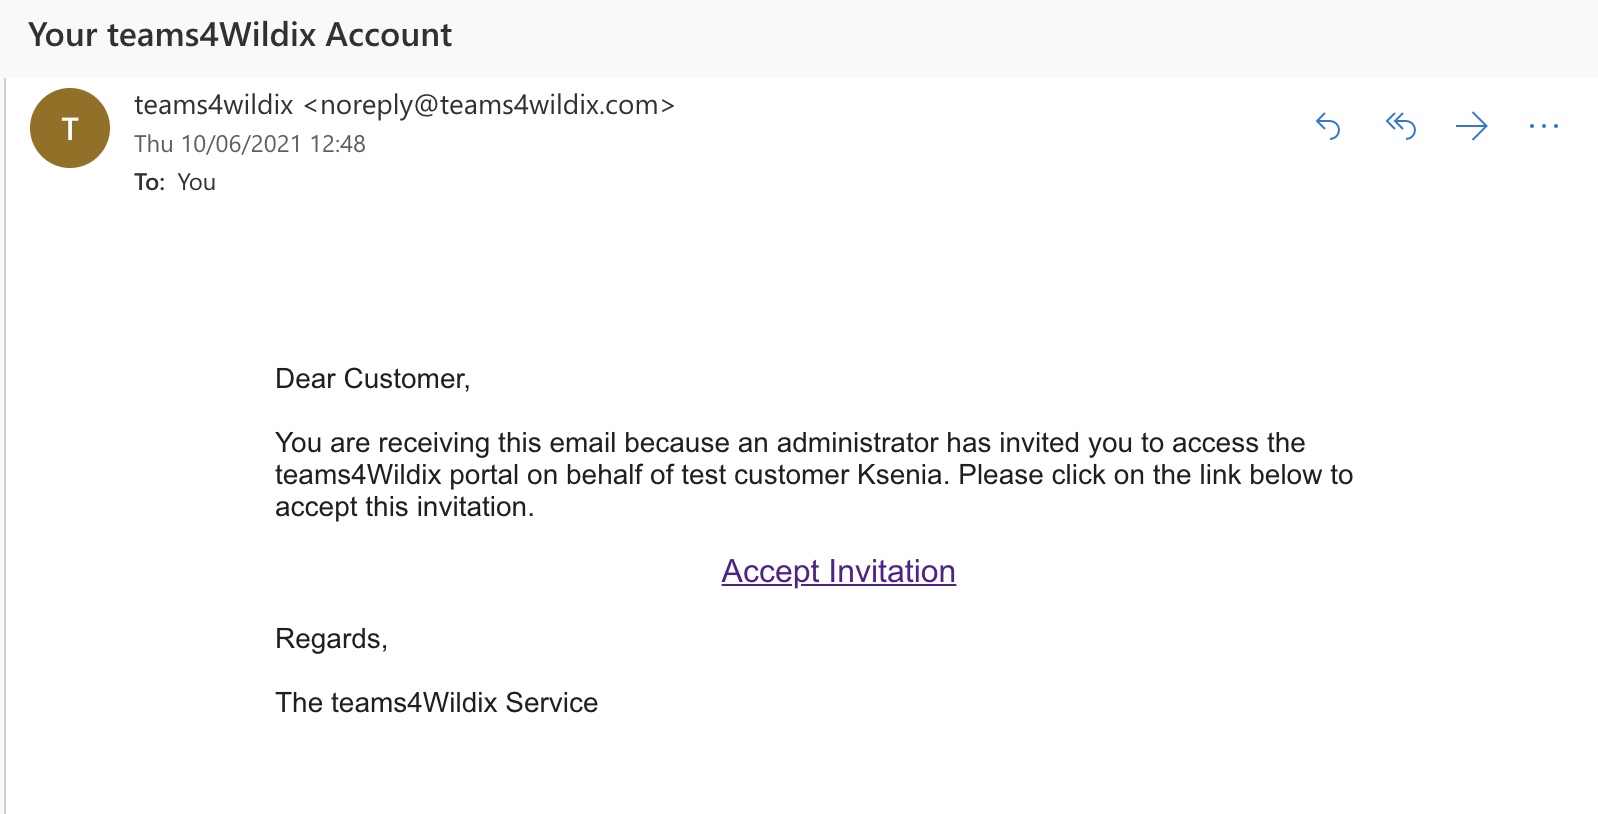
Once you receive an invitation via email, click Accept Invitation to access the portal https://admin.teams4wildix.com/:
Access the teams4Wildix portal using your Microsoft 365 credentials. Go to Getting Started -> Prerequisites tab and click Check My Tenant:

- Select Microsoft account with admin rights and the required licenses
- If the account meets all the requirements, the Tenant check is successful and you can click Next to go to the next step:

Step 2. Create PBX
You are under PBX tab. To add your PBX, fill out the fields specified below (no need to touch other fields):
- Start by selecting your PBX from the available templates: select Teams4Wildix
- Country: select your country from the list
- SIP Domain: enter your PBX domain name
- Calling Policy: check off Manage Teams Calling Policy
- Teams Voicemail: select Prohibit Voicemail & Call Forwarding
Music on Hold: select PBX Hold Music
- Override Codecs: the default one is PCMU. You can edit the list of codecs if required.
Click Add PBX
(below an example of a PBX that was already added on teams4Wildix portal)
Step 3. Sync the portal with your MS account
You are under Teams tab. To sync teams4Wildix portal with your Microsoft account, follow these steps:
- Click Enable Service

- Select the same MS account used in Step 1
- Once the sync is active, click Next to go to Step 4
...
| Note |
|---|
Sync may take up to 15 minutes |
Step 4. Add users
| Warning |
|---|
Important notes:
|
...
- Select a User: select user from the list of available users
- Phone Number: this should be a unique number, it can be an extension number
- SIP Username: enter user extension number
- Auth Username: enter user extension number (again)
- Password: enter user SIP password (do not mix up with user Web password!)
Click Add to create a user

| Note |
|---|
You can also import users via CSV to create users or update (use the button Import Users located next to Add user). |
Microsoft Phone System Usage
| Note |
|---|
Using Microsoft Phone System service enables you to place and receive calls from the Calls dialpad of MS Teams interface. However, with Microsoft Phone System you can still use all the features described in the general teams4Wildix document as well. Consult the guide: teams4Wildix - integration of Microsoft Teams with Wildix PBX - Documentation. |
- To place calls using Teams Dialpad, go to Calls tab, enter an internal or an external phone number and start a call. You can control an active call (put it on pause/ resume, transfer, etc) from the MS Teams call dialog:

- When there's an incoming call, there's a popup from MS Teams interface allowing you to accept or reject the call:
...

| Macrosuite divider macro | ||||||||||||||||||||||||||
|---|---|---|---|---|---|---|---|---|---|---|---|---|---|---|---|---|---|---|---|---|---|---|---|---|---|---|
|
| Button macro | ||||||||||||||||||||||||||||||||||||||||
|---|---|---|---|---|---|---|---|---|---|---|---|---|---|---|---|---|---|---|---|---|---|---|---|---|---|---|---|---|---|---|---|---|---|---|---|---|---|---|---|---|
|