The steps below help you to connect and configure the FXO gateway. Thanks to W04FXO gateway, you can connect analog lines to your IP PBX, but not only; you can enhance your legacy PBX with Unified Communications capabilities. Useful links: Updated: June 2015 Supported starting from WMS version 2.0.16043.9 Permalink: https://wildix.atlassian.net/wiki/x/_BzOAQ |
Read the white paper: https://drive.google.com/open?id=10kpqi9yJM6gZ7E_YhkmHX6g0pSOTL0KB
Rear panel
Front panel
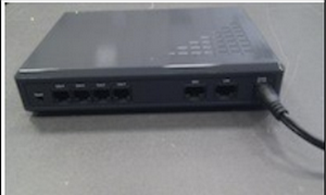
Connect the gateway using the power supply and the cable provided with the gateway, as it is shown on the picture:

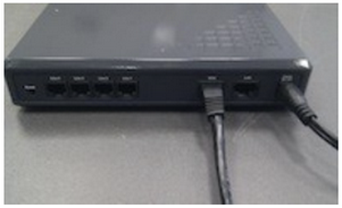
The gateway has one LAN port configured in Bridge mode and one WAN port set up as a DHCP Client. Connect one of two ports to the same network as the PBX or an external DHCP server (for instance, its router) as shown on the picture:

As soon as the DHCP server assigns an IP address to the gateway, you can pass to the next step of the gateway configuration.
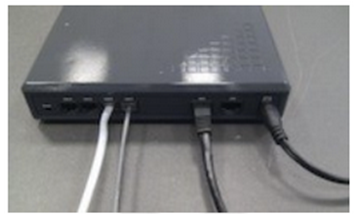
W04FXO gateways have 4 ports on the rear part of the devices, marked as Line1, Line2, Line3, Line4. Connect the needed ports to the analog lines.

Follow our online Guide to provision the FXO gateway.
For remote/unreachable media gateways behind NAT/Firewall, follow our online Guide to remote provisioning.
Follow our online Guide to correctly set up the trunk parameters of the FXO gateway.
In case you need to reconfigure the gateway, you should perform a reset procedure, as shown on the picture. The switch marked as “Reset/Default” is situated on the rear panel of the gateway.
