| Scroll export button | ||||||||
|---|---|---|---|---|---|---|---|---|
|
| Info |
|---|
This User Guide explains how to access and use x-bees and describes the basic operations: how to manage calls, create conversations, schedule conferences etc. Other x-bees documentation: x-bees documentation. Created: February 2022 Updated: November 2023March 2024 Permalink: https://wildix.atlassian.net/wiki/x/ngrOAQ |
...
- Click on your user picture from the upper left-hand part of the screen
- Under Settings, click Connect to Wildix PBX
- Make sure the Wildix PBX domain name is entered into the field Domain
...
- Click on your user picture in the upper left-hand part of the screen to open Settings
- Click on your user picture to open profile information
- Click Upload image and select a new picture
- Crop and scale and click Apply
...
- Click on your user picture in the upper left-hand part of the screen to open Settings
- Under Availability, click on your current user status (e.g. Available)
- Select the new status
To add a status message:
...
- Click on your user picture in the upper left-hand part of the screen to open Settings
- Under Availability, click on Set a status
- Enter the status message into the field, set date and time to clear the status after (optional)
- Click Save
To check the status message, click on your user picture in the upper left-hand part of the screen to open Settings. Under Status, check the message
Color theme
...
- Click on your user picture in the upper left-hand part of the screen to open Settings
- Under Settings, click Notifications
- Enable Notifications:
Here you can enable notifications in personal and group conversations. It is recommended to enable all of them, in case you decide to mute a particular conversation, you can do it from the settings of this particular conversation. Note, that Web and Mobile notifications are managed separately and there is no sync between them, to enable notifications on Mobile, consult x-bees Mobile User Guide.
You can also manage notifications played when a conference starts. Sound notification on the conference start is not played if user is in a conference, a call, or has Busy/ Away status.
...
- Click on your user picture in the upper left-hand part of the screen to open Settings
- Under Settings, click Calls
- Set up call forwarding rules for every Call class:
Dialing hot key
...
- Click on your user picture in the upper left-hand part of the screen to open Settings
- Under Settings, click Audio and Video
- In this menu, you can select and test the active device for Speakers, Ringing, Microphone and Video:
...
Click on your user picture in the upper left-hand part of the screen to open Settings.
Under Settings, click Kite settings
- You get redirected to this portal: https://app.x-bees.com/kite/console
...
- Click on your user picture in the upper left-hand part of the screen to open Settings
- Under Settings, click Extensions
- Install the Integration service/ x-bees Chrome extension
...
- Click on your user picture in the upper left-hand part of the screen to open Settings
- Under Availability, enable Inbound services
- Enable the switch next to Inbound service requests: the switch allows you to dynamically join the inbound services (call groups)
- Under Inbound Services: enable those services (call groups from your PBX) that you would like to join as a call agent (in this menu you cannot change the status in services, to which you were added statically via WMS)
...
- Click on your user picture in the upper left-hand part of the screen to open Settings, then click Log out
Feedback
You are invited to send us feedback, provide suggestions and report problems!
...
| Note |
|---|
Current limitation: In case a call is transferred to a device which doesn't support screen sharing (for example, WP phones, etc) the button "Screen Sharing" is not disabled. This will be fixed in further releases. |
Hide or leave a conversation
...
Archive conversation
- Hover the mouse over the necessary conversation and click on the More icon:
- Choose the option Archive:
When a conversation is archived, a tooltip is displayed with the title "[Conversation name] is archived," along with an option to undo the action:
Leave a conversation
- Hover the mouse over the necessary conversation and click on the More icon:
- Press Leave conversation:
- Alternatively, click on the More (three dots) button on the Conversation Info frame and click Leave conversation
...
When a Guest User schedules a meeting, a dedicated conversation is automatically created:
The conversation can also be assigned to a particular agent of a Service (Call group). Service is determined automatically. You can assign a conversation to yourself or any other agent.
To assign the conversation to yourself, click Assign to me:
To assign conversation to another agent, select service and choose an agent from the Assignee drop-down list:
| Note |
|---|
Note:
Limitation:
|
When a guest user clicks the Start new conversation button via the Meeting Scheduler or your Chat link, x-bees looks up if the guest had a conversation with the same agent before – if positive, the communication continues in the same channel.
...
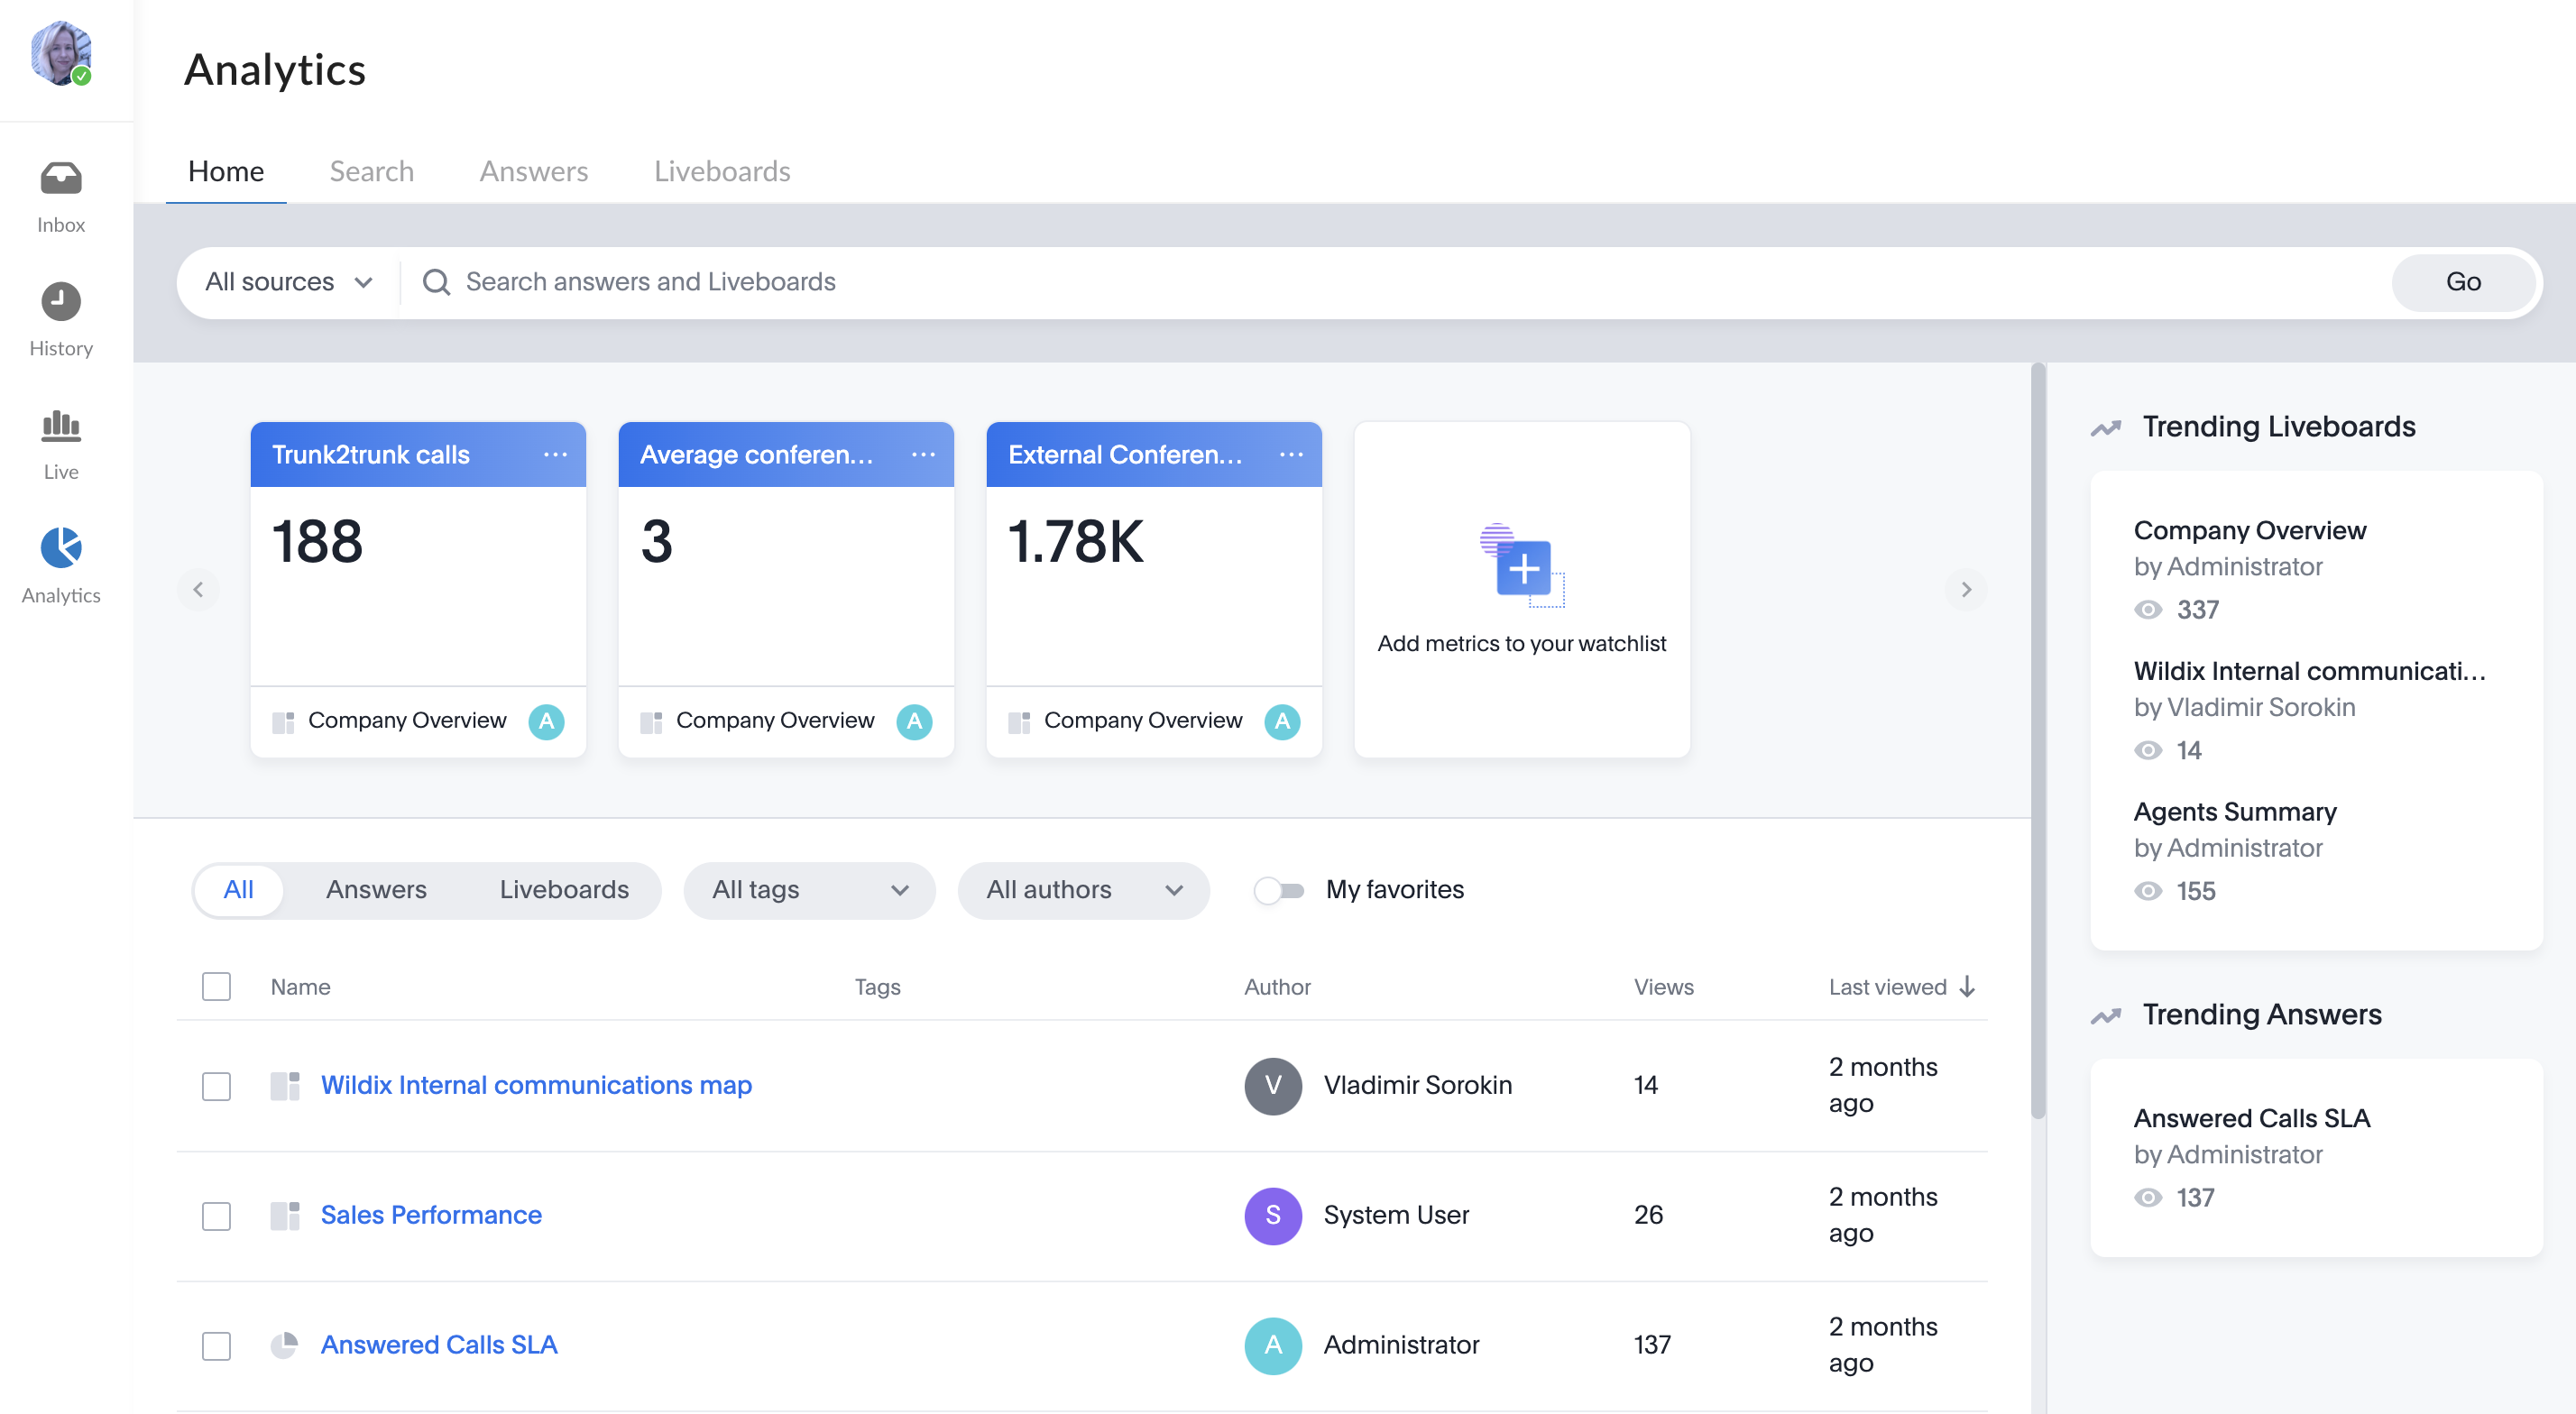
x-bees Analytics is an advanced analytics tool which lets to monitor any data you need in a highly customizable manner.
See more in documentation: x-bees Analytics.
x-bees Chrome extension
| Anchor | ||||
|---|---|---|---|---|
|
...


