Scroll export button scope current template-id 0fa09813-8b86-460a-aa1d-ef450a80e9ce quick-start true add-on Scroll PDF Exporter
| Info |
|---|
This User Guide explains how to access and use x-bees Mobile app and describes the basic operations: how to manage calls, create conversations, schedule conferences etc. Other x-bees documentation: x-bees documentation. Created: February 2022 Updated: April 2024 Permalink: https://wildix.atlassian.net/wiki/x/ggHOAQ |
...
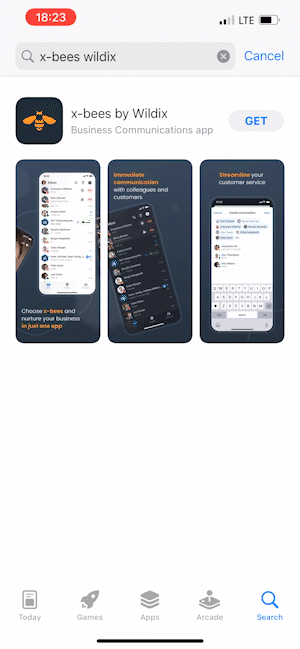
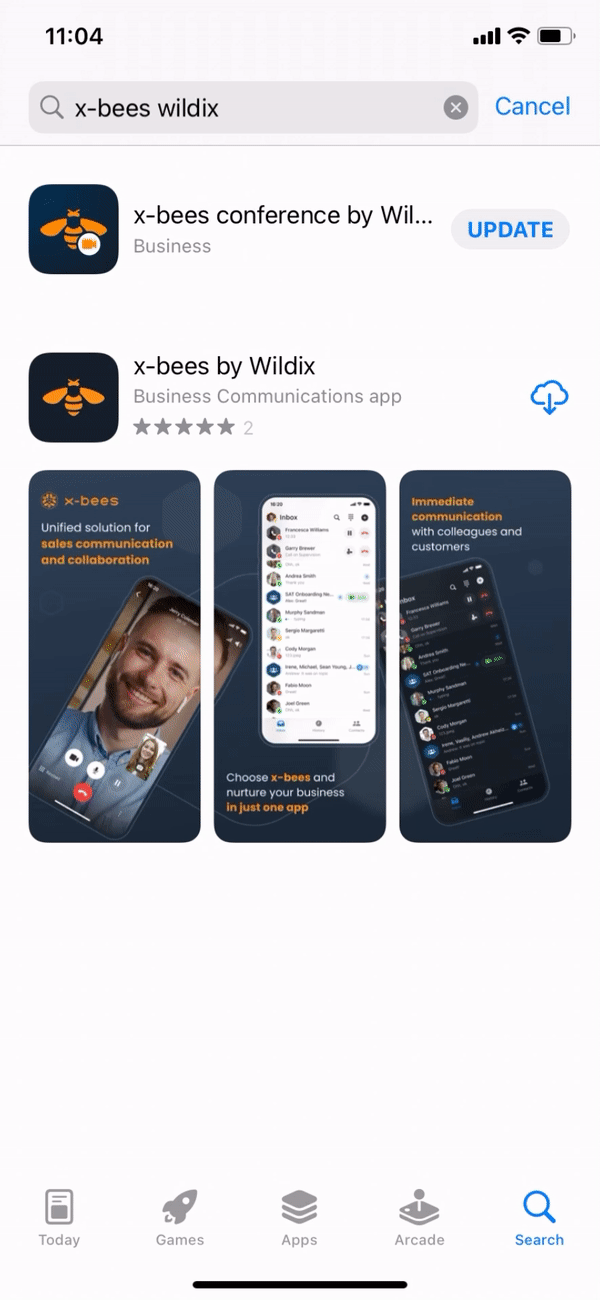
Download the x-bees app by Wildix from Apple Store or Google Play market.
Mobile apps requirements
- Android 9 or higher
- iOS 13.3 or higher
Notes:
- No way to send SMS messages and Faxes via x-bees
- No way to listen to Voicemails and Call recordings, but you receive a copy via email
- Access to the web version and mobile apps of x-bees is available starting from the
...
- x-bees-
...
- Basic license
Login
- Log in using Google or Microsoft SSO
Make sure you are connected to the Wildix PBX:
- Tap your user picture in the upper left-hand part of the screen
- Under Settings, tap Connect to Wildix PBX
- Make sure that the PBX domain name is entered into the field
| Note |
|---|
Note: if you are not sure, what your Wildix PBX domain is, please check with your system administrator. |
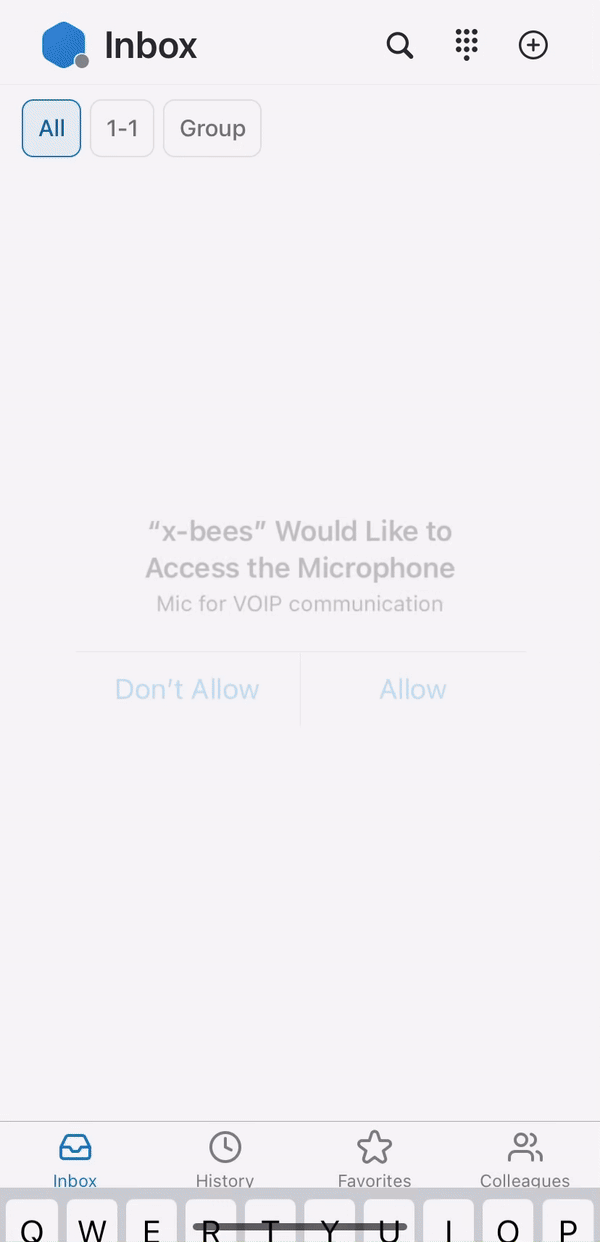
Upon first login, you are requested to provide necessary permissions, e.g. access to microphone, camera and allow notifications:
In case notifications are not allowed, after 2 days users are prompted to enable notification settings. If notifications remain disabled, there are subsequent reminders after 7 days and then every 14 days.
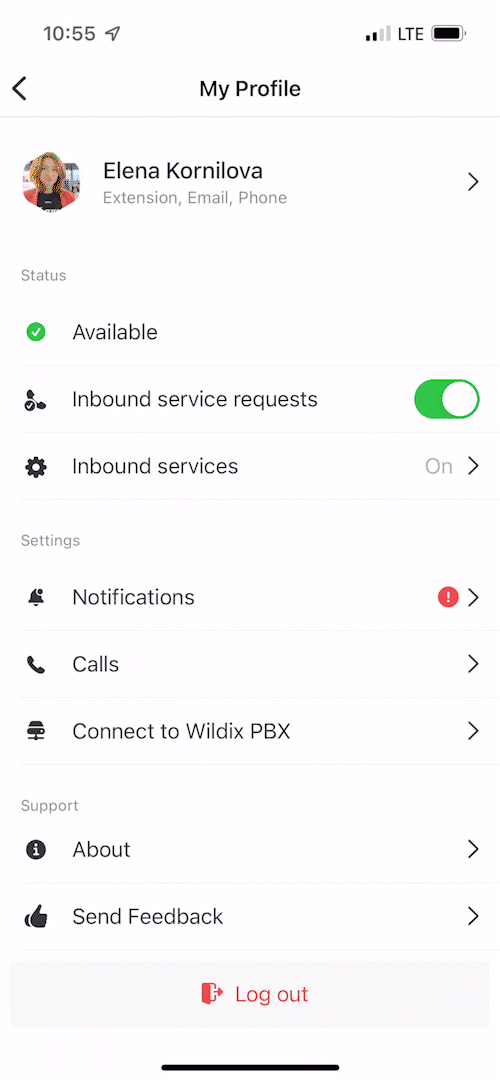
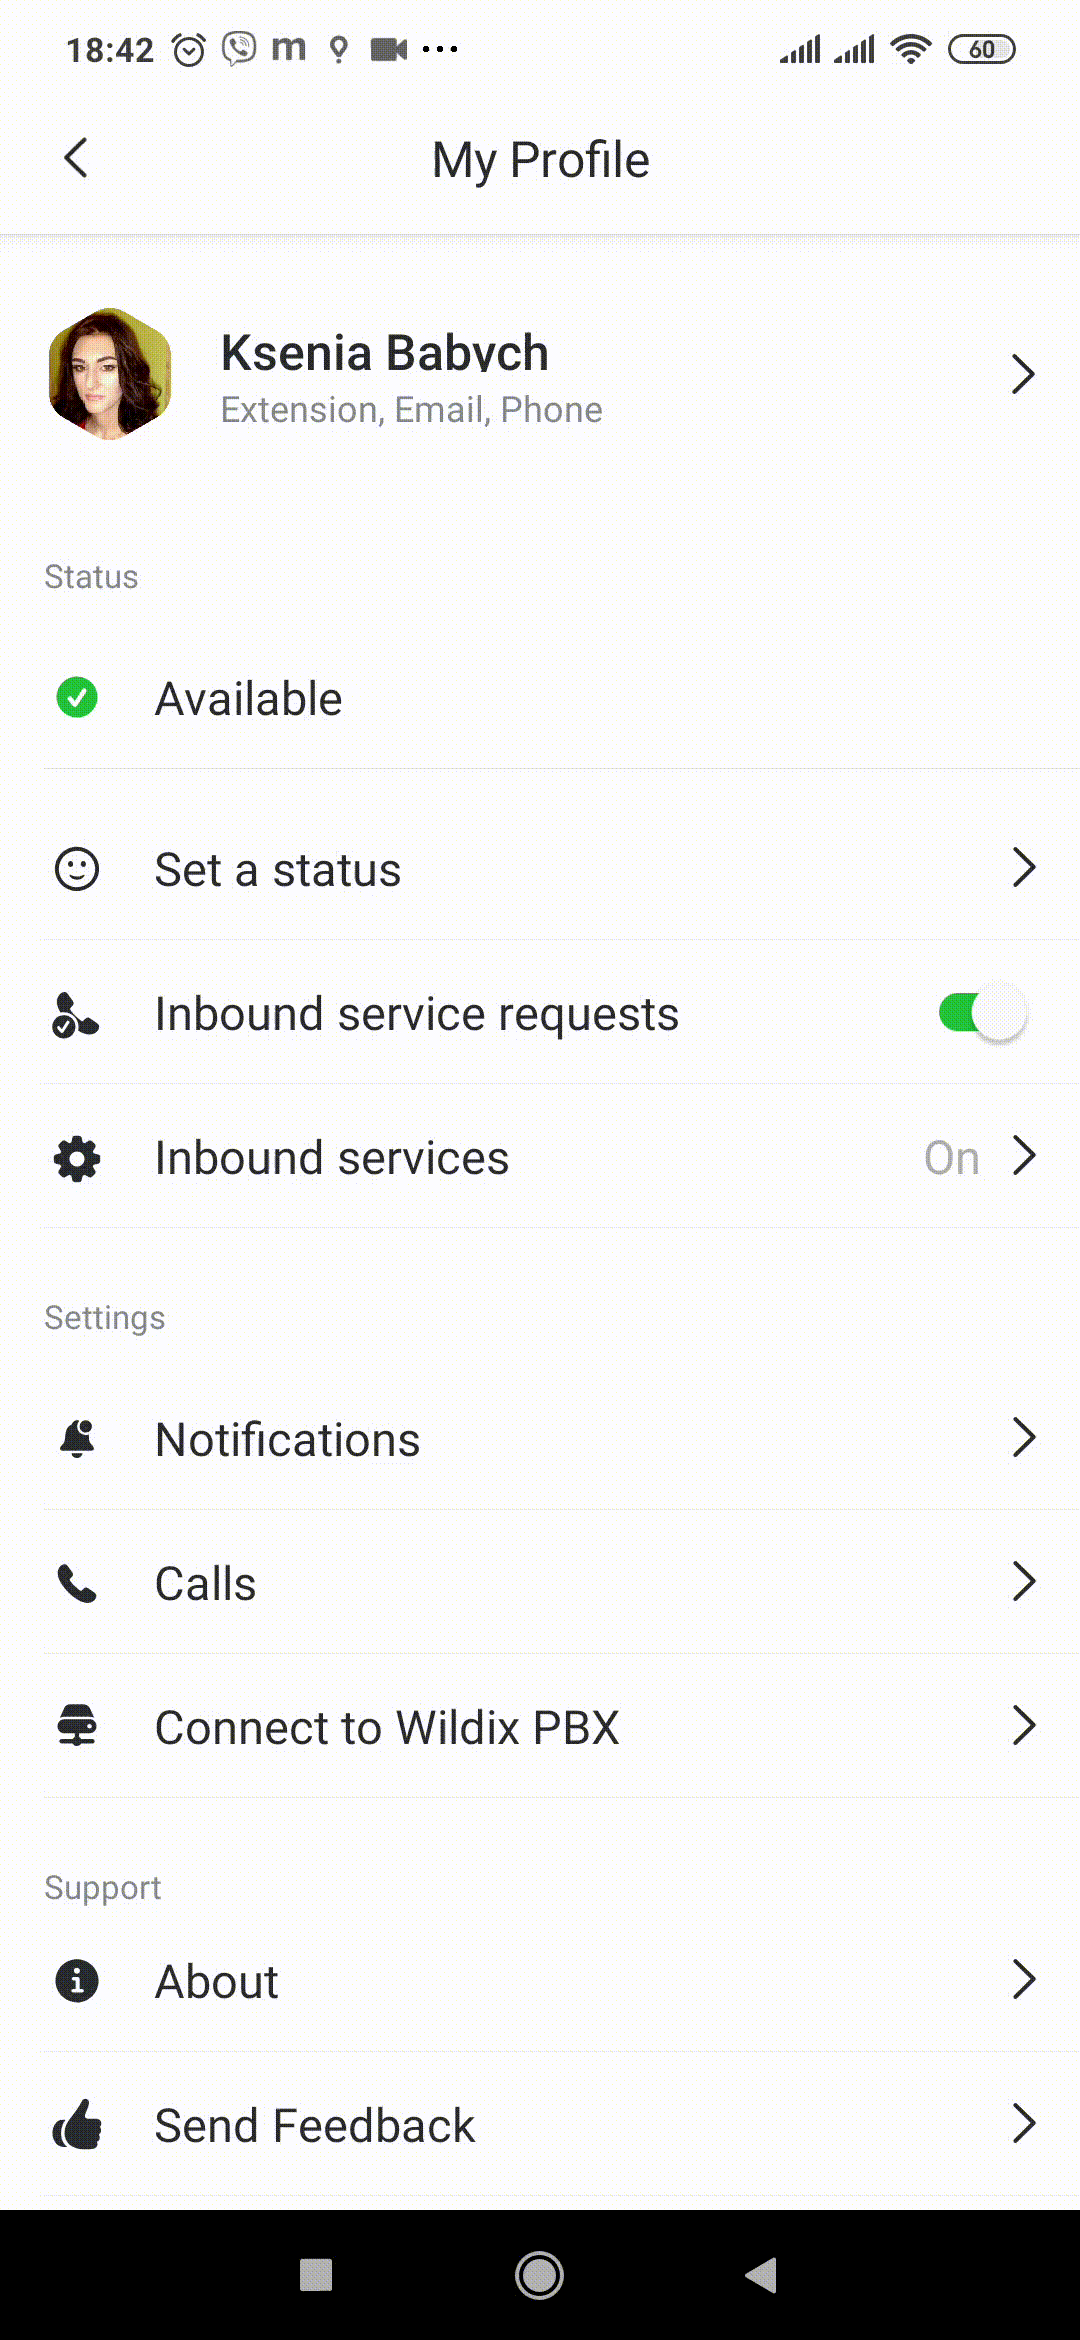
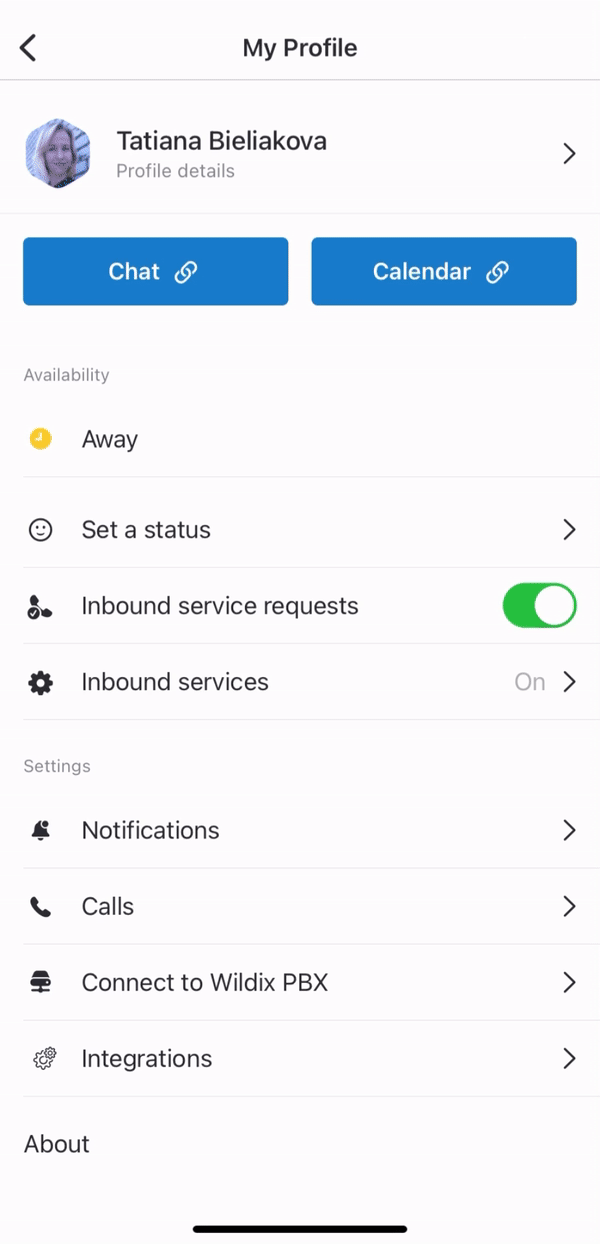
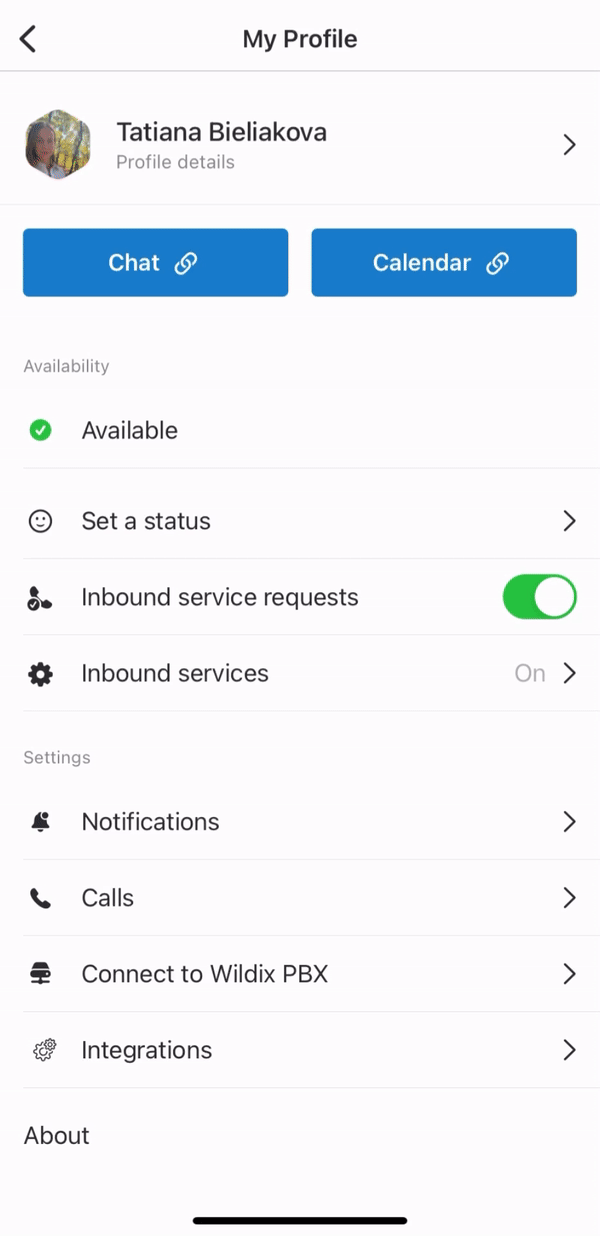
Settings
The Settings described below are available for the PBX users (for users connected to a Wildix PBX).
- Tap your user picture to access Settings
User Picture
- Tap your user picture to upload a new picture or use your camera to make a new one
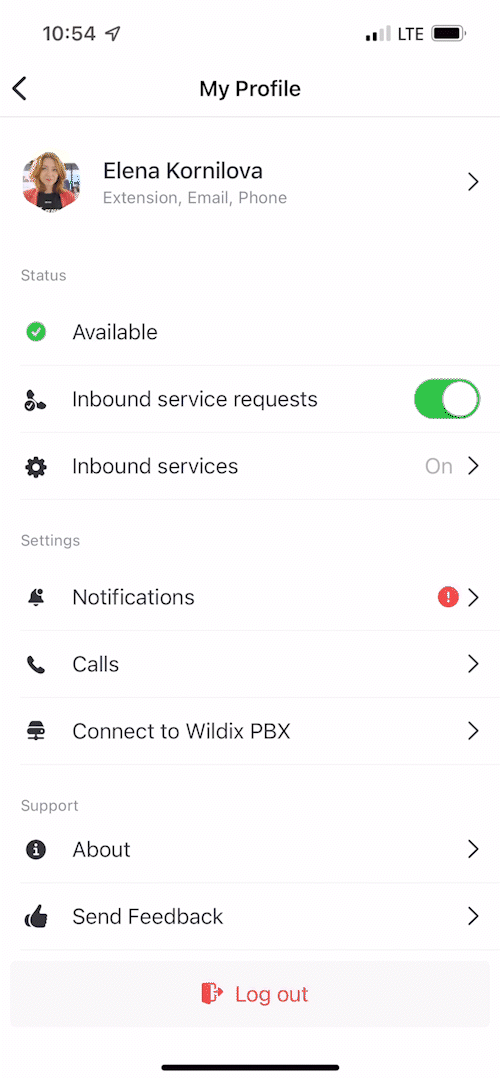
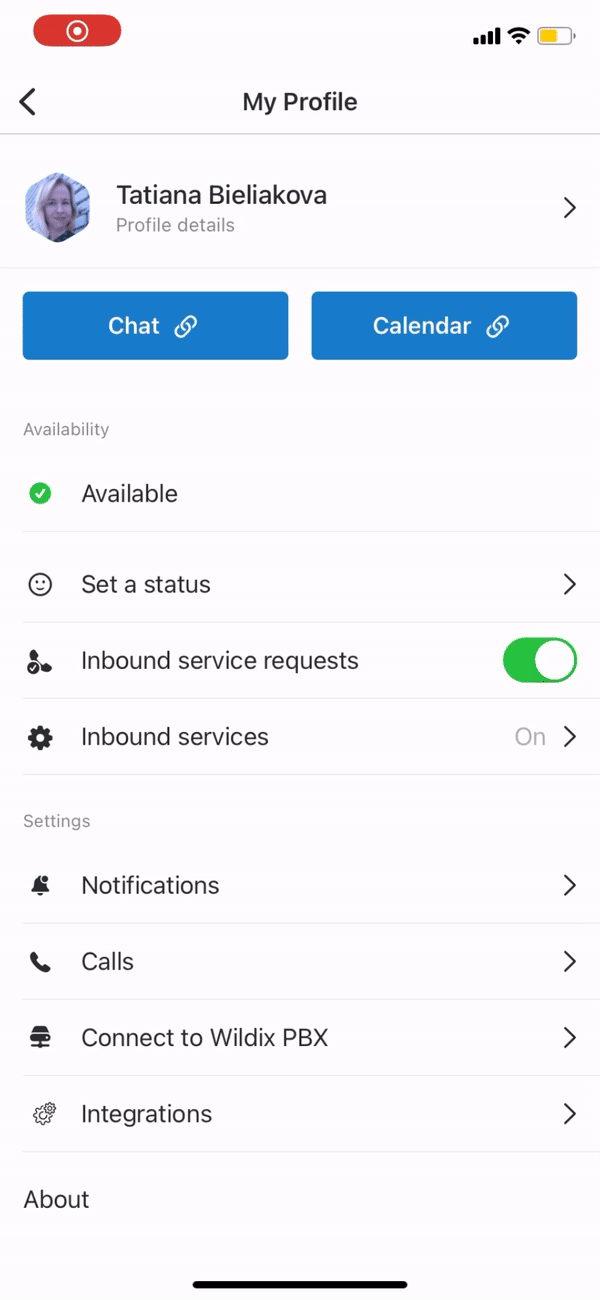
User Status and Status message
- Under Status, tap on your current user status (e.g. Available) and select a new one

- To set a status message, tap Set a status, indicate the message, select date and time to clear (optional) and tap Save
| Note |
|---|
Notes: The support starts from WMS 5.04.20220504 and higher
|
Notifications
| Anchor | ||||
|---|---|---|---|---|
|
- Under Settings, tap Notifications and enable notificationsnotifications for personal and group conversations.
- Note, that Web and Mobile notifications are managed separately and there is no sync between them; to enable notifications on Web, consult this chapter x-bees Web User Guide
Also, here you can manage notifications played when a conference starts. By default, it is enabled.
| Note |
|---|
Note: Make sure you have enabled Notifications for x-bees in your phone settings. |
...
Call forwarding settings
- Under Settings, tap Calls and set up call forwarding rules for every Call class
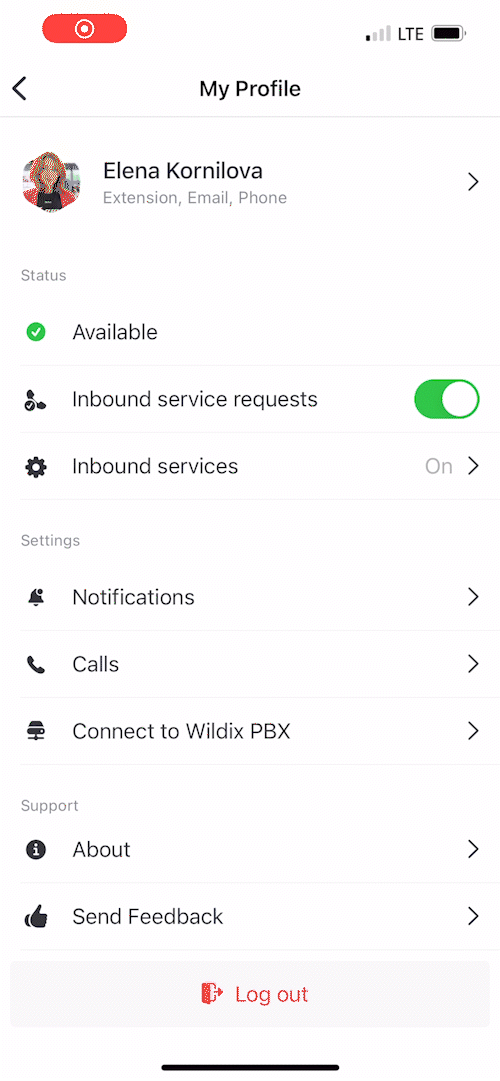
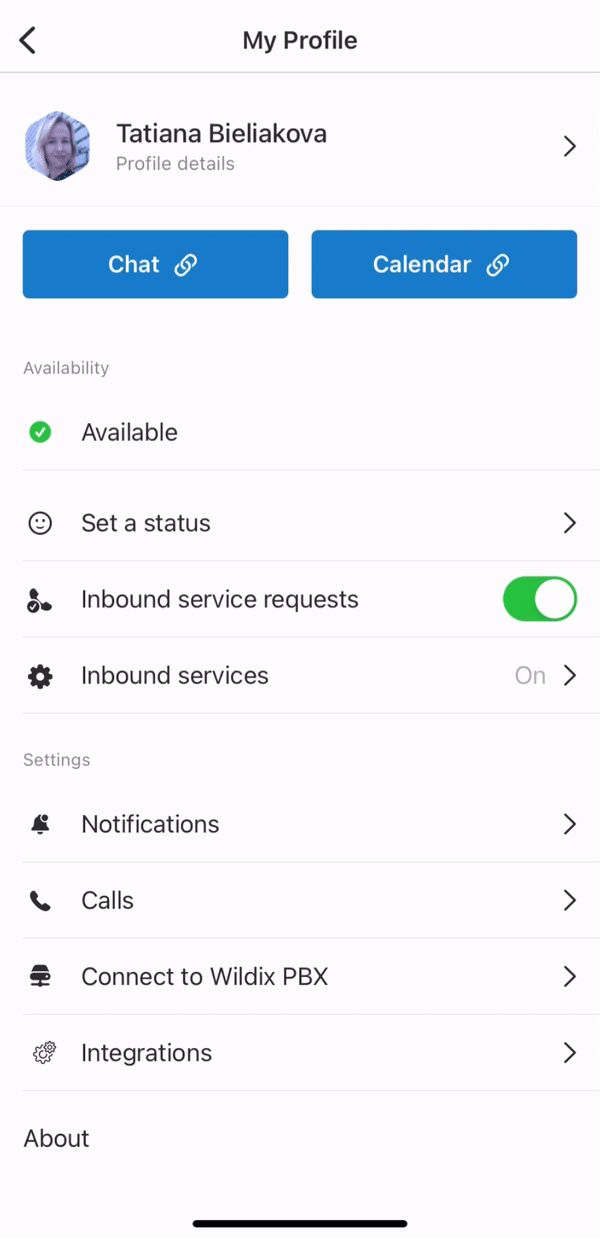
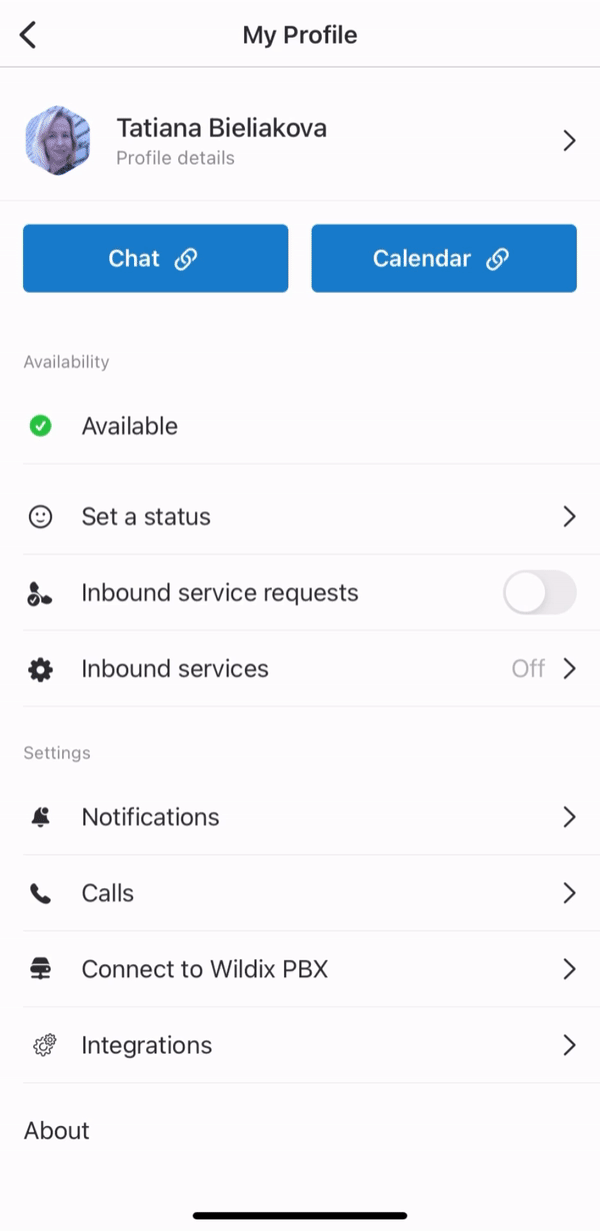
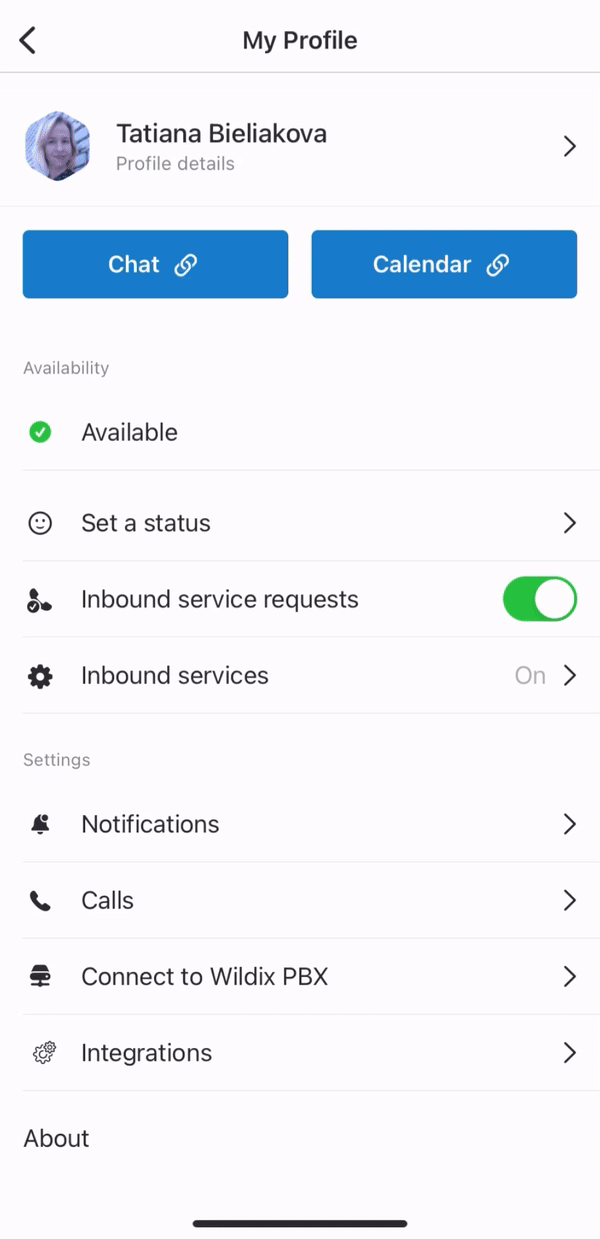
Inbound services ("Contact center")
The contact center feature present in Wildix Collaboration is available in x-bees and allows you to view the available services (call groups) and dynamically log in/ log out from them:
- Under Status, enable Inbound services
- Enable the switch next to Inbound service requests: the switch allows you to dynamically join the inbound services (call groups)
- Under Inbound services: enable those services (call groups from your PBX) that you would like to join as a call agent (in this menu you cannot change the status in services, to which you were added statically via WMS)
...
Integrations
On the Integrations screen, you can see the list of connected integrations and their status. Some integrations many need authorization. In this case, there is the button Activate in front of the relevant integrations. Integrations that are connected and do not require authorization are displayed as Active.
In case there is an integration that is not active for a user and requires authorisation, a notification pops up that leads to Settings -> Integrations tab, where the user can activate the integration. The notification is displayed when opening Info frame with inactive integrations or when using the search.
If you do not want the notifications to be displayed, in Settings -> Integrations, disable the option Allow notifications:
For more details, check out the documentation: How to manage iFrame integrations in x-bees
Check the current version
- Under Support, tap About

Feedback
You are invited to send us feedback, provide suggestions and report problems!
- Under Support, tap Send Feedback

Logout
- From the Inbox, tap on your user picture in the upper left-hand part of the screen, then tap Log out
Conversations
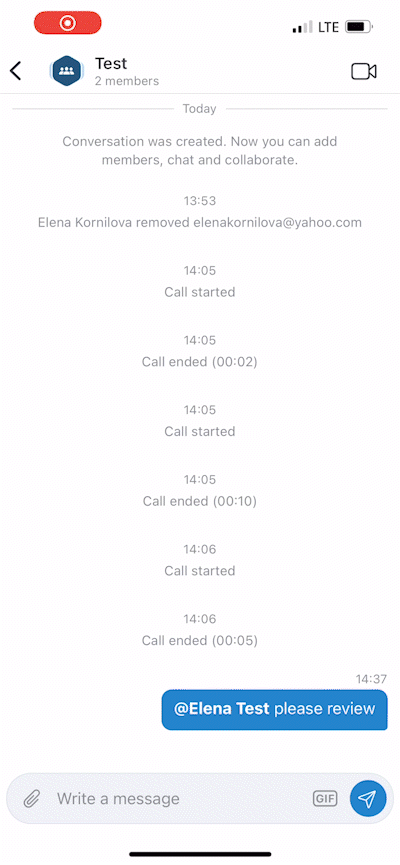
Same as with the web version, you can participate in one-on-one chats and in group conversations with your colleagues and external people.
Group conversations
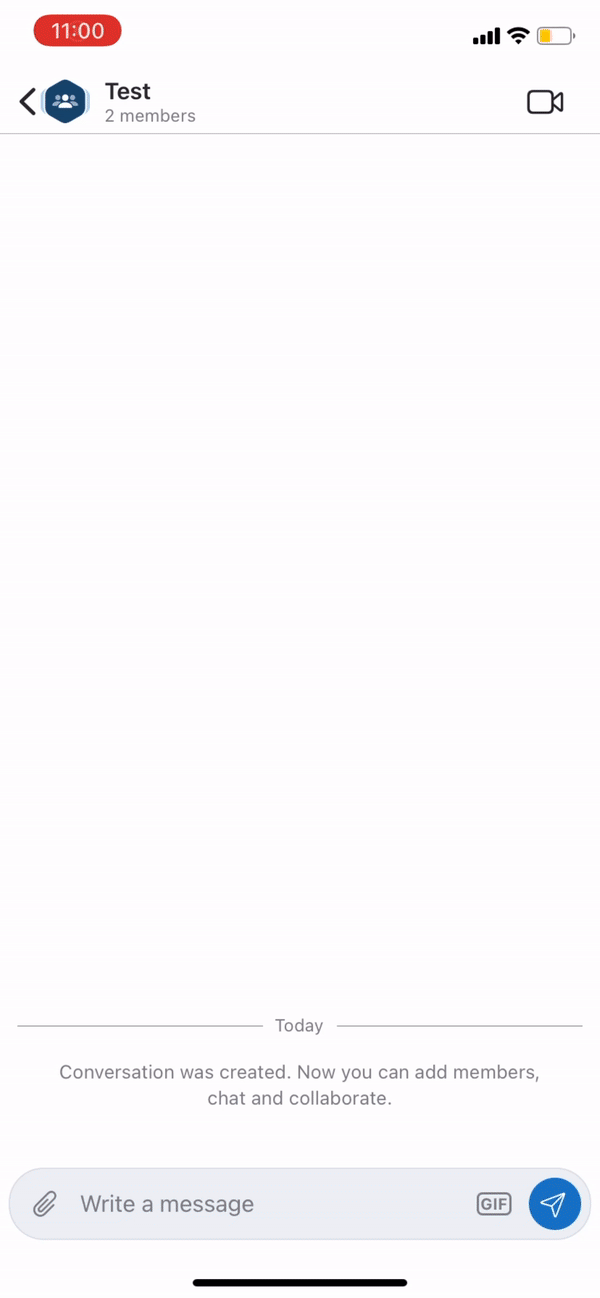
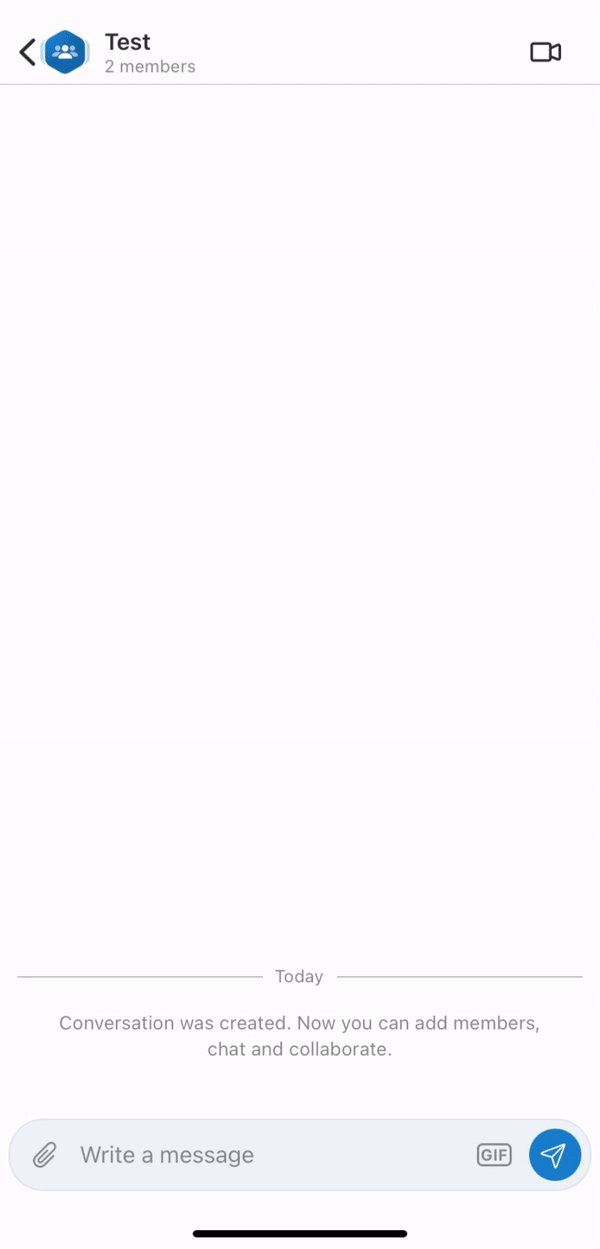
Create a new conversation
- From the Inbox top panel, tap +. The New Conversation Create conversation screen opens
- Enter conversation name and description (optional)
- If you want to make the conversation available by link, enable the toggle in front of Available by link option
- Tap Next
- Add participants and tap Next Create
- You can add PBX users, Phonebook contacts, email addresses
- Give your conversation a title and tap Create
...
If you want external users in the conversation to have read-only access to it, turn the toggle on in front of the Read only conversation option. External members in read-only conversation can view messages, add reactions, add new members to the conversation, but cannot send messages.
Manage a conversation
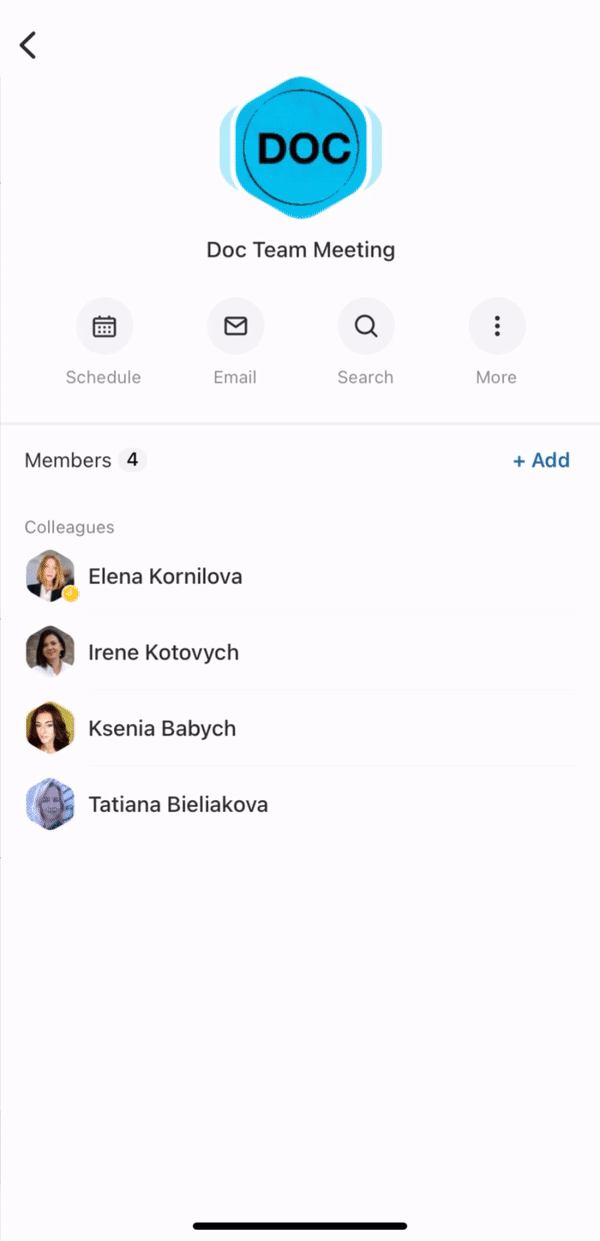
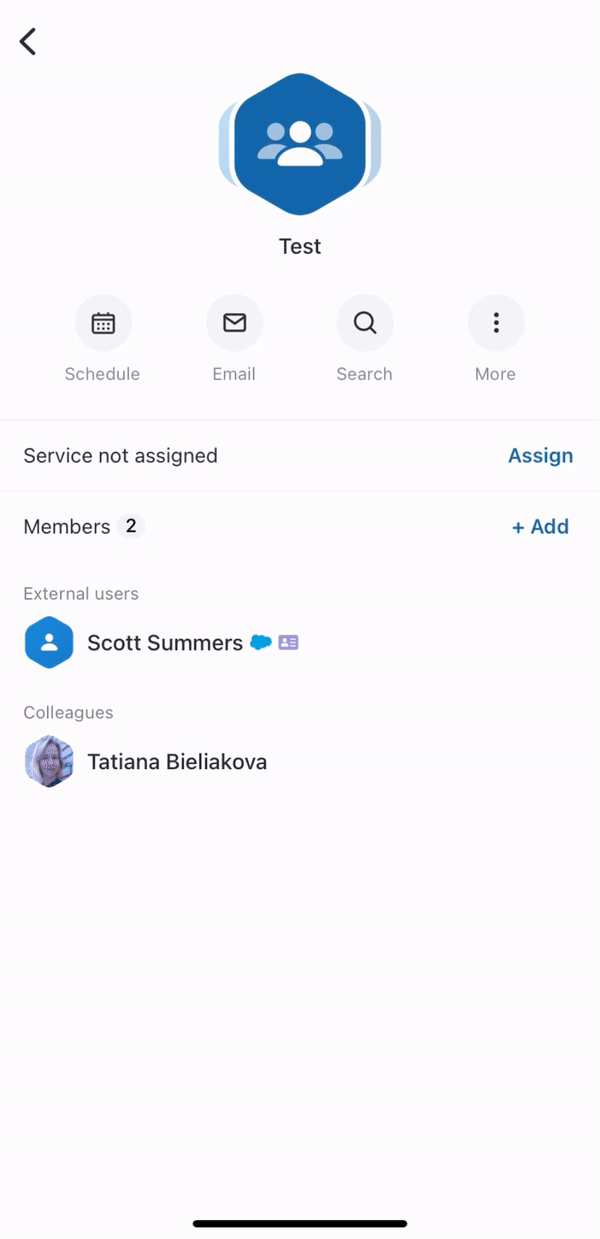
Inside a conversation, tap on the picture next to its title. The Info screen opens, allowing you to:
- Mute the conversation for a period of time Schedule: calendar opens enabling you to schedule a conference in the participants' calendars
- Email: your email client opens enabling you to send a customized email invitation to all the members
- Search: search field opens letting you search through the conversation
- Add more participants
- Leave the conversation

Tap on a participant to:
- View profile
- Send message
- Delete member
When you tap View profile, you get the following options:
- Call the participant
- Start a conference
- Send a private message
- Schedule event
- Send email invitation
- Delete member
...
In case of a Salesforce/ HubSpot contact, you also have the following options:
- Open the contact in Salesforce/ HubSpot
- Create Task
- Log Activity
- Create a new lead (via Wrong match? button)
Tap More (three dots) to:
- Turn off notifications: lets you mute conversation for a period of time
- Edit the title title and description of the conversation
- Leave conversation
- Send email invitations to all the participants
- Schedule an event in their calendars

Conversations with external users
For managing conversations with external users, see the documentation: How to manage conversations and meetings with external users.
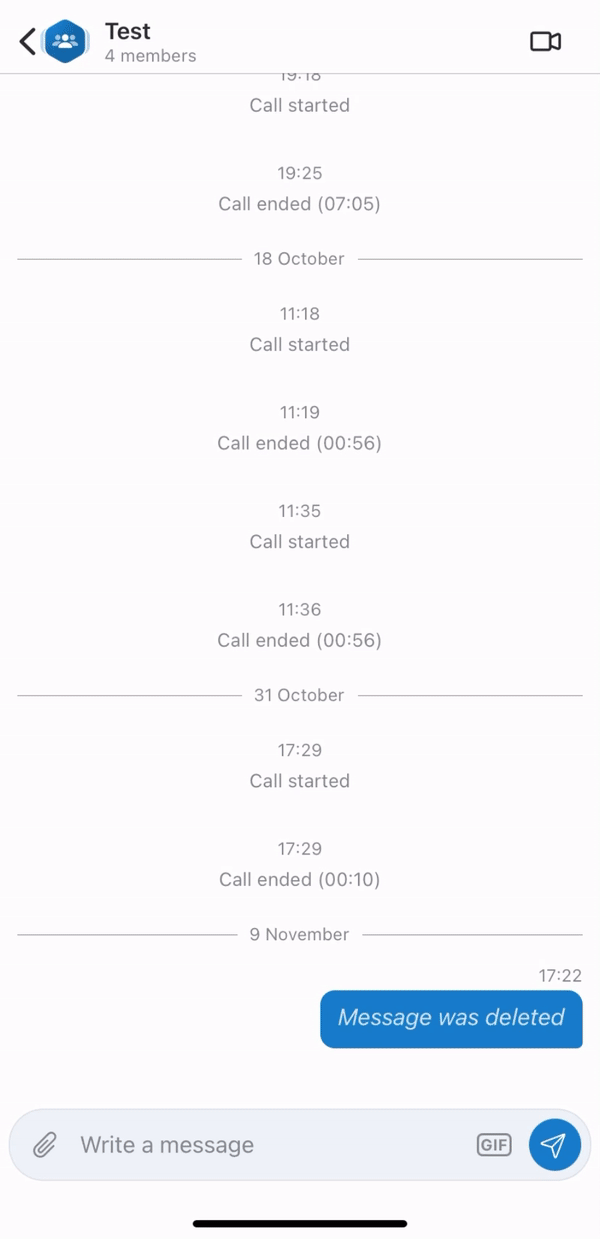
Start a conference or schedule an event
| Warning |
|---|
Important: participation in a video conference on the x-bees mobile app requires x-bees conference mobile app. Download the x-bees conference mobile app for:
|
...
- Inside a conversation tap on the picture next to its title
- Tap More (three dots) and tap Schedule event Schedule
- Make sure you select the correct calendar when scheduling an event from the mobile app

.gif?version=1&modificationDate=1676544044434&cacheVersion=1&api=v2&width=180)
One-on-one conversations
You can start a one-on-one conversation (chat) with any match found in the Search field. It can be a colleague, a phonebook contact, or any external person present in your conversations.
...
- From the Inbox, tap on the Search icon from the upper right-hand part of the screen to open the Search field
- Type a name or a phone number to view matches, tap on the match to start a chat

Start a chat with an external person present in your conversations:
- From the conversation, tap on the picture next to its title to open the Info screen
- Tap on the person and tap Send message

Conversations features: reactions, quote, forward, edit, delete, tagging, file sharing
The features described below are available both in one-on-one and in group conversations.
...
- Leave a reaction
- Quote: respond to a particular message
- Forward: forward a message to another conversation (when forwarding a message, 10 most recent conversations are displayed as initial search results)
- Copy: copy a message
- Edit: edit your message (available only for your messages)
- Delete: delete your message (available only for your messages)
...
Send one more multiple files: tap on the paper clip icon from the input field to add your files
...
Archive or leave a conversation
- From the Inbox: tap and hold a particular conversation, then tap Hide or Archive or tap Leave conversation
...
You can also access the menu by swiping the necessary conversation to the left:
Conversation tabs
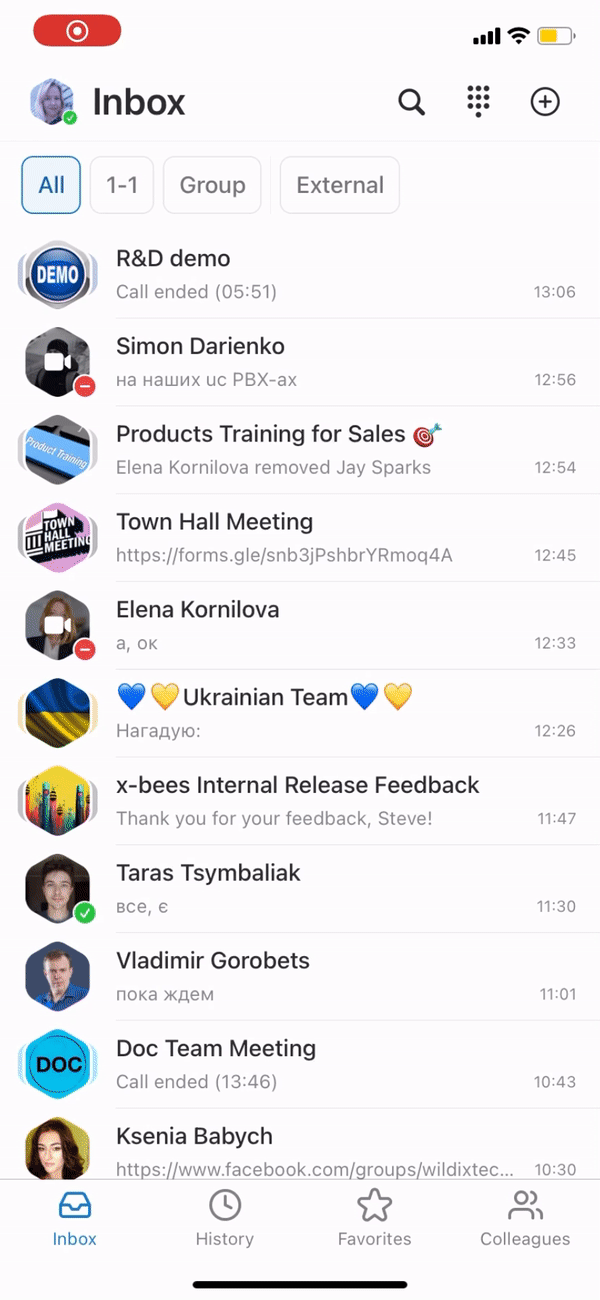
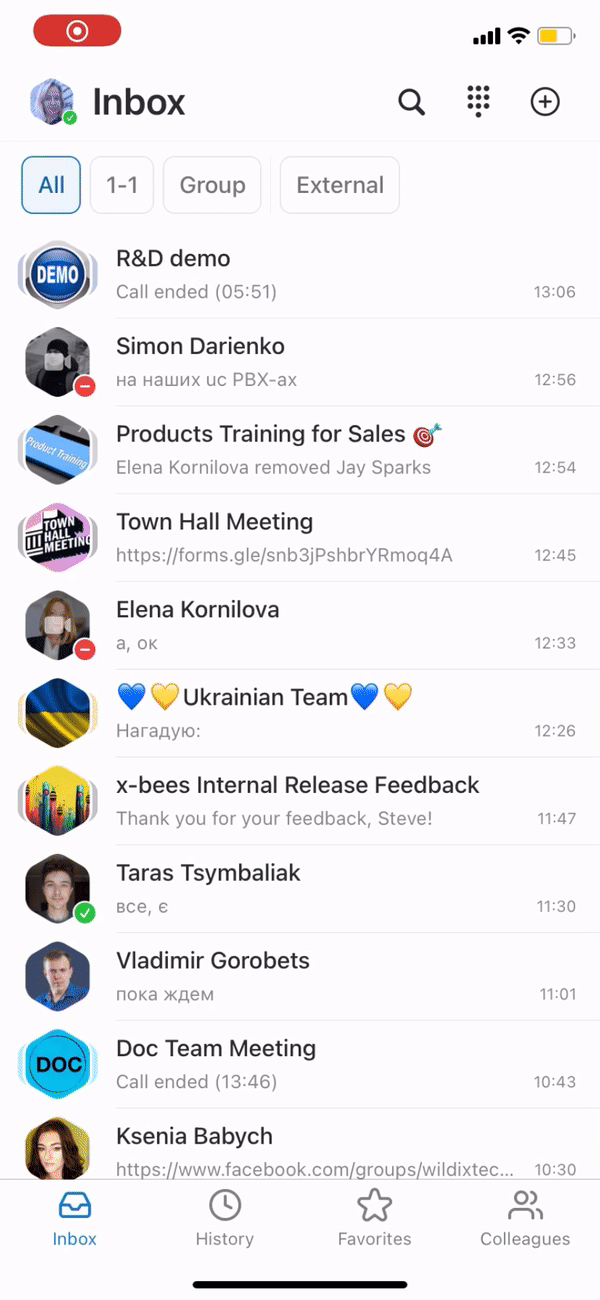
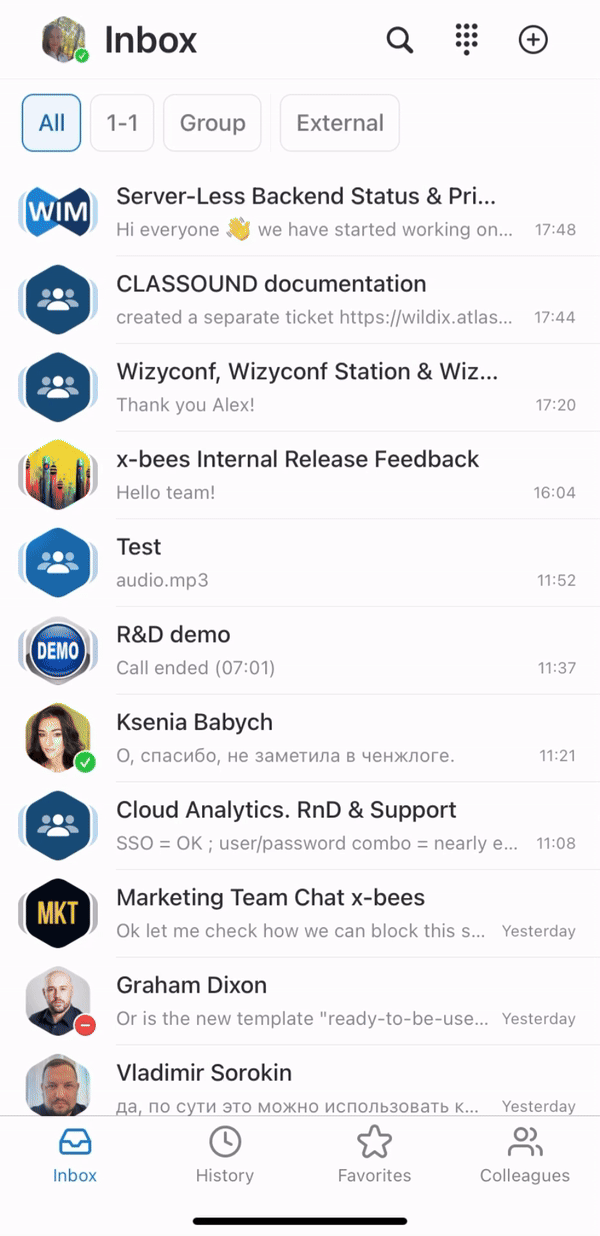
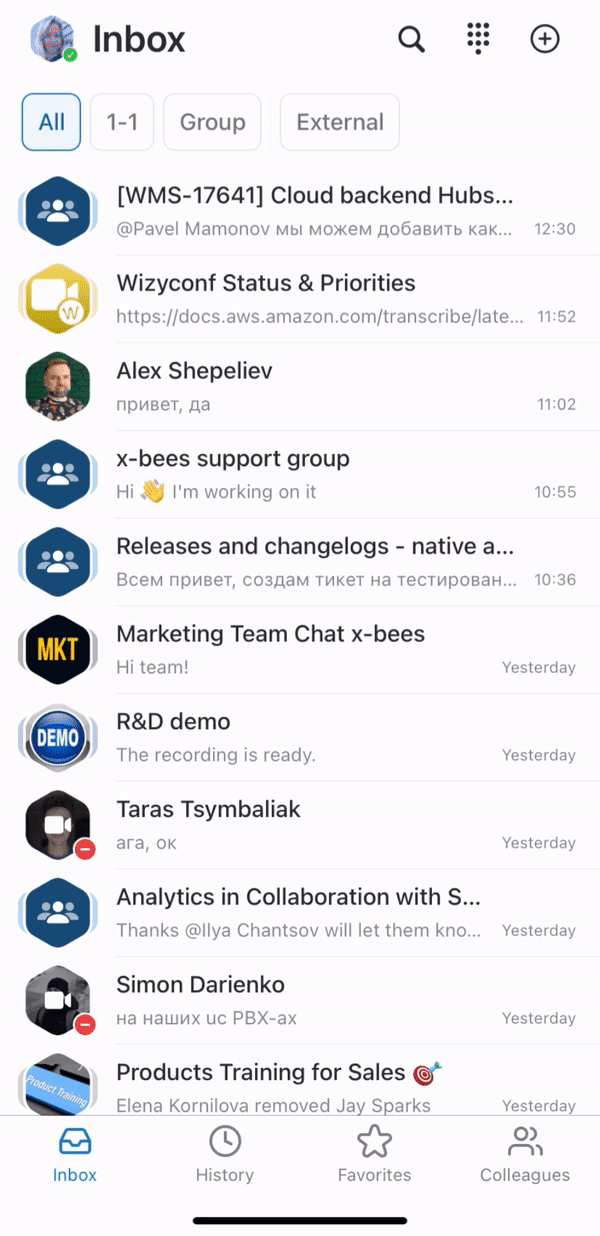
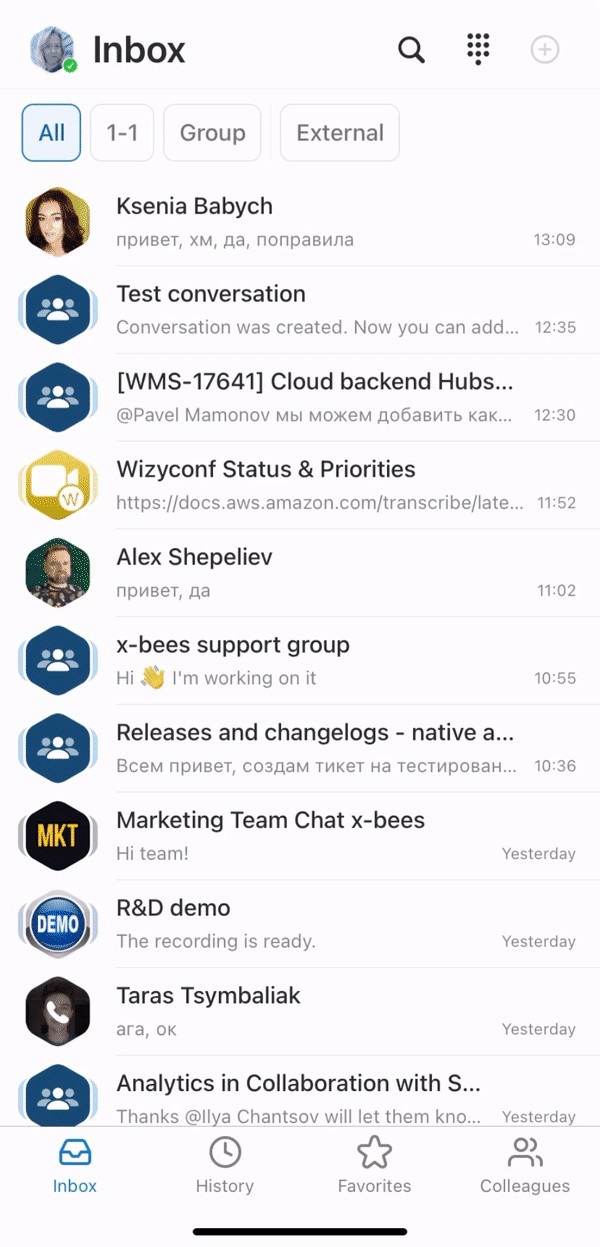
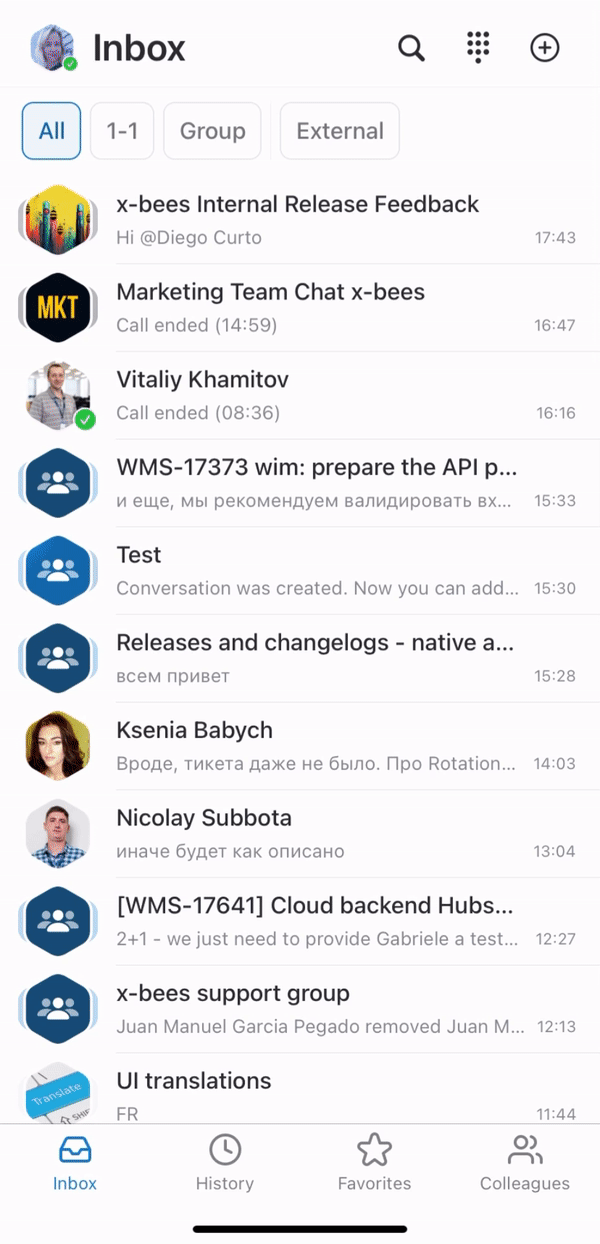
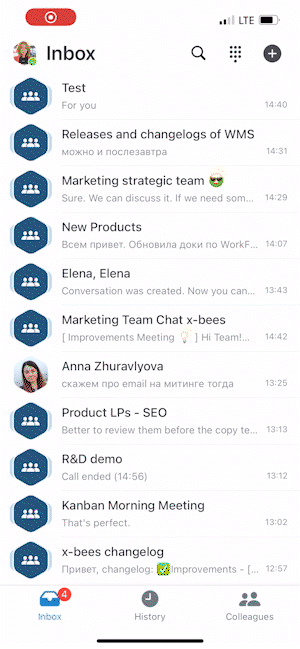
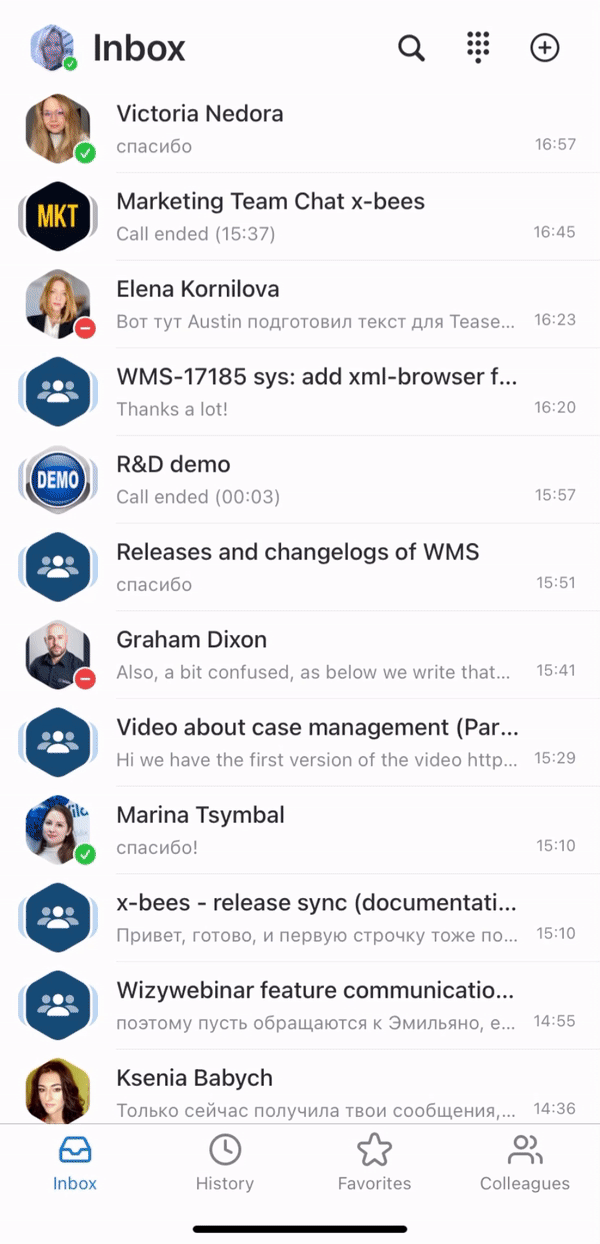
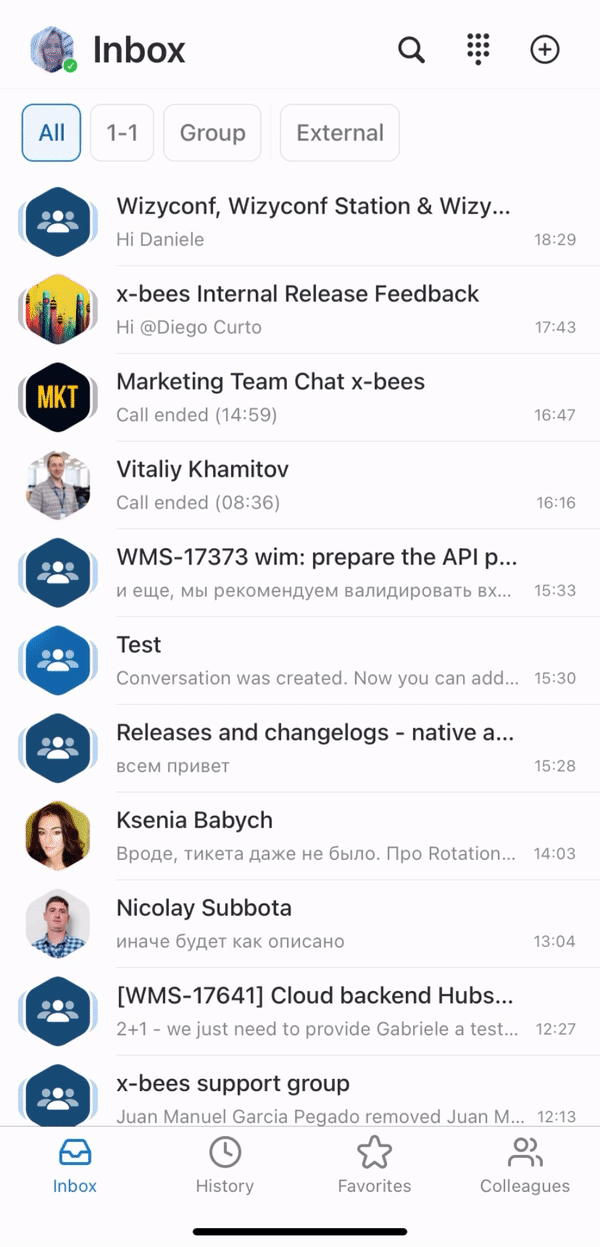
Conversations on the Inbox page in x-bees are split by the following tabs:
- All: displays all available conversations
- 1-1: displays one-on-one conversations with internal users
- Group: displays group conversations with internal users
- External: includes both one-on-one and group conversations with external users
The number next to the tab name (for the tabs 1-1, Group, External) corresponds to the number of unread messages in conversations of the relevant tab.
On the All tab, there is no unread message counter - the total number of unread messages is displayed on the Inbox as before. When the new message is received, the counter gets active (blue). In case the tab was opened, but all new messages were not read, the counter becomes grey.
Calls
You can dial any internal or external number. You can search your Colleagues directory and your shared Phonebooks contacts.
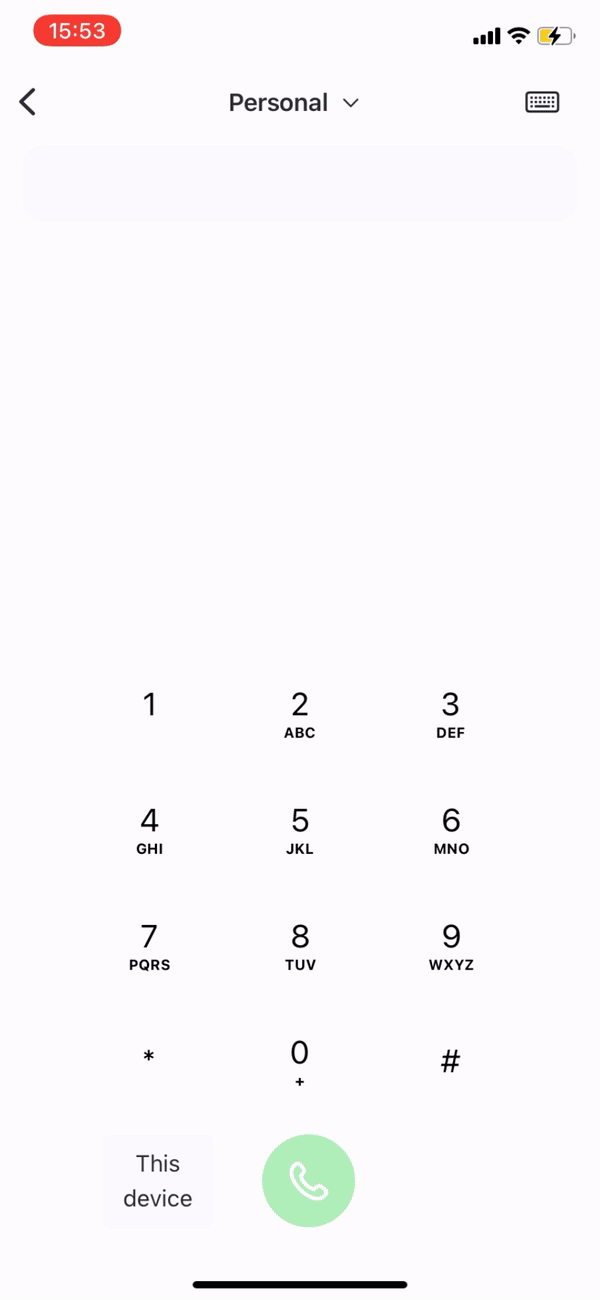
Start a call from Dialpad
- From the Inbox, tap on the Dialpad icon from the upper right-hand part of the screen
- Type a name or a phone number to see the matches from the Colleagues directory or Phonebook contacts; otherwise, type an external number into the field
Make sure you use the preferred mode to generate a call:
- VoIPThis device: generates a call via the Wildix PBX on the current device.
- Note: You can also choose another device registered to your account, including Web x-bees, hardware phones (WP, W-AIR), W-AIR Headsets. Outgoing and incoming calls are received on the selected device, until another device is chosen.
- Callback: you instantly receive a callback to your mobile number from the Wildix PBX and then the outbound call to the destination is generated
- Mobile: generates a call via your mobile phone using your SIM card operator
Selecting Caller ID for outbound calls
...
- Open the Dialpad and click on the drop-down list at the top
Select the service (Call group) and make a call
The call is performed using CID for outbound calls of the selected Call group.
By default, the option “Personal” is displayed.
Call from Conversation
The Call option is only available in one-on-one conversations with other PBX users:
- Tap the Handset icon from the upper right-hand part of the conversation
...
Call from Favorites tab
| Note |
|---|
Note:
|
1. Click on the Favorites tab
2. Tap the function key you want to call
3. Select the Call option from the drop-down list:
| Note |
|---|
Note: function keys also allow you to monitor statuses, pick up calls, change statuses of trunks, timetables and switches, send DTMF etc. Check "Appendix 1: Monitoring of colleagues and features with Function keys" at the end of this guide for more information. |
Manage calls
| Note |
|---|
Note: Call recording is currently available only via the Feature code (*1 by default). |
...
Switch active device: tap the handset icon from the Inbox or from the Active call screen to continue it on the mobile app:

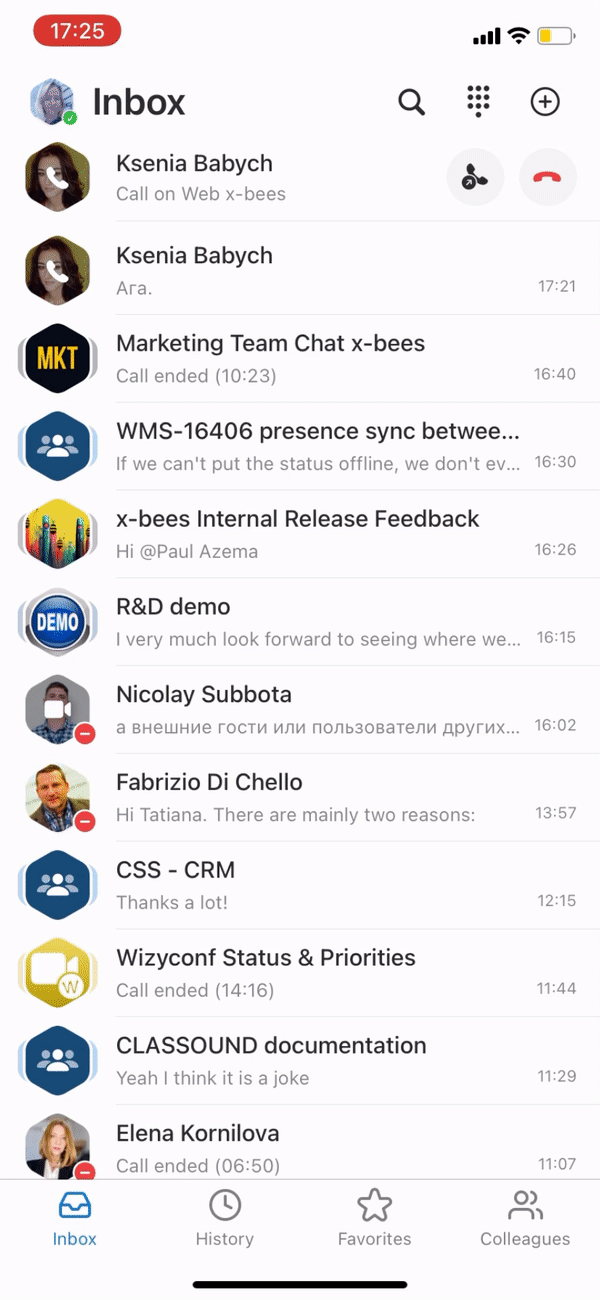
From the Active call screen, the following options are available:
- Send DTMF
- Start/ stop video
- Mute/ unmute
- Hold/ resume
- End Transfer a call
- Transfer End a call


Clicking on the three dots icon in the bottom right corner of the screen, you also get the following options:
- Start/ stop video
- Start/ stop recording

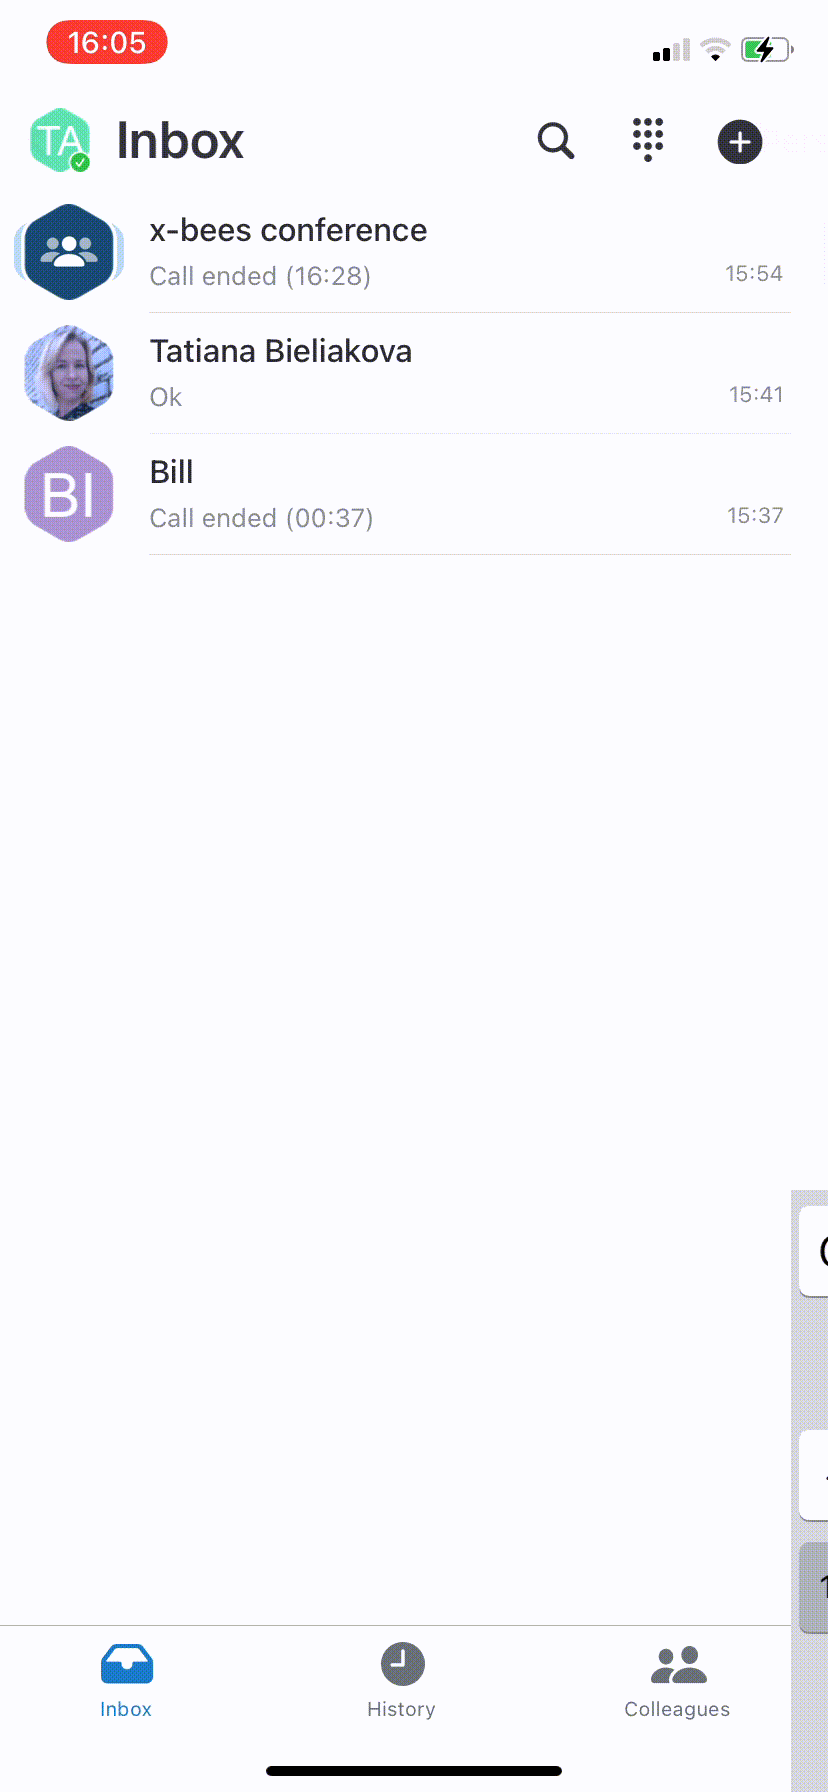
History
Notes:
- Currently there's no ability to filter events in call history by All and Missed
- Currently there's no ability to listen to your Voicemails. You receive a copy of your Voicemails to email and you can use the feature code to listen to them (81 by default)
Tap on a call to:
- see the details (duration)
- call
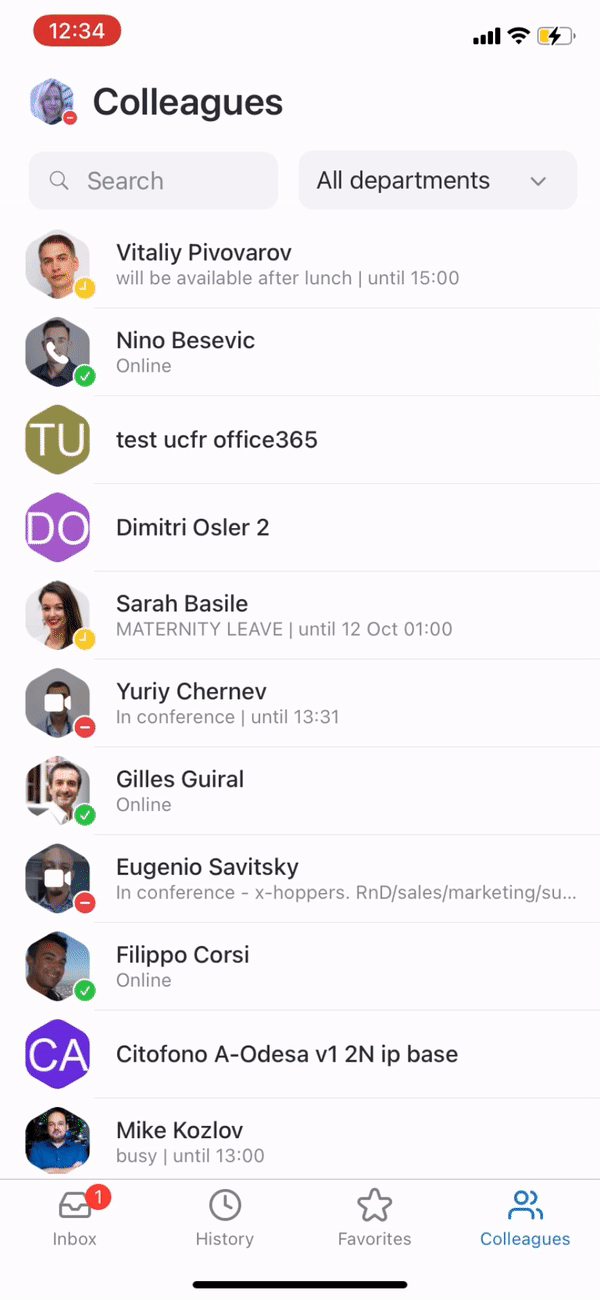
Colleagues
The tab displays the list of your colleagues split by departments and lets you monitor colleagues presence and status, see who's in a call or a conference, start a call, conversation, send email, etc.
When you open the Colleagues tab, you can see colleagues of All departments by default. Tap All departments if you want to choose another department. Also, you can use the Search field to look for the necessary colleague:
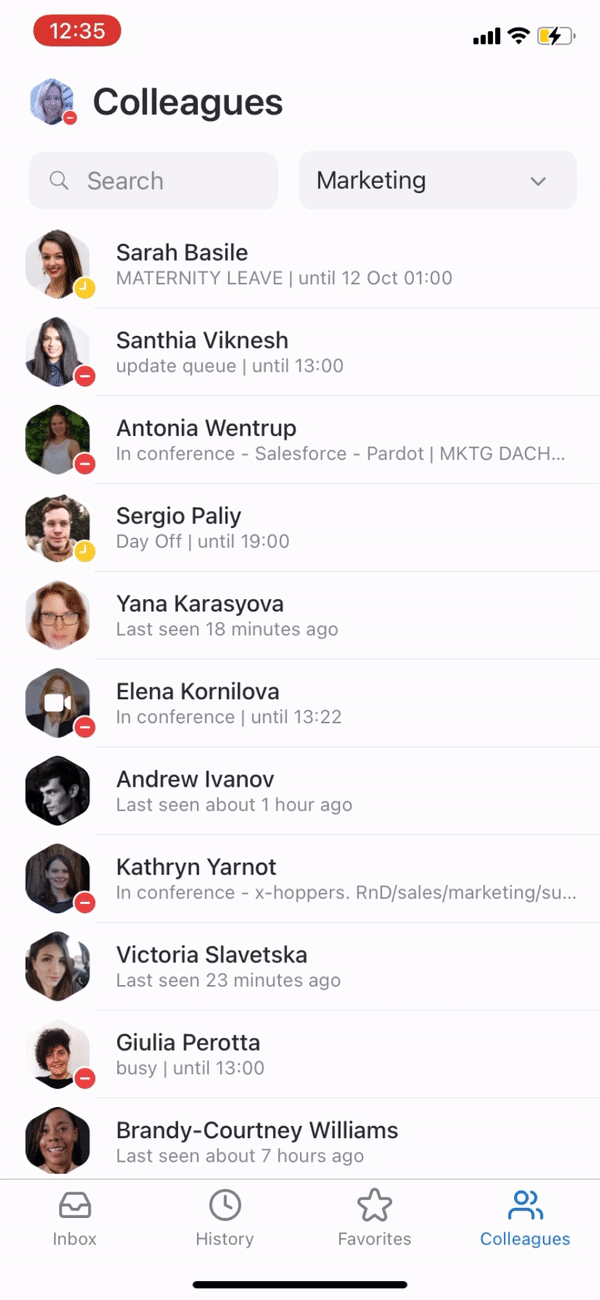
When a colleague is having a call, you can see the following options besides chat, email and call options:
- Listen: implies silent intrusion
- Barge: call intrusion
- Whisper: partial intrusion
Share items to x-bees
Starting from iOS app v. 1.17.1.120512 and Android app v. 1.17.1.120512, it is possible to share items (e.g. images, files)
...
to x-bees:

| Note |
|---|
Note: The maximum number of files that can be shared to x-bees at a time is 10. |
Appendix 1: Monitoring of colleagues and features with Function keys
Starting from from x-bees Web 1.25.1.486488 and iOS 1.25.1.136813 / Android 1.25.1.136813, there is Favorites tab with Function keys (configured via x-bees web version), that allow to monitor colleagues and other features. See the list of function keys below:
Colleague
Monitor status (ringing/in call; dnd/away)
Call (tap the function key and select Call)
Chat (tap the function key to open conversation)
Note Current limitation: Redirect to the conversation from "Colleagues" screen is performed only after an additional tap on a screen
- Email (tap the function key to open email client)
Call pickup (tap the function key while the status is “ringing” and select Pickup)
When Colleague is having an active call, you can see the following options:
- Listen: implies silent intrusion
- Barge: call intrusion
- Whisper: partial intrusion
- Park Location
- Pickup to resume a call
- Pickup to resume a call
Speed Dial
Call number configured as speed dial
Timetable / Switch / 3 state switch
Monitor status (green/yellow/red)
Change status (tap the function key and select Call)
Group Pick up
Pickup a ringing call of user belonging to your ACL group on the same PBX
Call group
Monitor status (red=incoming call; green=idle)
Call a call group (tap the element and select Call)
Pickup a ringing call (tap the function key and select Pickup if red)
Send DTMF
| Macrosuite divider macro | ||||||||||||||||||||||||||
|---|---|---|---|---|---|---|---|---|---|---|---|---|---|---|---|---|---|---|---|---|---|---|---|---|---|---|
|
...