| Scroll export button | ||||||||
|---|---|---|---|---|---|---|---|---|
|
...
- Click on + from the top panel
Enter conversation name and description (optional) and click Next:
If you want external users in the conversation to have read-only access to it, turn the toggle on in front of the Read only conversation option. External members in read-only conversation can view messages, add reactions, but cannot send messages, view the list of members or who sent message reactions.
If you want the conversation to be available by link, turn the toggle on in front of Available by link option:Note Note: Conversations created by external users (e.g via Meeting Scheduler) are available by link by default.
When conversation is available by link, the relevant link icon is displayed next to conversation name on the Info frame. Clicking on the icon and sending the URL to other users, you can invite them to the conversation:
- Add participants and click Invite and create:
You can add PBX users, Salesforce or HubSpot leads and contacts, Phonebook contacts, email addresses
Note Note:
- The maximum number of users that can be added to a conversation is 1000.
- Participant should have an email address to be added to a conversation.
When conversation is created, the system message displays who created the conversation:
...
- Open Conversation Info and hover mouse over the conversation avatar
- Drag and drop a picture or click Select image button and upload the picture
- Crop and scale the uploaded image and click Apply
- The uploaded image is displayed as conversation avatar
Replace conversation picture
...
- Click on the existing conversation picture -> press the button Upload image and upload a new picture
- Alternatively, you can click View image
- And on the View image screen, click Replace
Delete conversation picture
...
- Click on the conversation picture Delete image
- A screen informing that after image deletion your conversation avatar will be returned to the default one. Confirm deletion by clicking Delete
...
When a Guest User schedules a meeting, a dedicated conversation is automatically created:
The conversation can also be assigned to a particular agent of a Service (Call group). Service is determined automatically. You can assign a conversation to yourself or any other agent.
To assign the conversation to yourself, click Assign to me:
To assign conversation to another agent, select service and choose an agent from the Assignee drop-down list:
| Note |
|---|
Note:
Limitation:
|
When a guest user clicks the Start new conversation button via the Meeting Scheduler or your Chat link, x-bees looks up if the guest had a conversation with the same agent before – if positive, the communication continues in the same channel.
...
The logic of sending email notifications is the following:
- In case a user doesn’t read x-bees conversations with new messages, there are maximum 3 emails a day with such intervals:
- 1st email is sent within 5 minutes after receiving the message
- 2nd and 3rd one – with intervals of 4 hours.
- In case a user reads new messages in all x-bees conversations, the timer is reset and there is a 5-minute gap (instead of 4 hours) between receiving a new message and getting email notification. In this case, user can receive more than 3 emails a day.
During the intervals, unread messages are accumulated and sent in one batch.
...
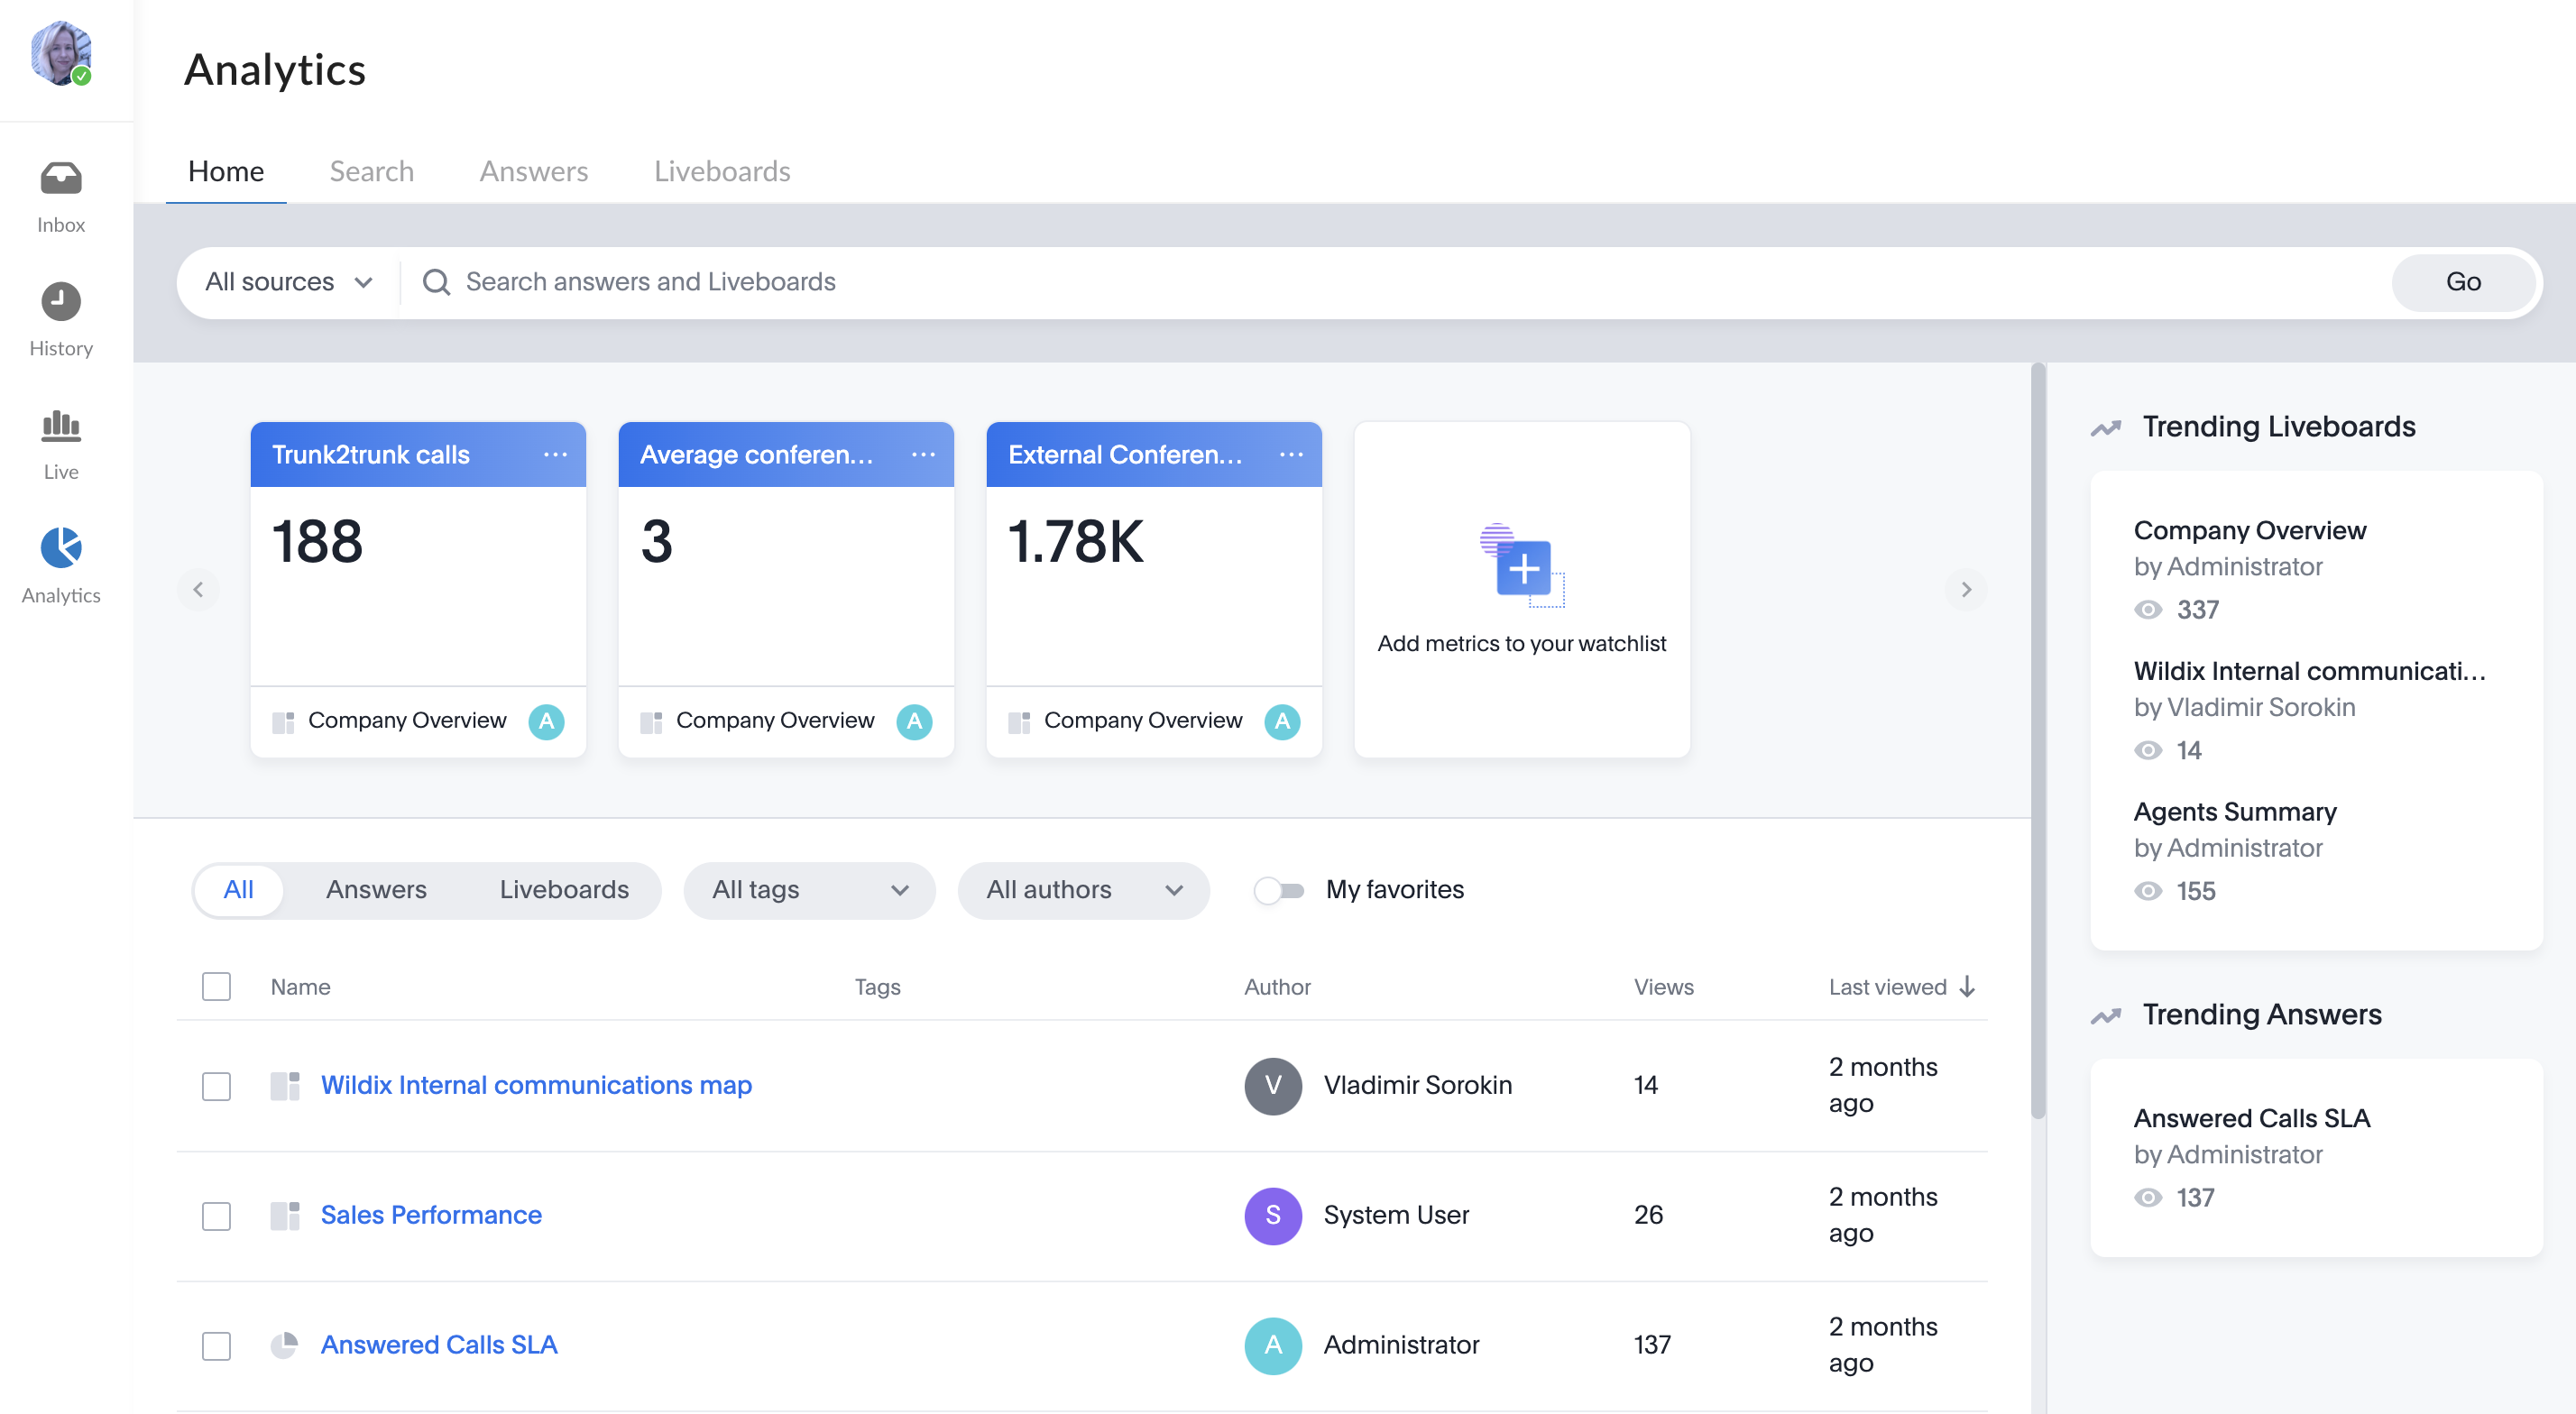
x-bees Analytics is an advanced analytics tool which lets to monitor any data you need in a highly customizable manner.
See more in documentation: x-bees Analytics.
x-bees Chrome Extension
| Anchor | ||||
|---|---|---|---|---|
|
...


