| Scroll export button | ||||||||
|---|---|---|---|---|---|---|---|---|
|
| Info |
|---|
This guide will lead you through the process of PieSync synchronization usage, starting from a Softphone installation and activation, and ending with practical examples for call receiving. Requirements:
Created: November 2019 Updated: January 2023 Permalink: https://wildix.atlassian.net/wiki/x/WAXOAQ |
| Panel | ||||||||||||||
|---|---|---|---|---|---|---|---|---|---|---|---|---|---|---|
| ||||||||||||||
|
| Table of Contents | ||
|---|---|---|
|
Choose your app
- In setting up a sync connection, you first choose the app that contains the contacts data you need to be synced with Wildix. Choose it from the list, or by using the search bar
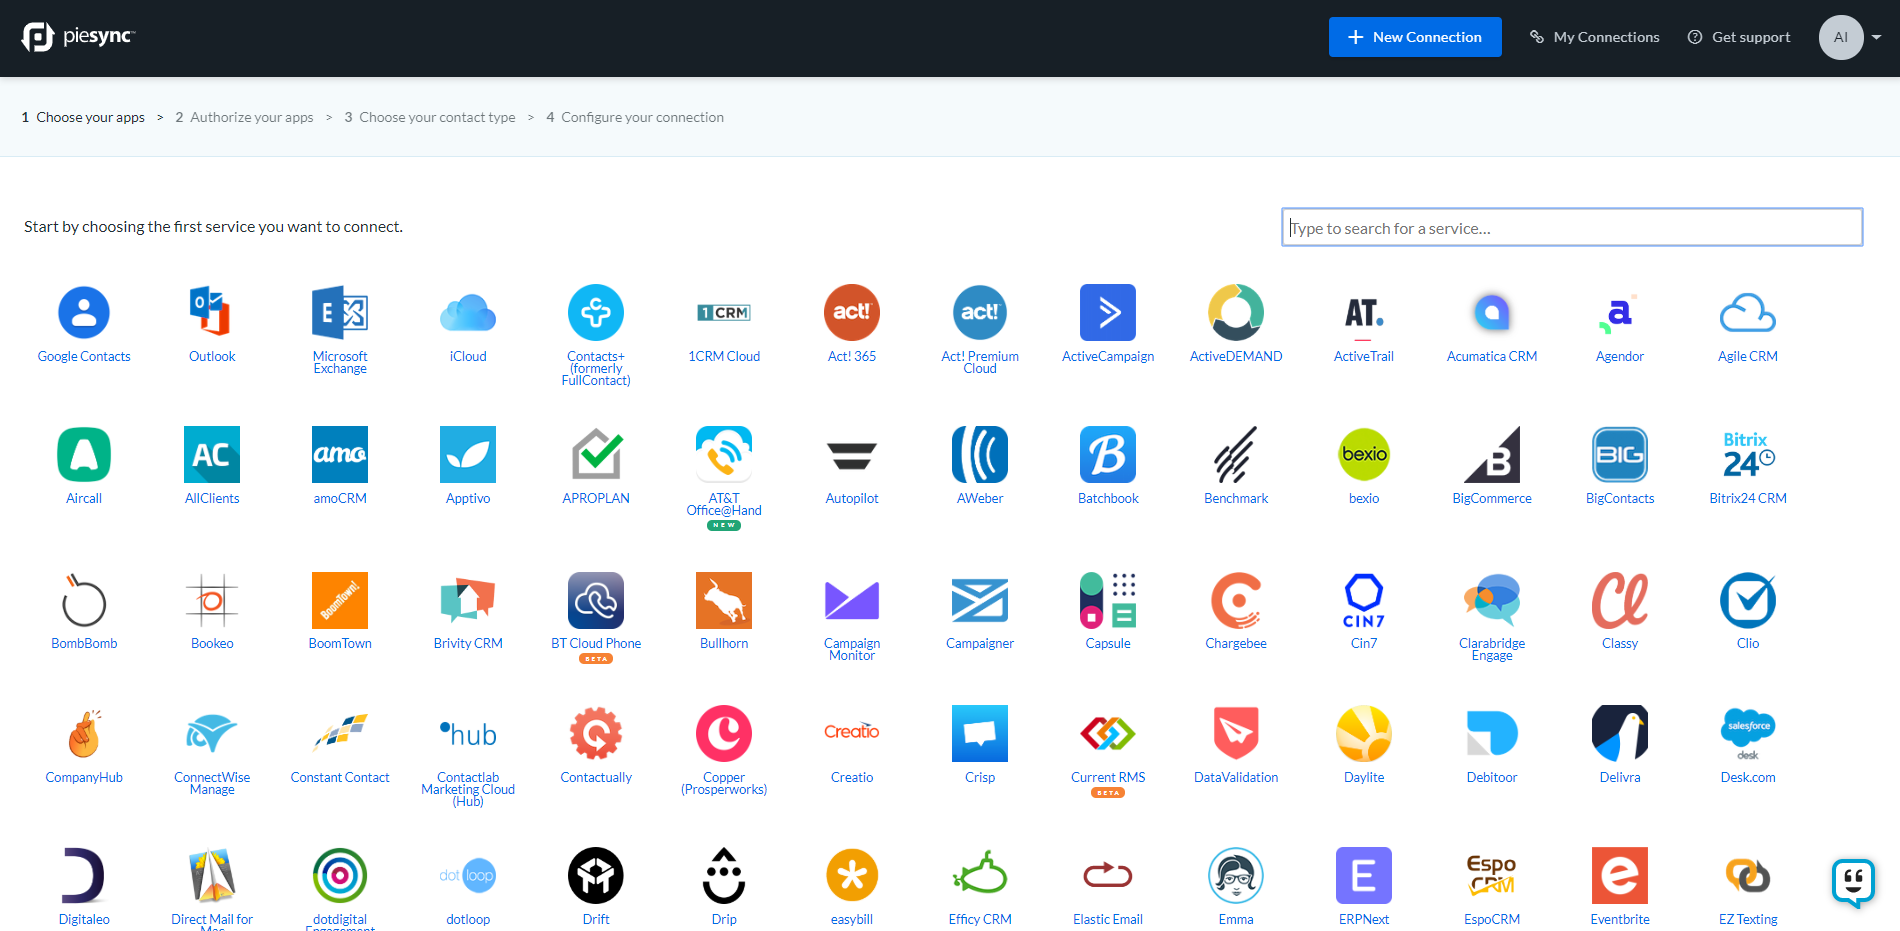
- After you select Wildix, you immediately proceed to select the second app

- Let's choose Freshdesk as an example
Log in to your apps
- In order to use PieSync, you need to have registered accounts with both Wildix and the app you selected. At this point, you'll need to connect PieSync to them so it can fetch the contacts data configuration. You do this for both apps. If it is the first time using PieSync, you will need to authorize both Wildix and another app, one after the other

- If you have previously set up a connection with any of these apps, you can choose to re-purpose that authorization. Of course, you can also choose to login to your apps with a separate account too

- If it's your first login, you should log in to your Wildix account using next info:
- Subdomain — Your PBX name
- Username — Collaboration extension number or username to account with permission to use Phonebooks
- Password — Password for that account

- After you logged in, you should specify Wildix Phonebook to sync
| Note |
|---|
You cannot create Phonebook in this popup. You should create one, before setting up the synchronization. |

Configure your sync
...