| Html |
|---|
<div id="fb-root"></div>
<script>(function(d, s, id) {
  var js, fjs = d.getElementsByTagName(s)[0];
  if (d.getElementById(id)) return;
  js = d.createElement(s); js.id = id;
  js.src = 'https://connect.facebook.net/en_US/sdk.js#xfbml=1&version=v2.11';
  fjs.parentNode.insertBefore(js, fjs);
}(document, 'script', 'facebook-jssdk'));</script> |
| Html |
|---|
<div class="fb-like" data-href="#" data-layout="button_count" data-action="recommend" data-size="large" data-show-faces="true" data-share="true"></div> |
...
| Scroll export button | ||||||||
|---|---|---|---|---|---|---|---|---|
|
| Info |
|---|
This guide explains how to configure x-bees website widget. Other x-bees documentation: x-bees documentation. Created: June 2022 Updated: September 2023 Permalink: https://confluencewildix.wildixatlassian.comnet/wiki/x/wQDCBgMhTOAQ |
Introduction
x-bees Kite widget is a professional solution for business communication based on the WebRTC technology that brings Unified Communications to the corporate website. Using the widget, website visitors can communicate with agents via chat, video conference, share data, all in just a few clicks. And the chat requests from website visitors are easily managed by PBX users via x-bees interface.
Supported features:
- Chat
- Video conference
- Desktop sharing
- File exchange
Requirements
- Min. supported WMS version:
...
- 6.01.20220621.2 and higher
- Licensing: x-bees-SuperBee for managing Kite widgets; at least x-bees-Standard for access to Kite settings
- Browser compatibility:
...
- Google Chrome
Mozilla Firefox
| Note |
|---|
...
Notes:
|
...
|
| Warning |
|---|
Limitations: x-bees website widget doesn't work if browser is in Incognito mode. |
- Make sure that these external servers and ports are open on your router/ Firewall:
- https://
...
- app.x-bees.
...
- com/
- https://
...
- api.x-bees.
...
- com/
- https://
...
- login.x-bees.com/
...
- https://chat
...
- .wildix-chat.com/
- https://conference.wildix.com/
- https:
...
- /
...
- /
...
- auth.wildix.com/
- https://fs.wildix.com/
- https://avatars.wildix.com/
- https://
...
- cognito-idp.eu-central-1.amazonaws.com/
Configuration
Configuration of x-bees website widget consists of two steps:
- Creating website widget in x-bees - can be – done by any PBX user (holding necessary license)with x-bees-SuperBee license
- Implementation on the website – carried out by website webmaster / softhouse
Create website widget
- Click on your user picture in the upper left-hand part of the screen to open Settings
- Choose the option Kite settings:

- On Kite Settings screen, navigate to Website widgets tab:
 .
. - Click Create new widget:

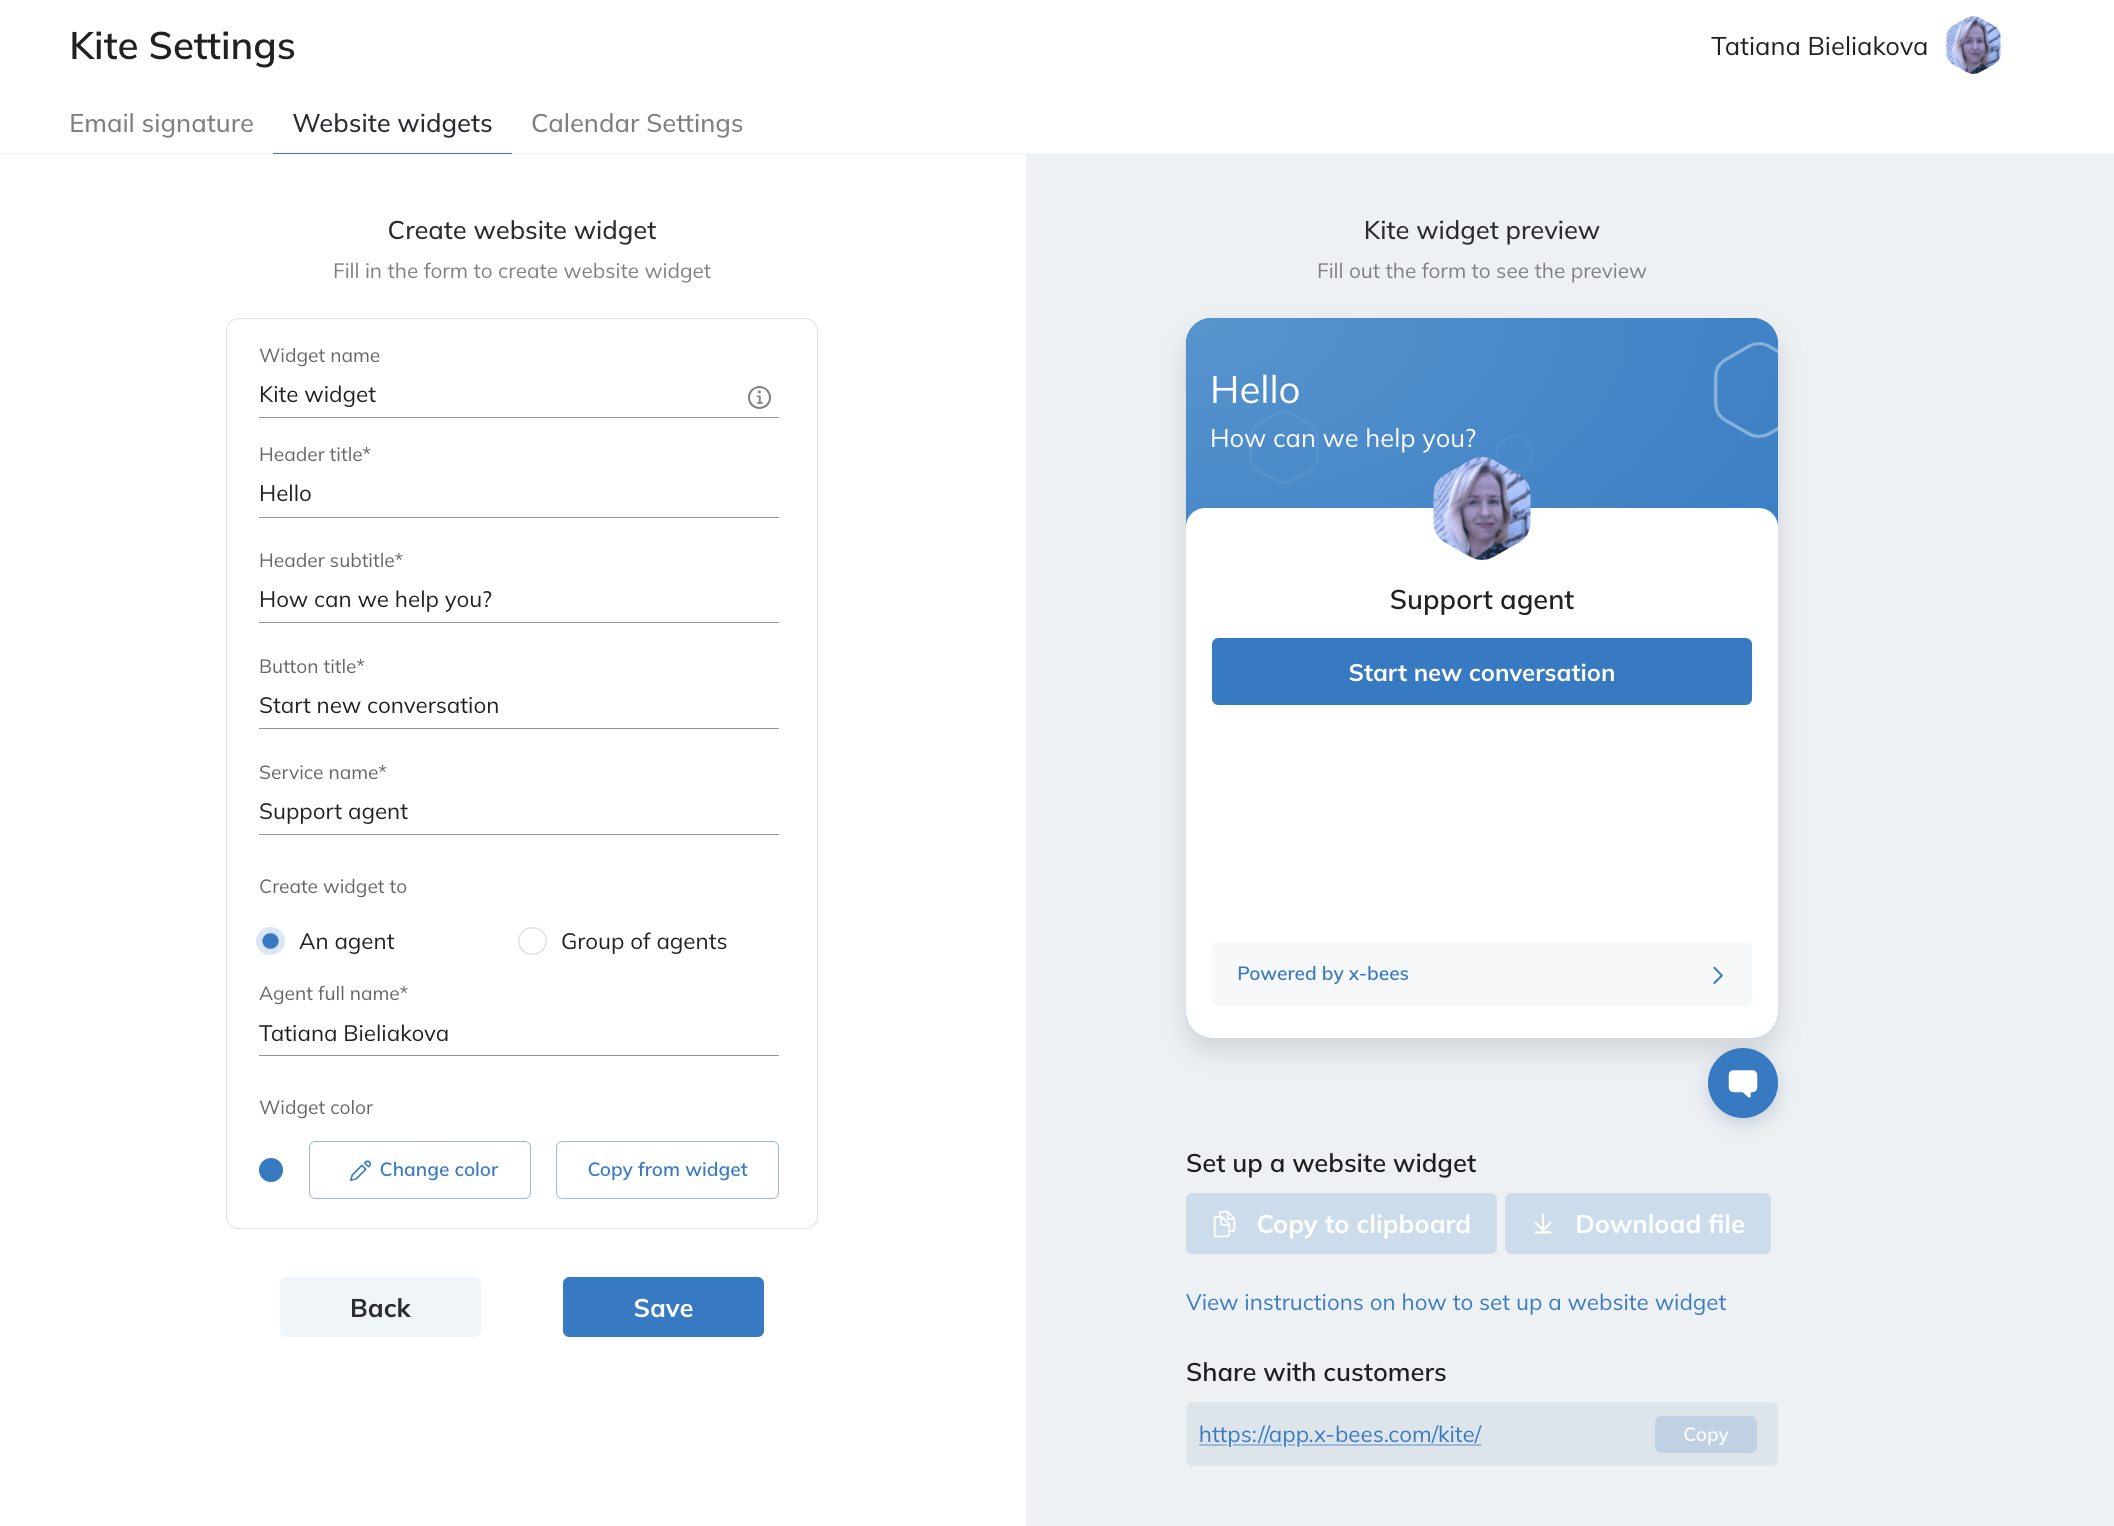
- Fill in the form:
- Widget name: give name to your widget to easily find it in the widgets list
- Header title: enter title to be displayed on your website widget, e.g. Hello
- Header subtitle: type subtitle for your widget header, e.g. How can we help you?
- Button title: enter text to be displayed on the button (the default text for a personal widget is: Send me a message, for a group - Send us a message)
- Service name: enter name to be displayed on the widget, e.g. Support agent
- Note: To create widget for a
Create widget to: choose whether you crate create this widget for An agent or Group of agents
Note (Group of agents
, admin rights are required.corresponds with a Call group in WMS)
Agent full name (if An agent option was chosen in previous step): start typing agent name or extension and choose the agent for whom the widget is created
Inbound service (if option Group of agents was selected): choose the Call group you're creating the widget for
Note Note: In case a Call group doesn't have any agents, it is not displayed in the list of available Call groups.
You can see preview of your widget with the entered information on the right, in Kite widget preview section.
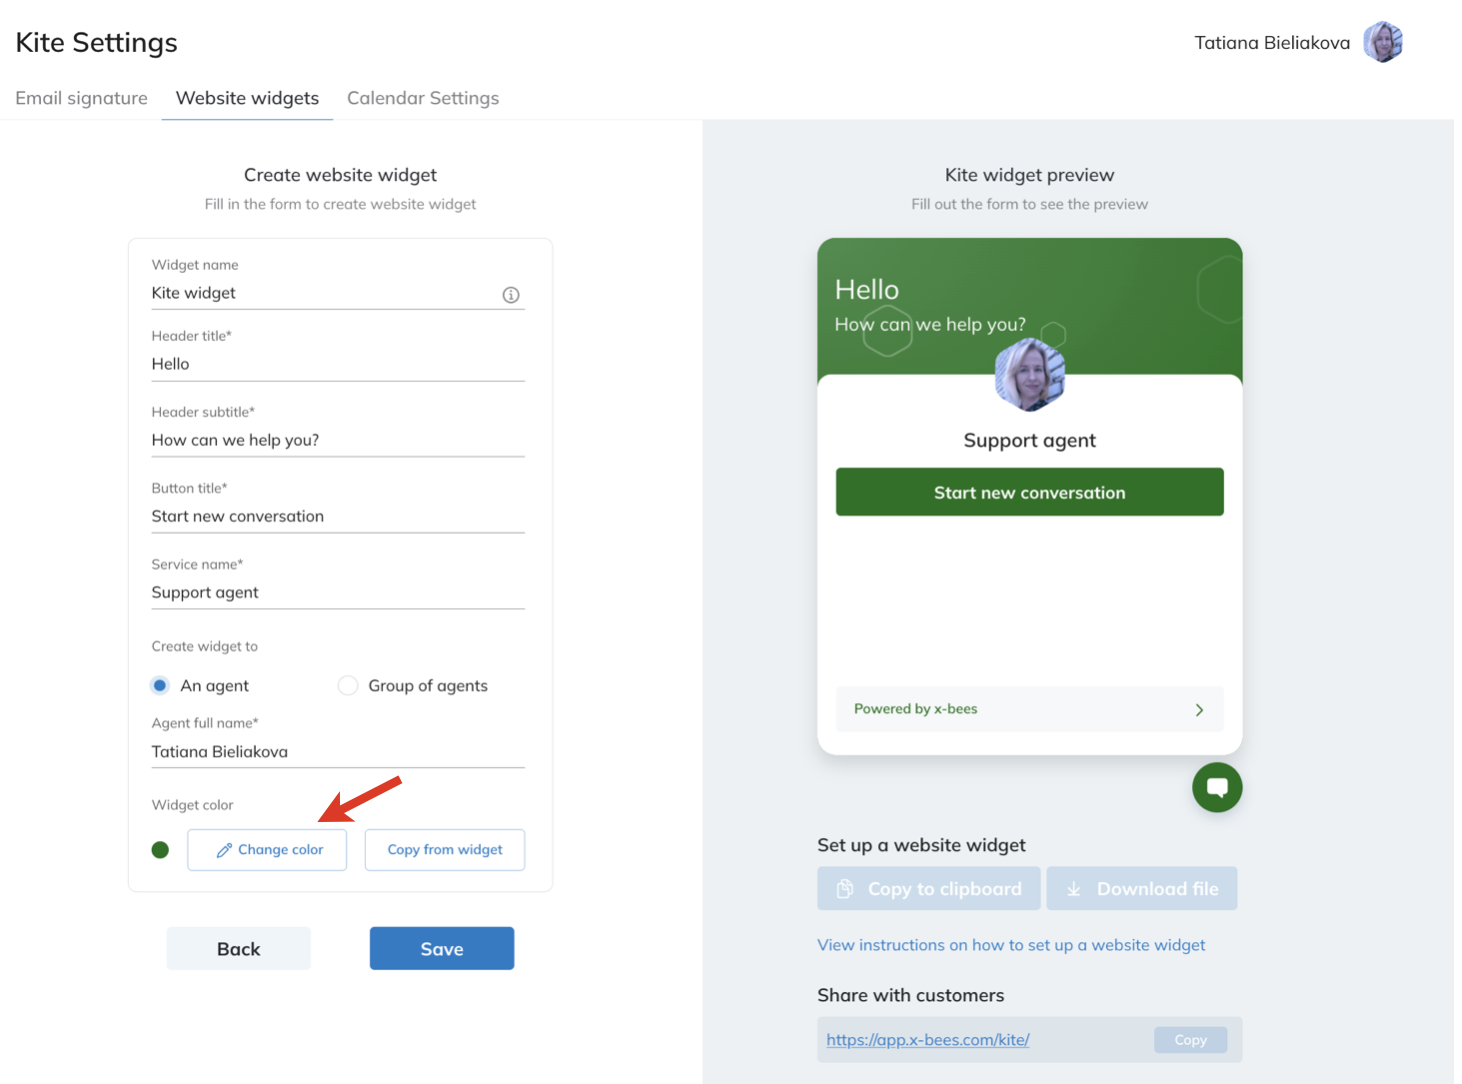
You can also choose custom color for your website widget by clicking Change color in the Widget color section:
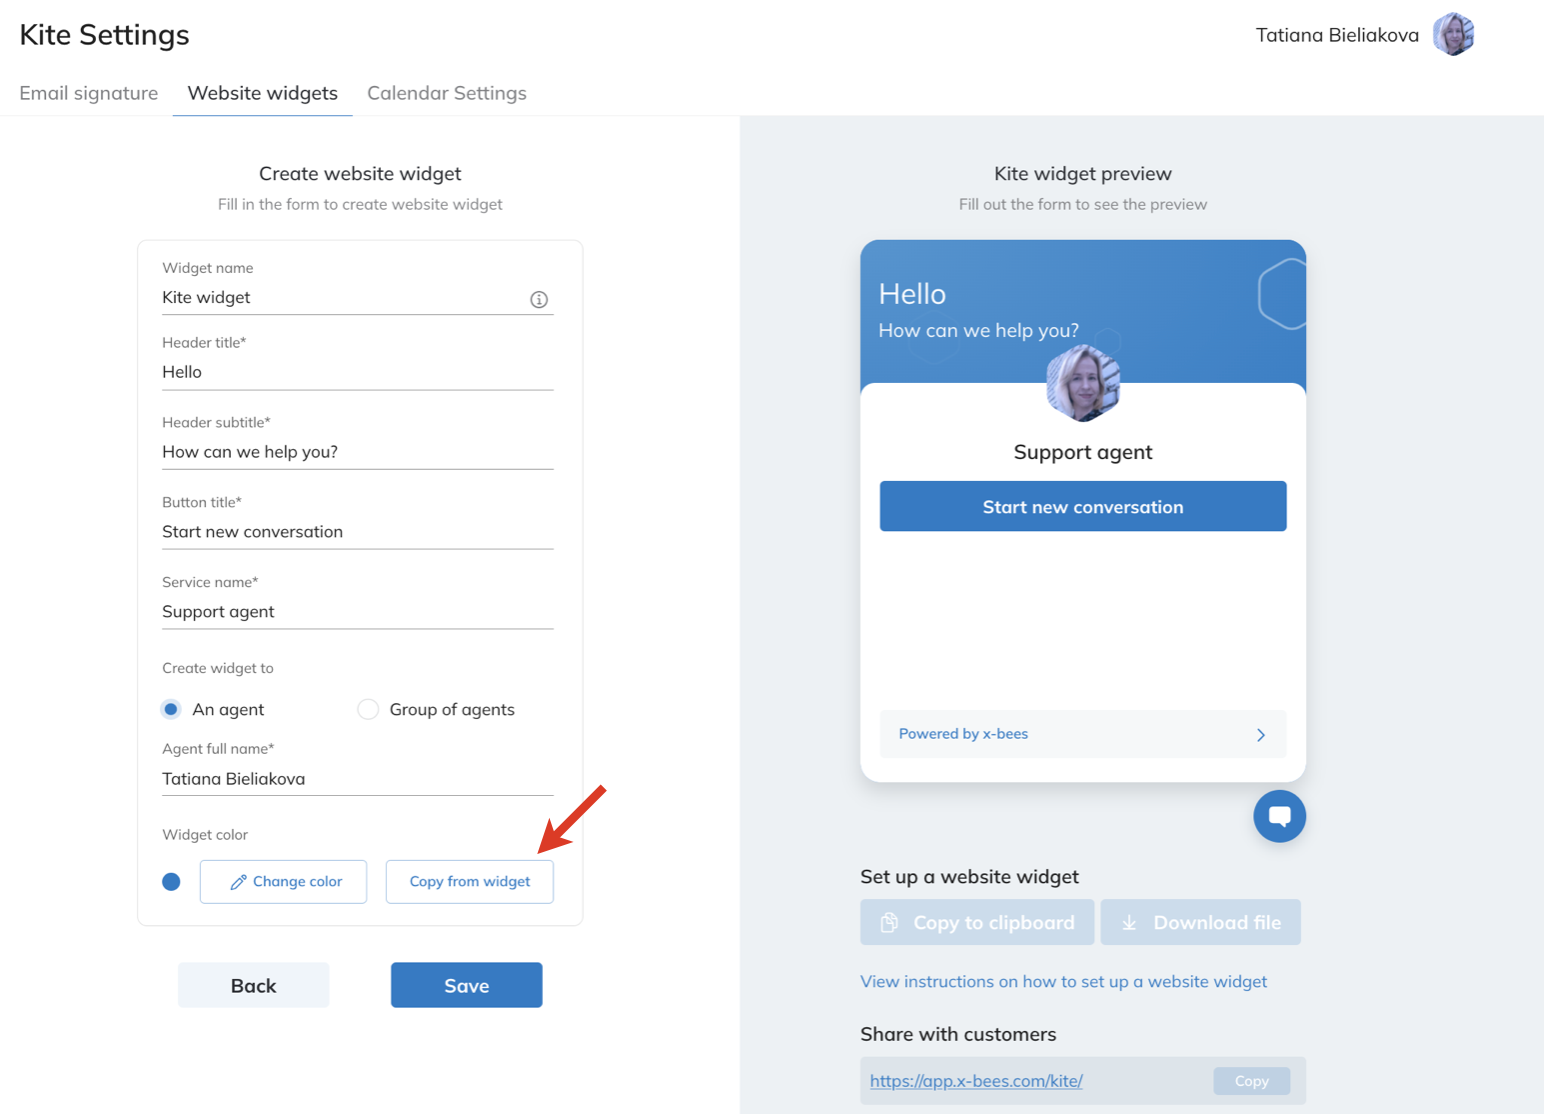
Also, you can copy color from another widget: click the Copy from widget button and choose the widget you want to copy the color from:
If you want to reset color to default, click Reset to default: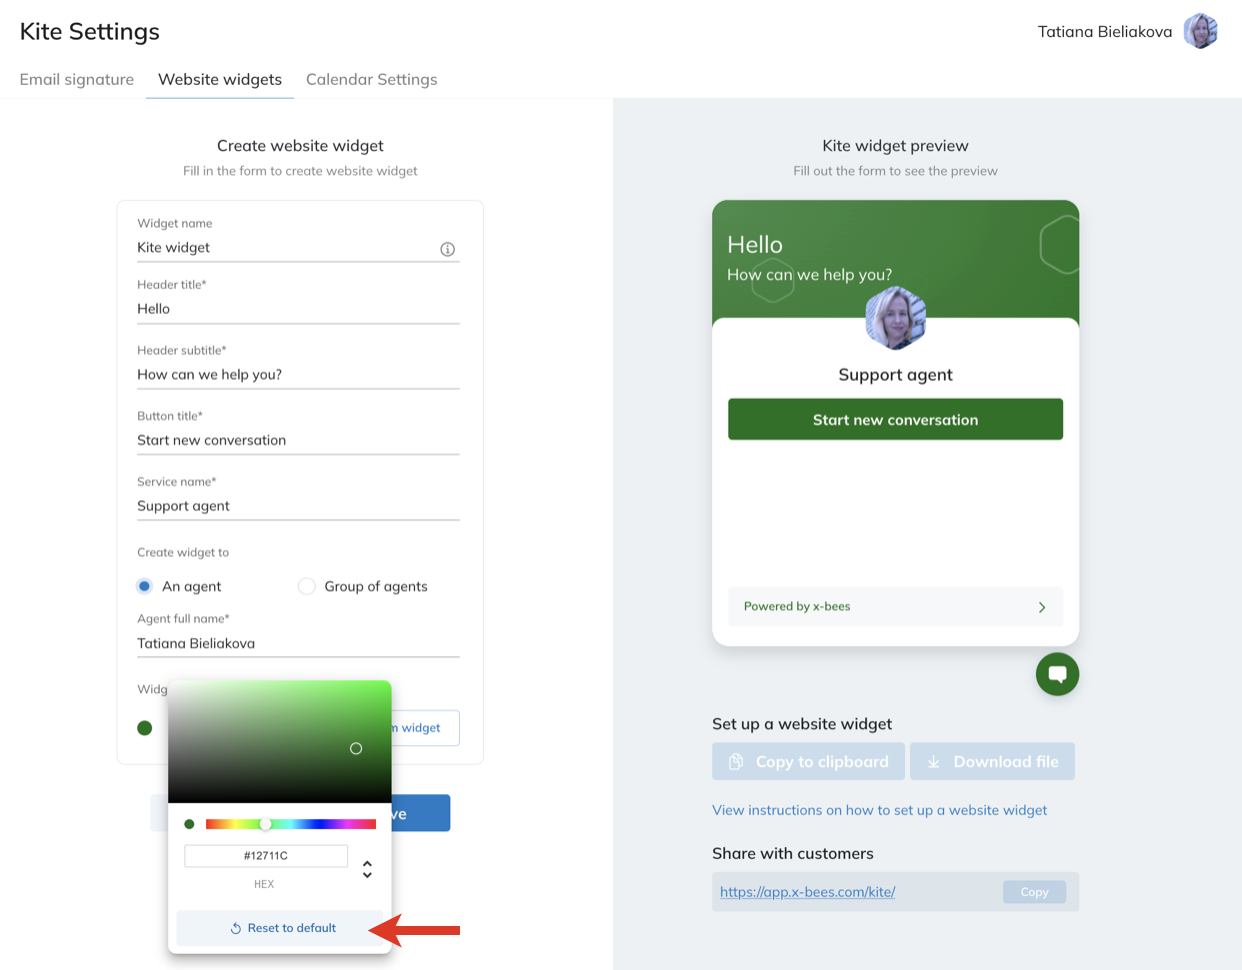
Note Note:
- The custom color is applied for the widget background and buttons.
- For conversation, the default blue color is used.
- In case custom color is too light, the text on the widget is colored black, while “Powered by x-bees” at the bottom of the widget remains the default blue.
- Click Save
Under Kite widget preview on the right you have
twothe options: Copy to clipboard or Download file.
Also, you can copy the widget link in the Share with customers field: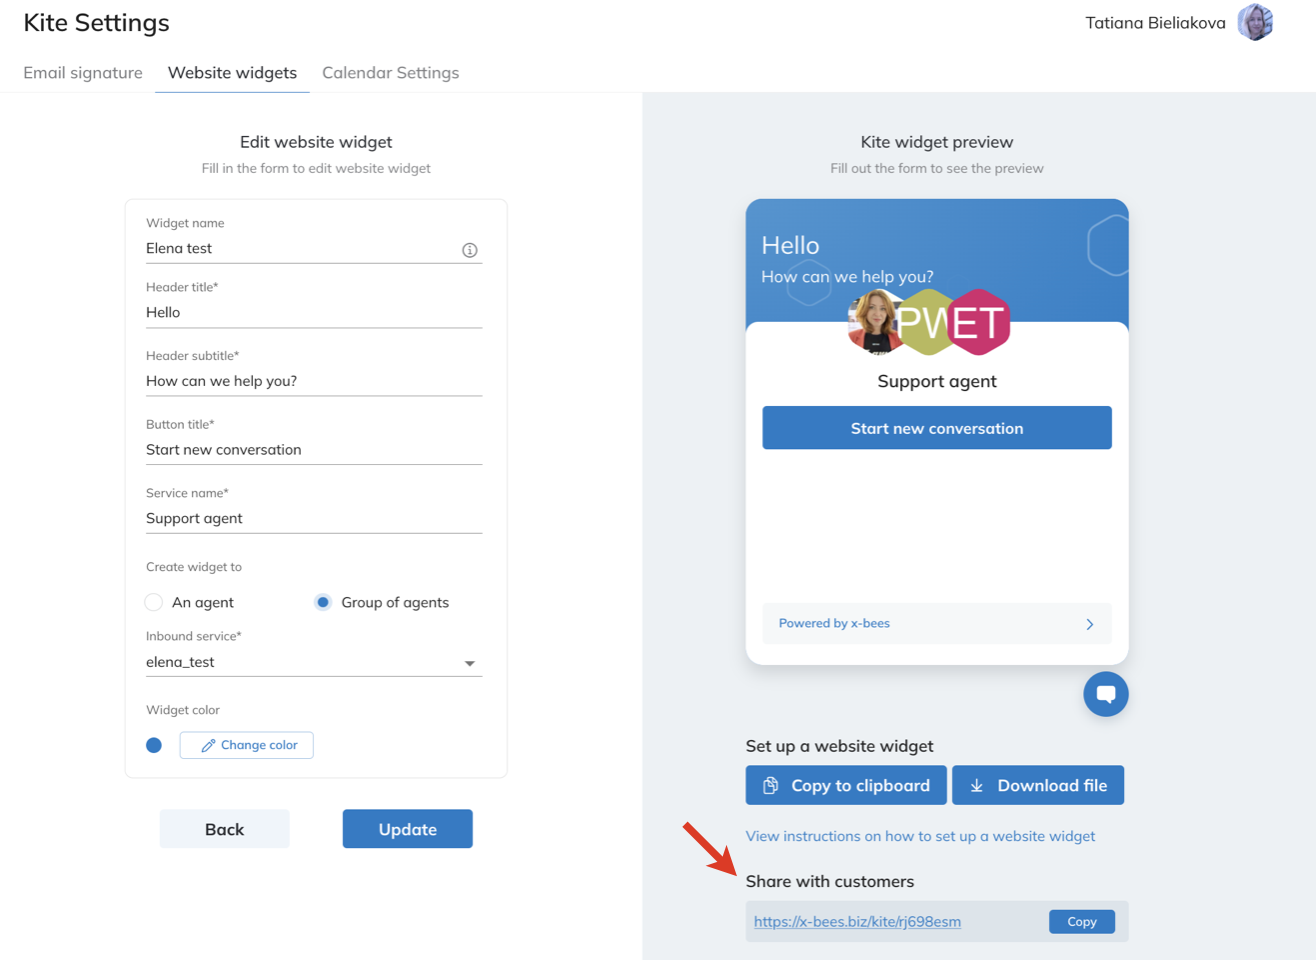
| Note |
|---|
NoteNotes:
Current limitations:
|
Embed widget on a website
| Html |
|---|
<div class="fb-like" data-href="#" data-layout="button_count" data-action="recommend" data-size="large" data-show-faces="true" data-share="true"></div>
|
The created widgets are displayed on the Website widgets tab on Kite Settings screen. There, you can edit or delete them if required, just by clicking Edit/ Delete button correspondingly.
Embed widget on a website
Widget implementation on a website is performed by website webmaster, by pasting the code before closing HTML </head> tag on the web page the widget has to be added to.
Macrosuite divider macro dividerType text dividerWidth 70 emoji {"id":"smile","name":"Smiling Face with Open Mouth and Smiling Eyes","short_names":["smile"],"colons":":smile:","emoticons":["C:","c:",":D",":-D"],"unified":"1f604","skin":null,"native":"😄"} textColor #000000 dividerWeight 2 labelPosition middle textAlignment center iconColor #0052CC fontSize medium text Not finding the help you need? Join the Facebook group to ask a question! emojiEnabled false dividerColor #DFE1E6 dividerIcon bootstrap/CloudsFill
Button macro buttonText Facebook isButtonShadowOn true emoji {"id":"smile","name":"Smiling Face with Open Mouth and Smiling Eyes","short_names":["smile"],"colons":":smile:","emoticons":["C:","c:",":D",":-D"],"unified":"1f604","skin":null,"native":"😄"} buttonBorderColor #4267b2ff buttonColor #4267b2ff buttonNewTab false buttonFontColor #ffffff buttonSize medium buttonIconColor #ffffff buttonWidthDetection 46 buttonHoverColor #ffffff buttonIcon font-awesome/FacebookSquare buttonType icon_left buttonLink {"link":"https://www.facebook.com/groups/wildixtechwizards","source":"direct"} buttonNewLink buttonRadius 3 buttonShadow 0 id 228 emojiEnabled false buttonWidth 20