| Scroll export button | ||||||||
|---|---|---|---|---|---|---|---|---|
|
| Info |
|---|
This guide will lead you through the process of Salesforce Classic integration usage, starting from a Softphone installation and activation, and ending with practical examples for call receiving. Requirements: Created: June 2019 Updated: April 2021May 2024 Permalink: https://wildix.atlassian.net/wiki/x/AArOAQ |
| Panel | ||||||||||||||
|---|---|---|---|---|---|---|---|---|---|---|---|---|---|---|
| ||||||||||||||
|
...
| Table of Contents | ||
|---|---|---|
|
Requirements:
- WMS version: 5.01 or higher
- Wildix UC-Business or UC-Premium license
- Salesforce license with access to the Classic Platform
- Activated Salesforce Payment Plan to set up Call Center, check the prices here
- Your Salesforce domain should be whitelisted on the PBX
Link to the application
The integration is available for the installation through the Salesforce AppExchange.
...
- Choose Advanced User Details subcategory
- Press the Edit button
- Scroll down to the Call Center field and press the Magnifier button
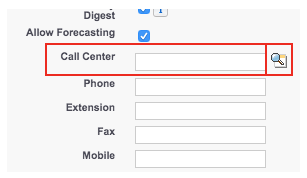
Step - 3


You see a popup with two options:
...
Choose Wildix Classic Call Center and click Save.
Switch
| Note |
|---|
In order to switch to Salesforce Lightning you also need to change Lighten Call Center. |
...
Choose Lighten and click Save.
Enable Salesforce Telephony in WMS
To be able to log in to the integration and performs calls, make sure to install Salesforce Telephony in WMS:
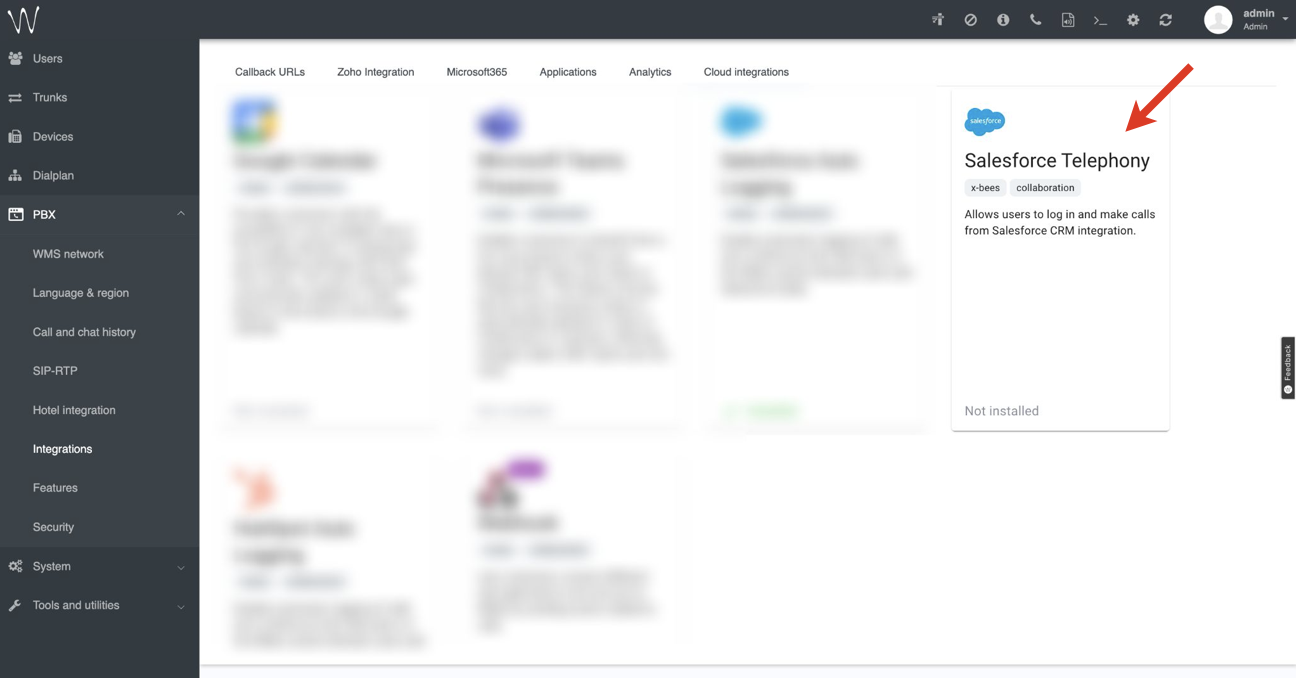
- Go to PBX -> Integrations -> Cloud integrations
- Click on Salesforce Telephony:
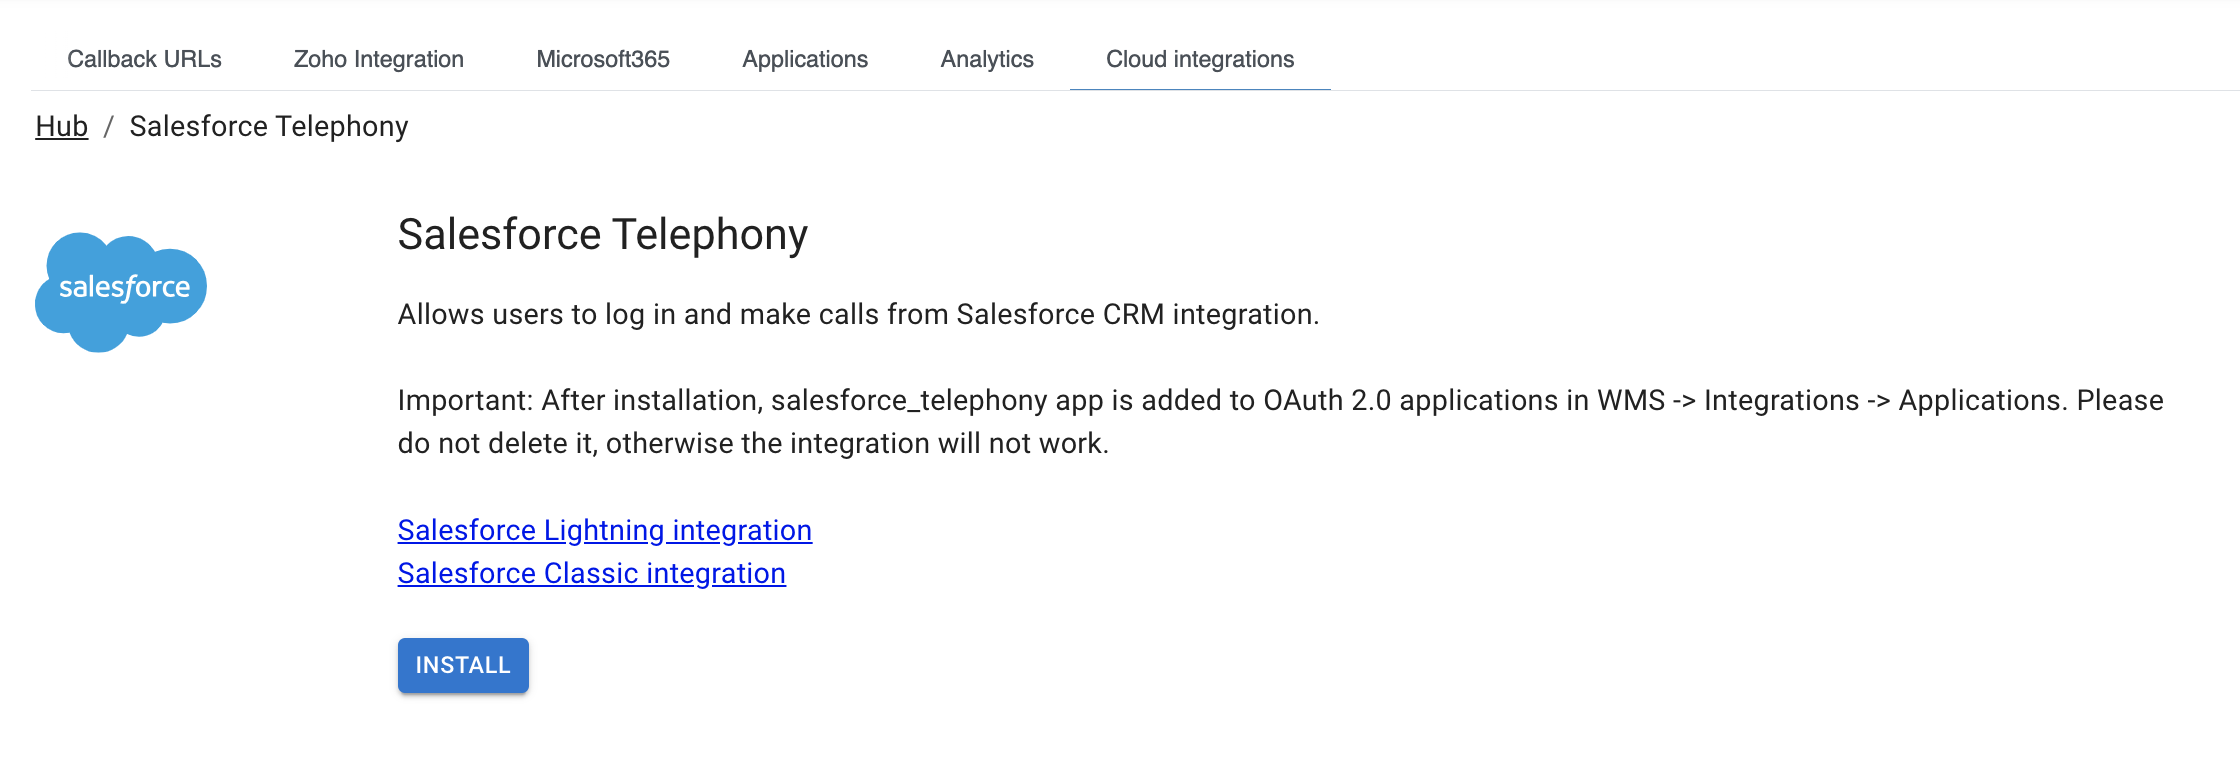
- Click Install:
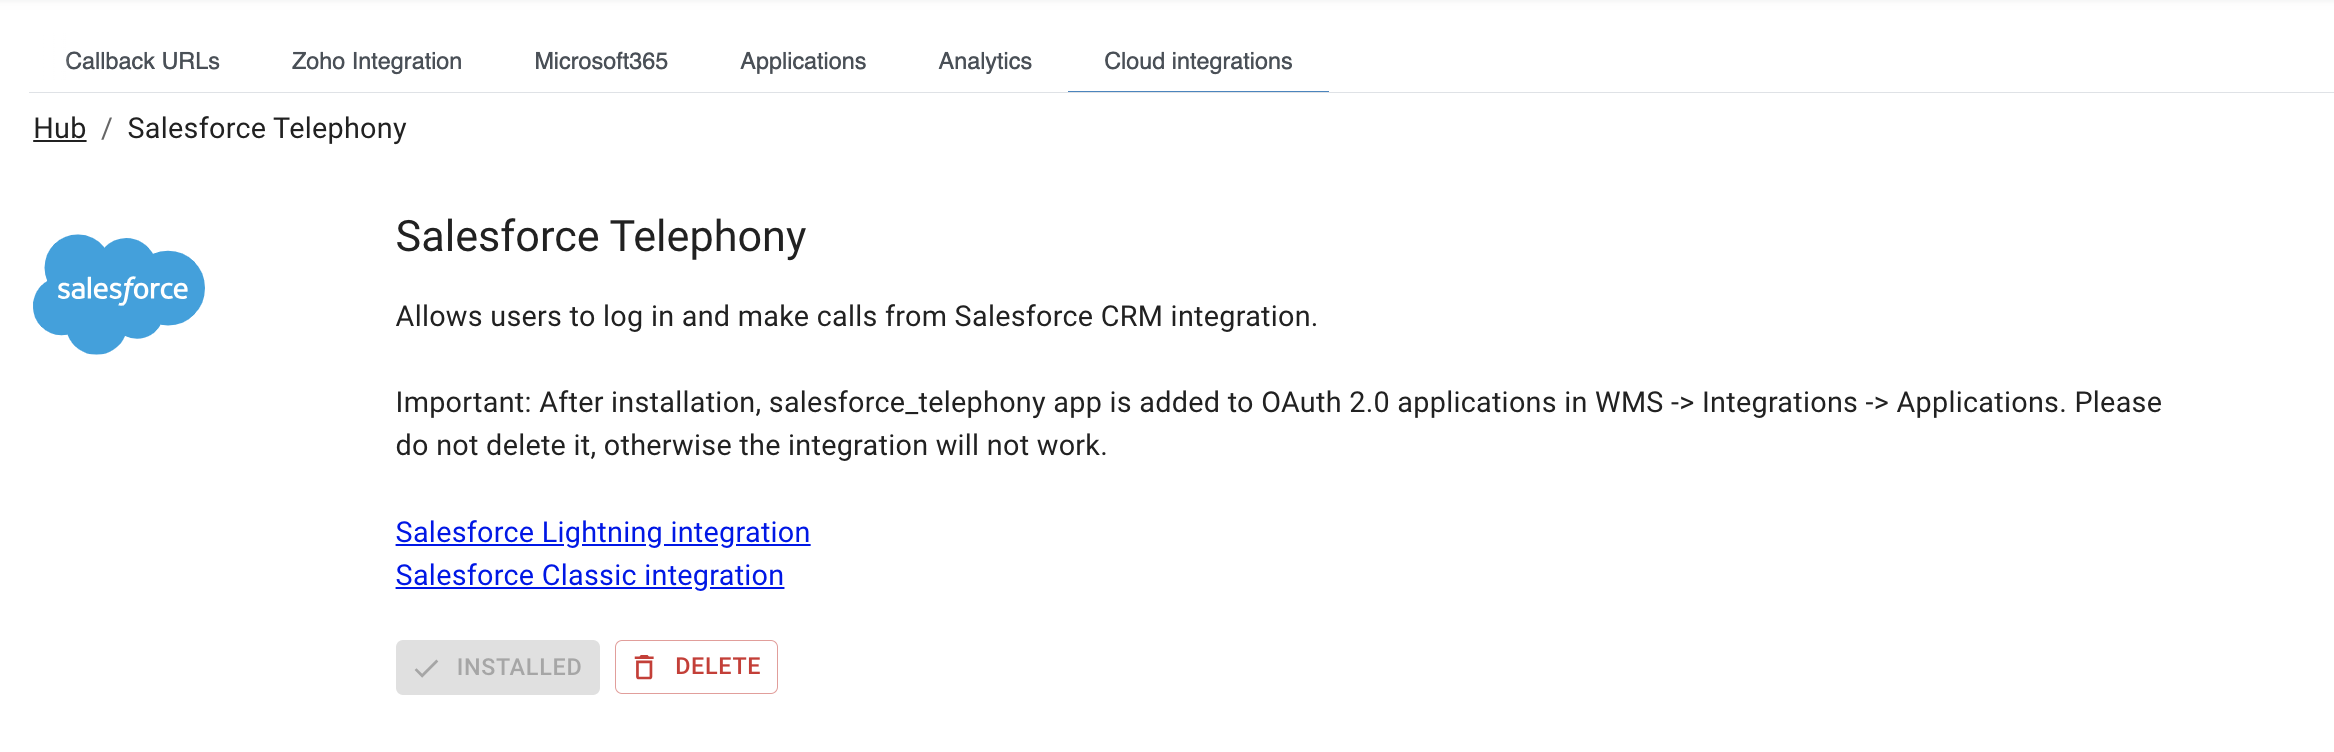
- The integration gets installed:
| Note |
|---|
Note: When Salesforce Telephony is installed, the relevant salesforce_telephony app is added to OAuth 2.0 applications in WMS -> Integrations -> Applications. Please do not delete it, otherwise the integration will not work. |
Application Usage
| Warning |
|---|
Keep Collaboration open while working with the app. |
...