| Scroll export button | ||||||||
|---|---|---|---|---|---|---|---|---|
|
| Info |
|---|
This User Guide explains how to access and use x-bees and describes the basic operations: how to manage calls, create conversations, schedule conferences etc. Other x-bees documentation: x-bees documentation. Created: February 2022 Updated: March April 2024 Permalink: https://wildix.atlassian.net/wiki/x/ngrOAQ |
...
- Hover the mouse over the necessary conversation and click on the More icon:
- Press Mark as unread:
or Mark as read:
Use AI Assistant feature
AI Assistant provides intelligent support and allows to streamline communication and make it more efficient. AI Assistant feature provides the following options:
- Reply: generate suitable replies to the incoming message, to streamline conversations and improve response quality.
- Rephrase: rephrase a given piece of text (can be applied to the text in the input field or the last message in conversation) .
- Summary: generate summary of the last received messages in the conversation, to extract key points or condense information, making it easier to understand.
- Expand: generate more informative text based on the input (can be applied to the text in the input field or the last message in conversation).
- Explain: ask to explain some concepts or topics (can be applied to the text in the input field or the last message in conversation).
- Shorten: shorten a lengthy text or message, to trim unnecessary details and improve readability (can be applied to the text in the input field or the last message in conversation).
- Translate: translate text between different languages, for seamless communication between users who speak different languages (can be applied to the text in the input field or the last message in conversation).
| Note |
|---|
Note:
|
How to use:
1. To access the options, click on the AI Assistant icon to the left of the input field (1) or next to the necessary message (2) in the conversation:
2. AI Assistant opens with the list of options mentioned above:
3. Choose the necessary option and click on it. In case you've clicked on the AI Assistant button next to the message input field and there is no text in the field, AI Assistant applies the chosen option (Expand, Explain, etc.) to the last message in the conversation:
If there is some text in the input message field and you've clicked on the AI Assistant icon to the left of the message field, the AI Assistant options get applied to the message input text:
You can click on the Copy icon to copy the AI Assistant result and e.g. paste it in the input message field:
In case you are not satisfied with the result, you can click Generate again:
In case of clicking on the AI Assistant icon next to a message in the conversation, on the AI Assistant screen that appears you can see the message itself, as well as the list of actions you can perform with the message:
Create new command
You can create a new custom command via Settings (1) or by clicking on the + icon (2):
In Settings, in case there are no custom commands yet, you need to click Add first command:
On the New command screen, fill out the Name and Prompt fields and click Save:
Once saved, custom commands appear at the bottom of the AI Assistant screen, next to the + icon:
You can manage custom commands via Settings, where you can edit the commands, delete them or create new ones:
Conversations filter
...
When a Guest User schedules a meeting, a dedicated conversation is automatically created:
The conversation can also be assigned to a particular agent of a Service (Call group). Service is determined automatically. You can assign a conversation to yourself or any other agent.
To assign the conversation to yourself, click Assign to me:
To assign conversation to another agent, select service and choose an agent from the Assignee drop-down list:
| Note |
|---|
Note:
Limitation:
|
When a guest user clicks the Start new conversation button via the Meeting Scheduler or your Chat link, x-bees looks up if the guest had a conversation with the same agent before – if positive, the communication continues in the same channel.
...
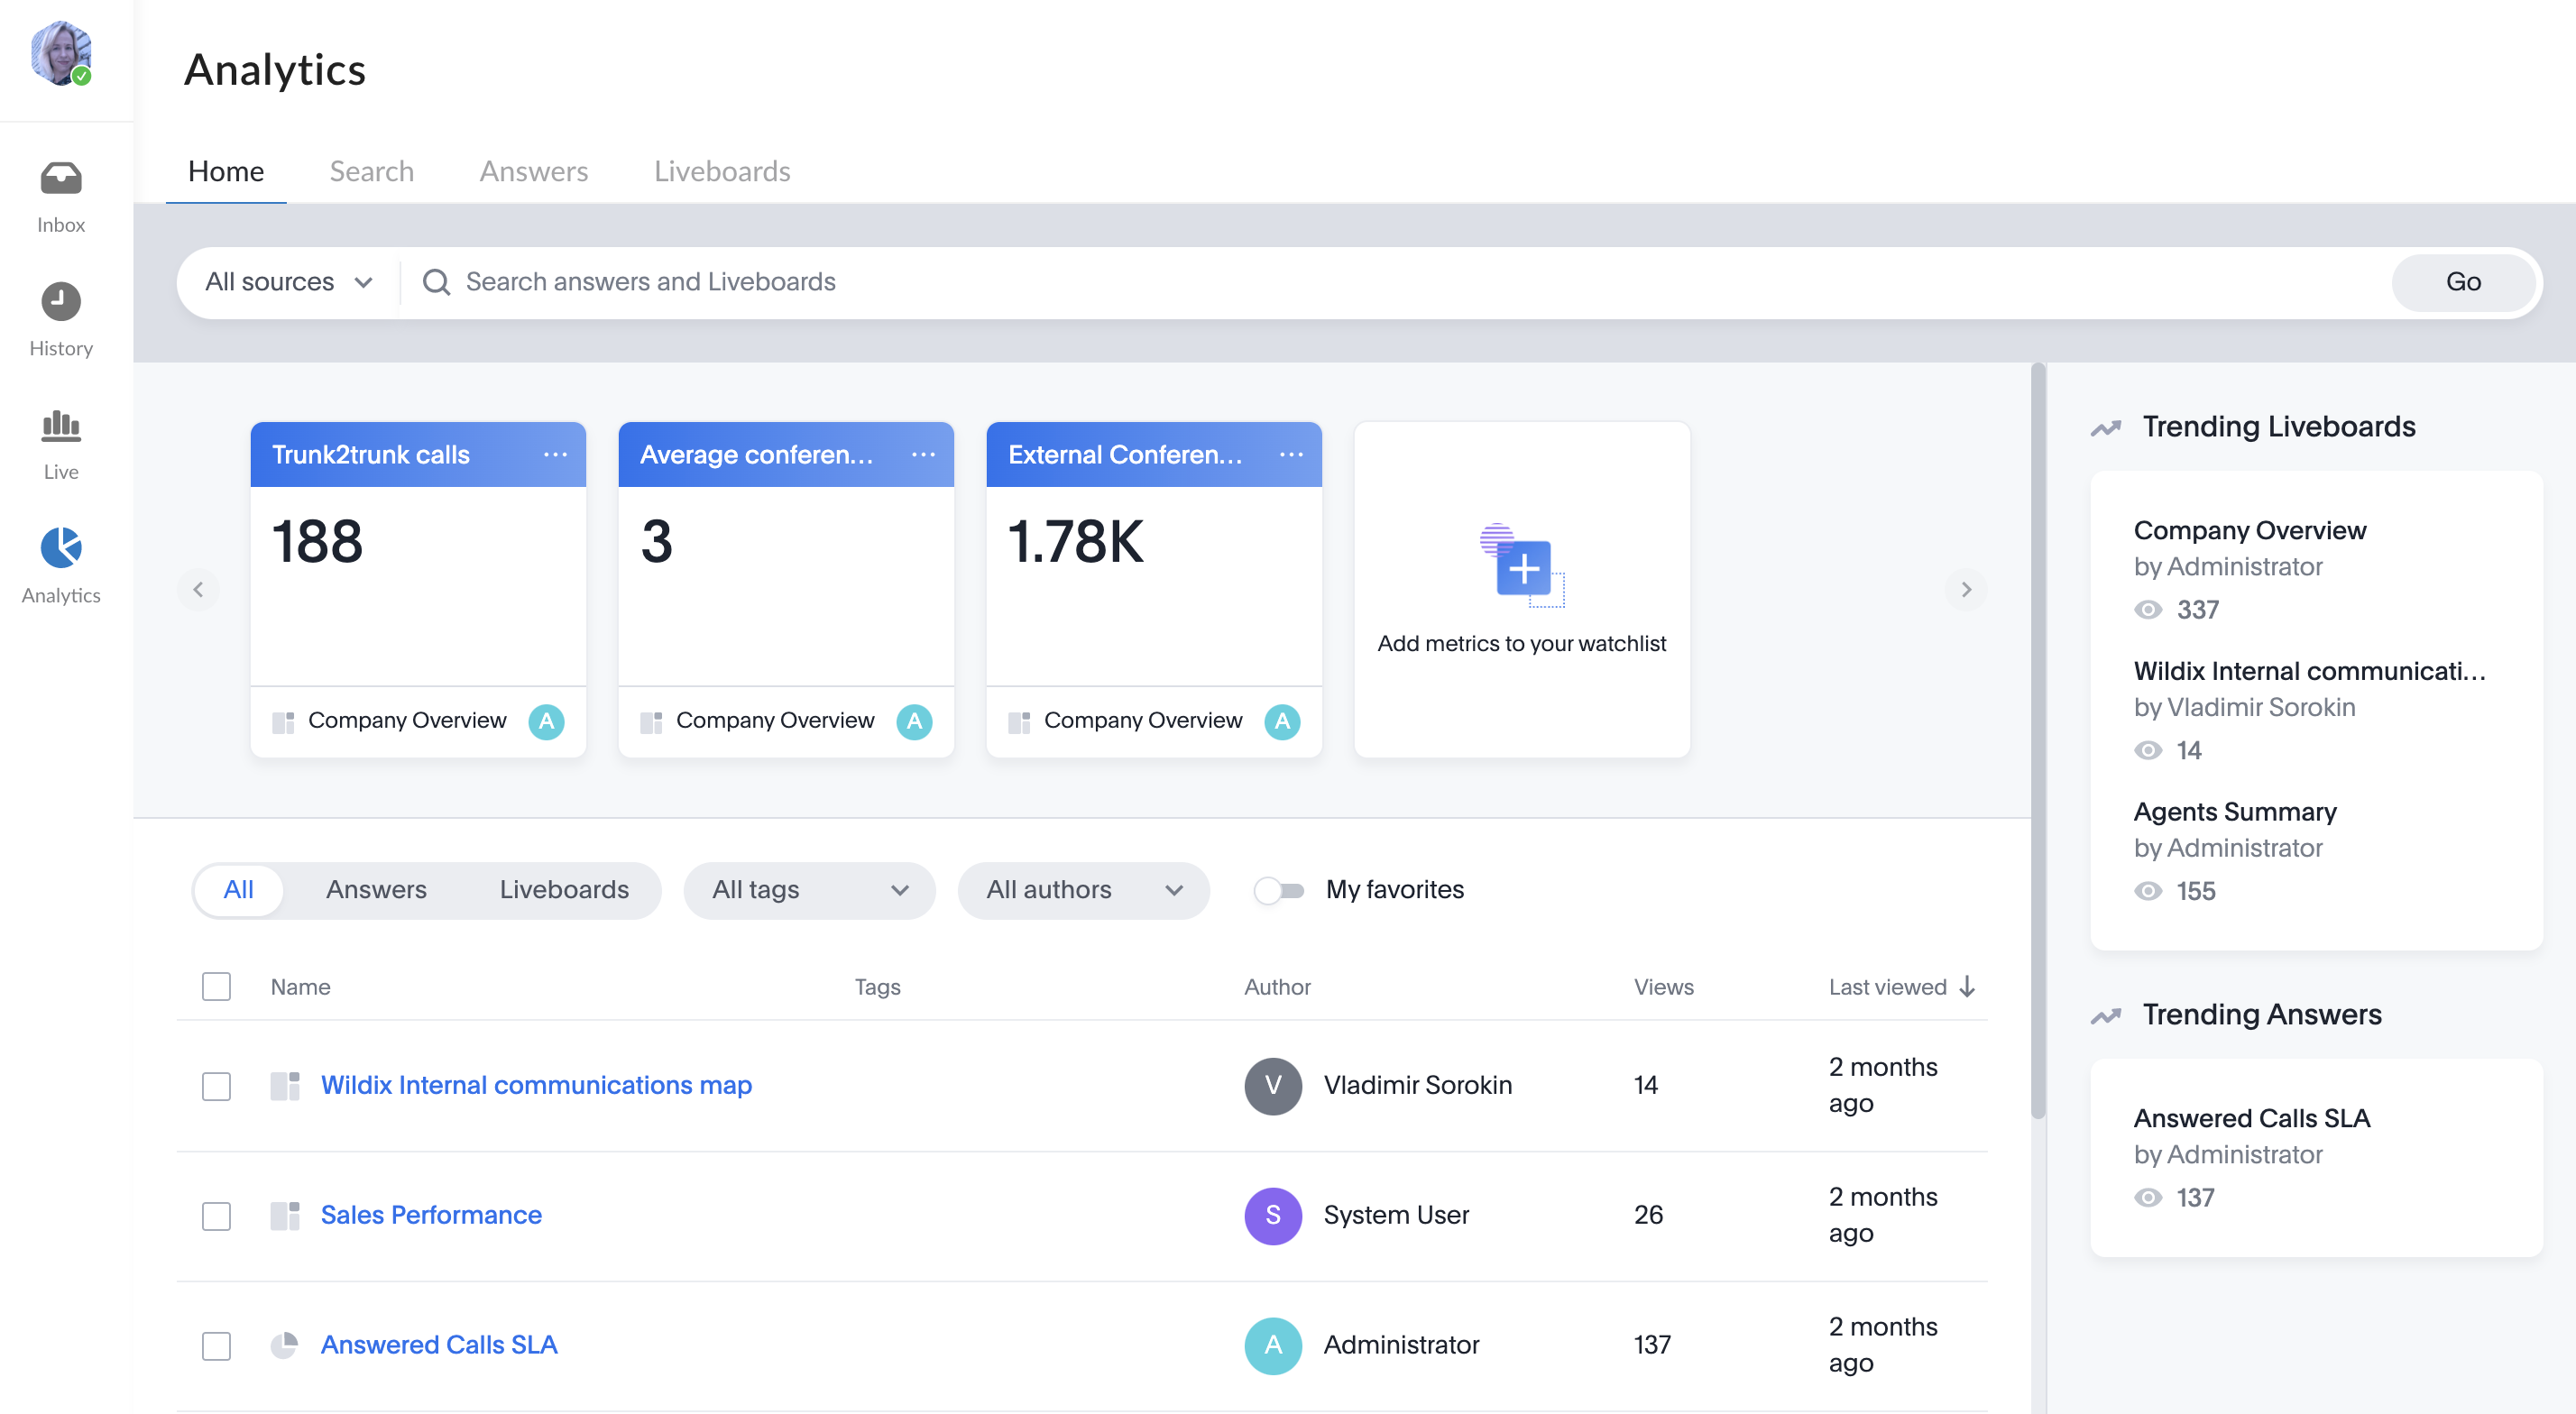
x-bees Analytics is an advanced analytics tool which lets to monitor any data you need in a highly customizable manner.
See more in documentation: x-bees Analytics.
x-bees Chrome extension
| Anchor | ||||
|---|---|---|---|---|
|
...


