| Html |
|---|
<div id="fb-root"></div>
<script>(function(d, s, id) {
  var js, fjs = d.getElementsByTagName(s)[0];
  if (d.getElementById(id)) return;
  js = d.createElement(s); js.id = id;
  js.src = 'https://connect.facebook.net/en_US/sdk.js#xfbml=1&version=v2.11';
  fjs.parentNode.insertBefore(js, fjs);
}(document, 'script', 'facebook-jssdk'));</script> |
| Html |
|---|
<div class="fb-like" data-href="#" data-layout="button_count" data-action="recommend" data-size="large" data-show-faces="true" data-share="true"></div> |
...
| Scroll export button | ||||||||
|---|---|---|---|---|---|---|---|---|
|
| Info |
|---|
This guide will lead you through the process of Salesforce Lightning integration usage, starting from a Softphone installation and activation, and ending with practical examples for call receiving. Requirements:
Created: June 2019 Updated: July 2022 Permalink: https://confluencewildix.wildixatlassian.comnet/wiki/x/CgCqAgVgvOAQ |
| Panel | ||||||||||||||
|---|---|---|---|---|---|---|---|---|---|---|---|---|---|---|
| ||||||||||||||
|
...
The integration is available for the installation through the Salesforce AppExchange: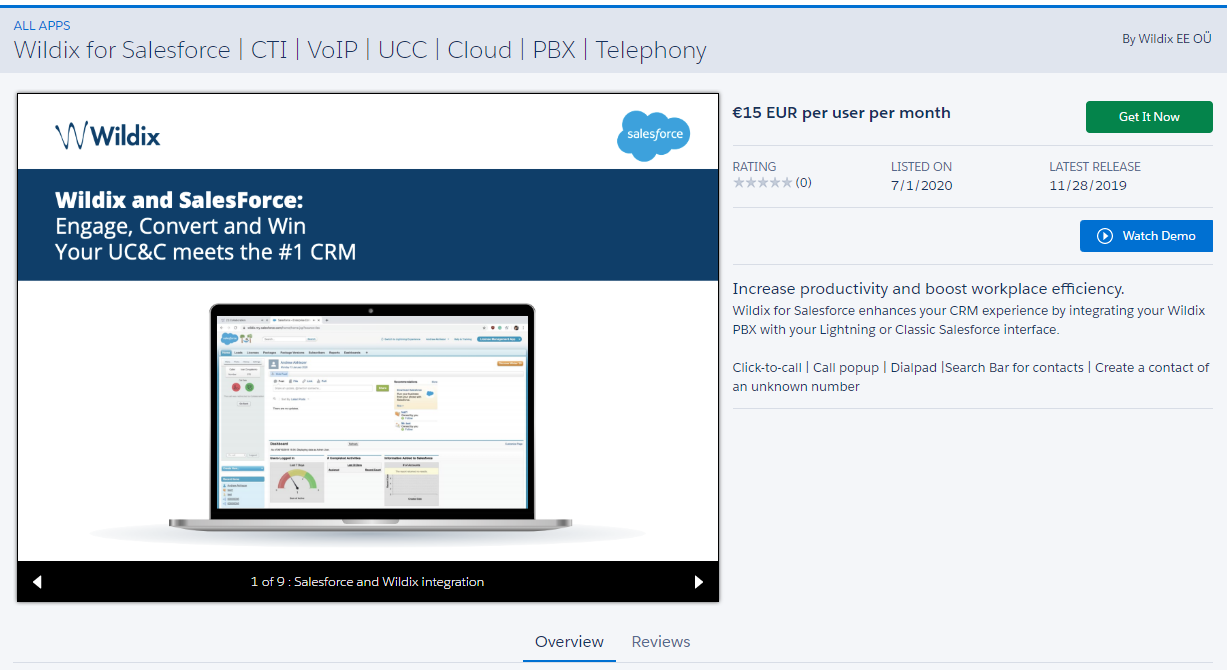
| Warning |
|---|
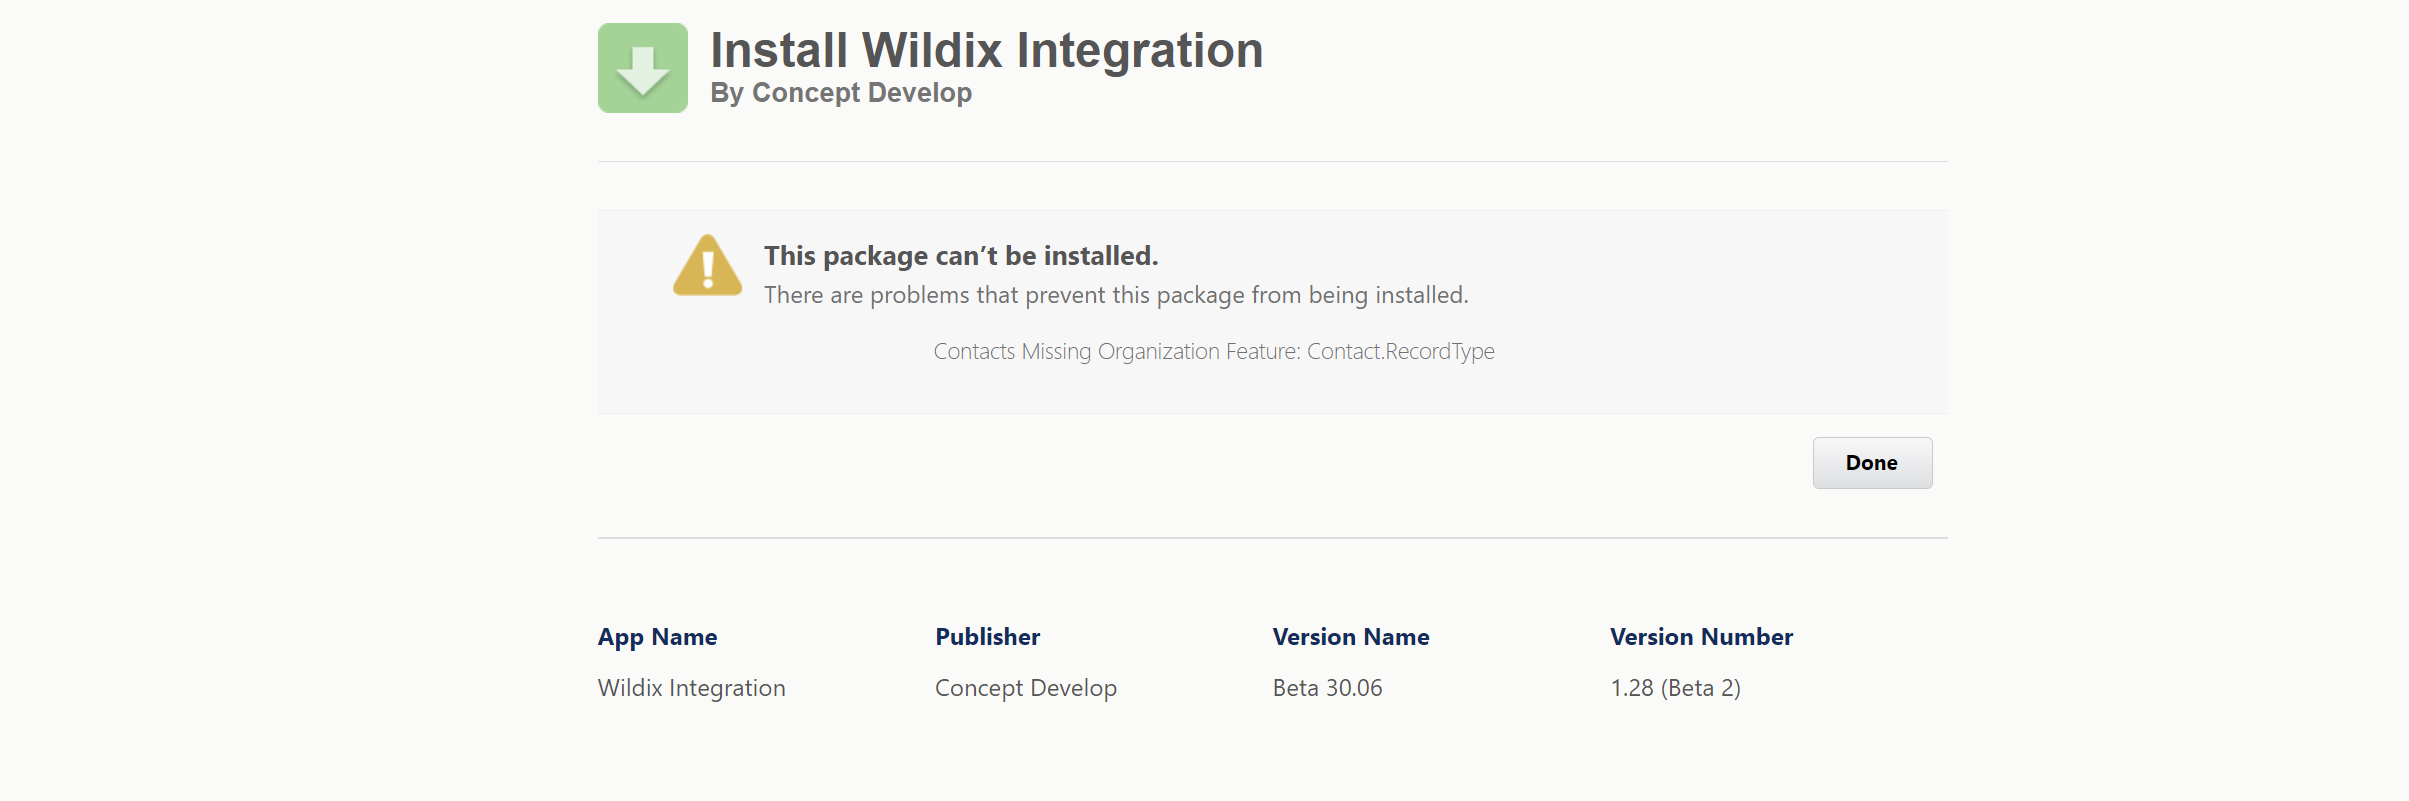
Important: Record types (used for Contacts) should be set up in Salesforce to be able to install Wildix Integration. See How to set up Record Types in Salesforce. In case record types are not set, you may face the following issue when installing Wildix Integration:
|
...
Setup Call Сenter
Setup
Step - 1
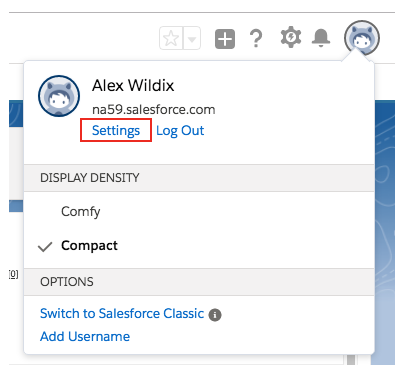
- 1 - Click on your profile
- 2 - Go to the Settings page
Step - 2
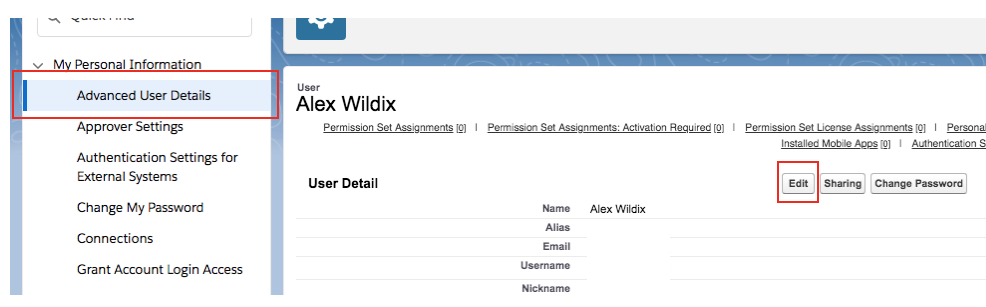
- Choose Advanced User Details subcategory
- Press the Edit button
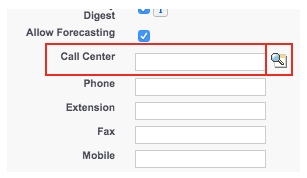
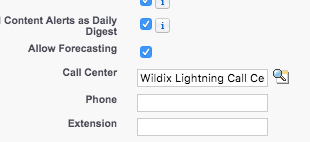
Scroll down to Call Center field and press the Magnifier button
Step - 3
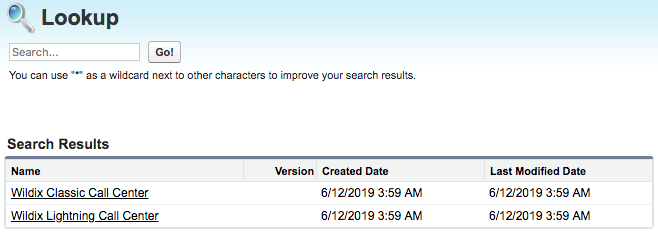
You see a popup with two options:
...
In order to switch for Salesforce Classic, you also need to choose Classic Call Center.
Step - 1
- 1 - Click on your profile
- 2 - Go to the Settings page
Step - 2
- Choose Advanced User Details subcategory
- Press the Edit button
Scroll down to Call Center field and press the Magnifier button
Step - 3
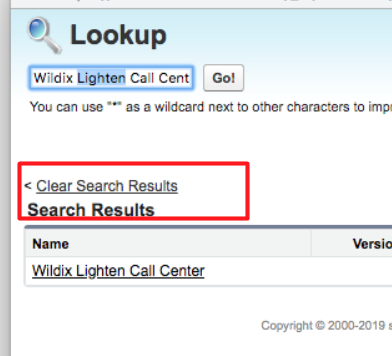
You see a popup with only one option. Click on Clear Search Results for:
...
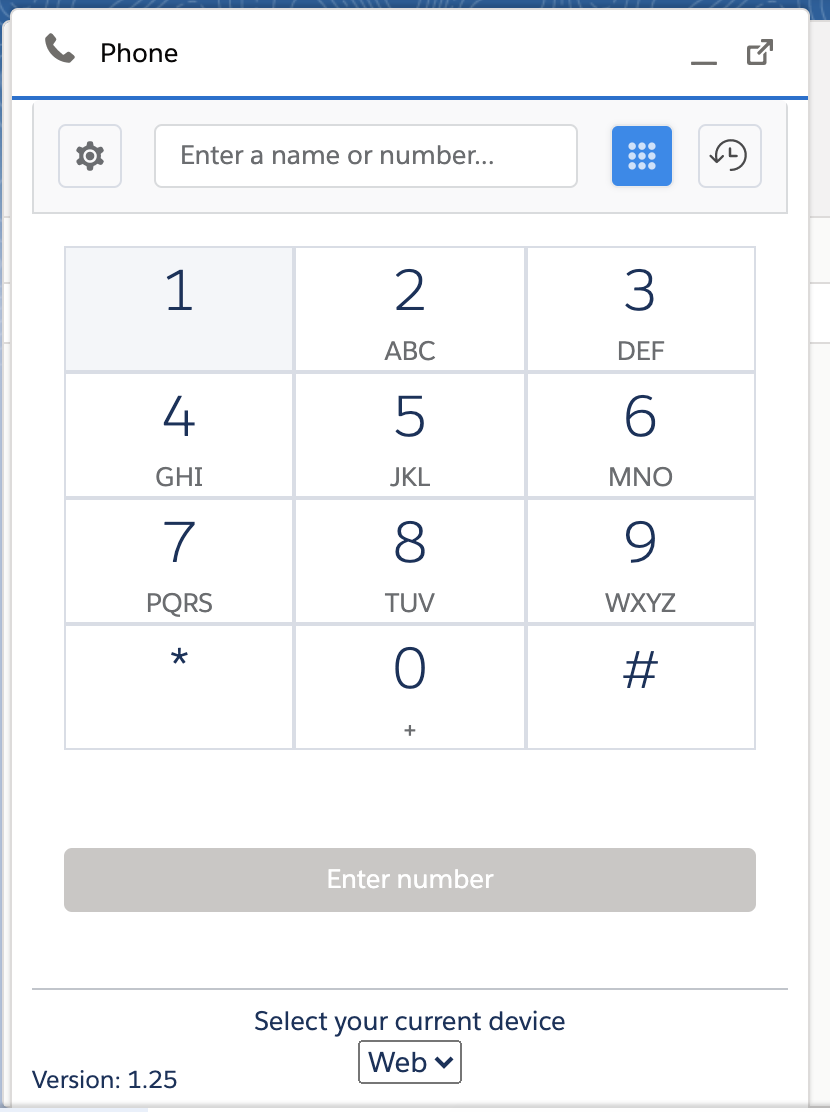
Once you choose the Phone Center you can access the application via App Launcher.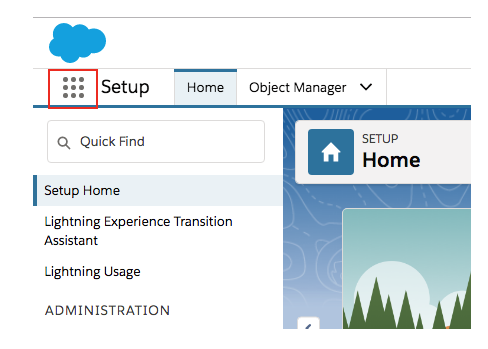

The main page of the application contains Settings, Dial pad, History menus and search.
History
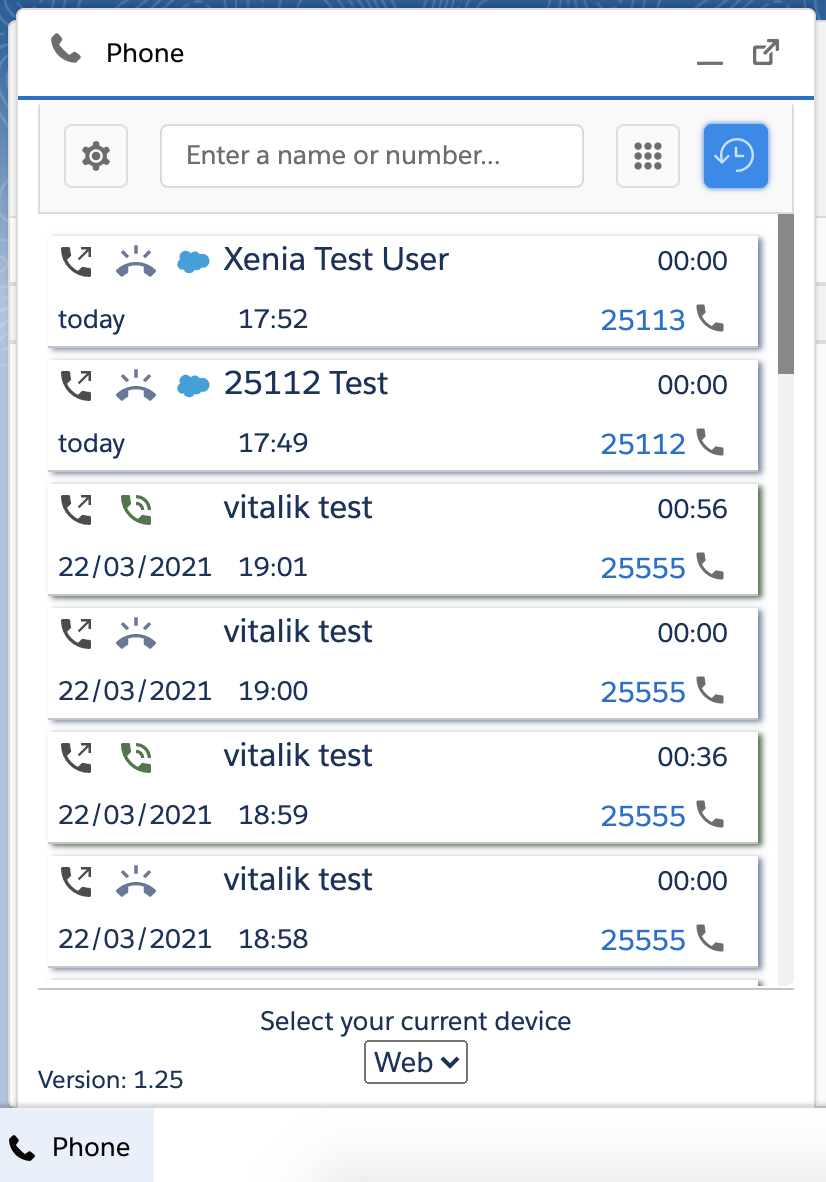
List of previous calls with:
- Phone number
- Name of contact
- Data of call
- Duration of a call
Dialer settings
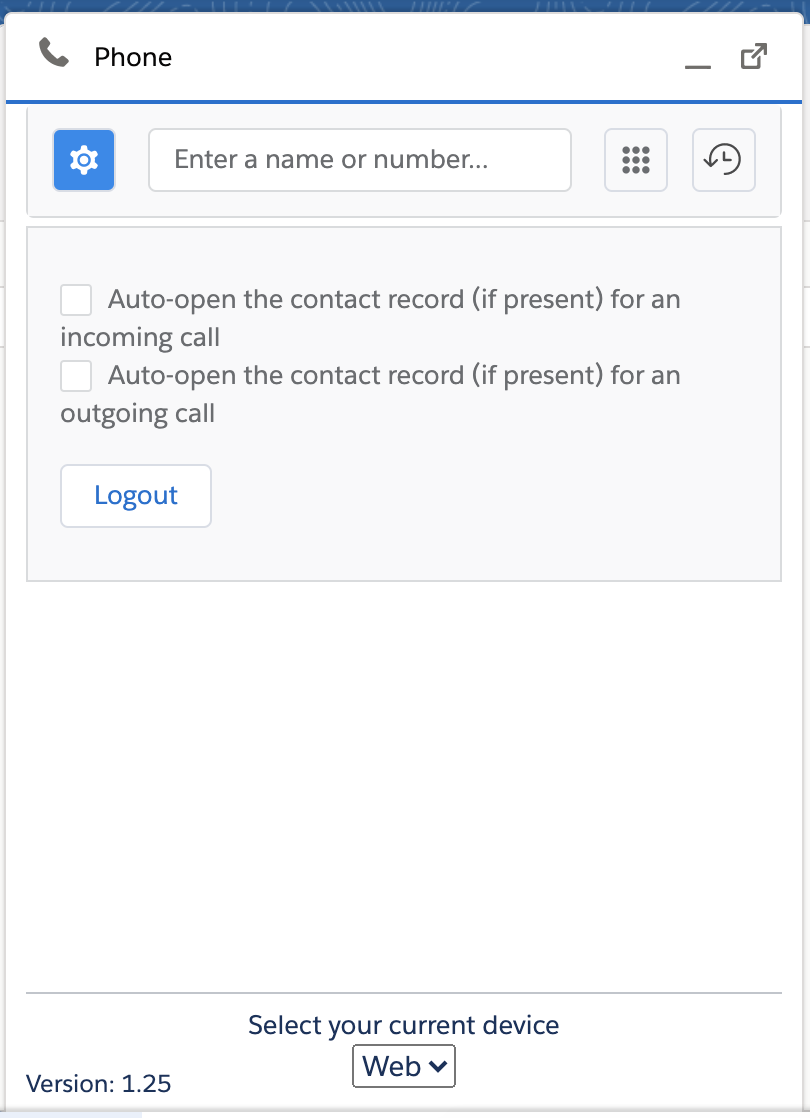
- Enable auto-opening of found contacts
- Enable auto-opening of found contacts when receiving an incoming call
...
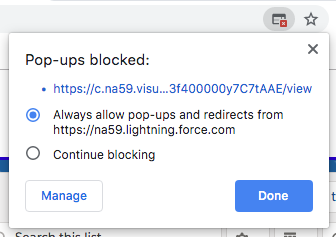
| Note |
|---|
By default, Google Chrome does not allow pop-ups. Click on the icon in the browser bar and change it. |
Call management
| Note |
|---|
Call management is available starting from Salesforce app v. 1.21.0. |
...
- In the Application, click on the Phone button on the left-bottom corner
- Click on the dial-pad button on the right of the search bar
- Enter the phone number that you want to dial by clicking the number buttons on the dial-pad, or by typing numbers in the search field with your keyboard
Click Dial or press the Enter key on your keyboard
Making a Call Using Click-to-Dial
...
To answer an incoming call, just press the green Handset button: 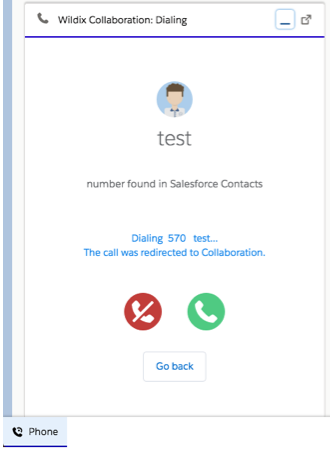
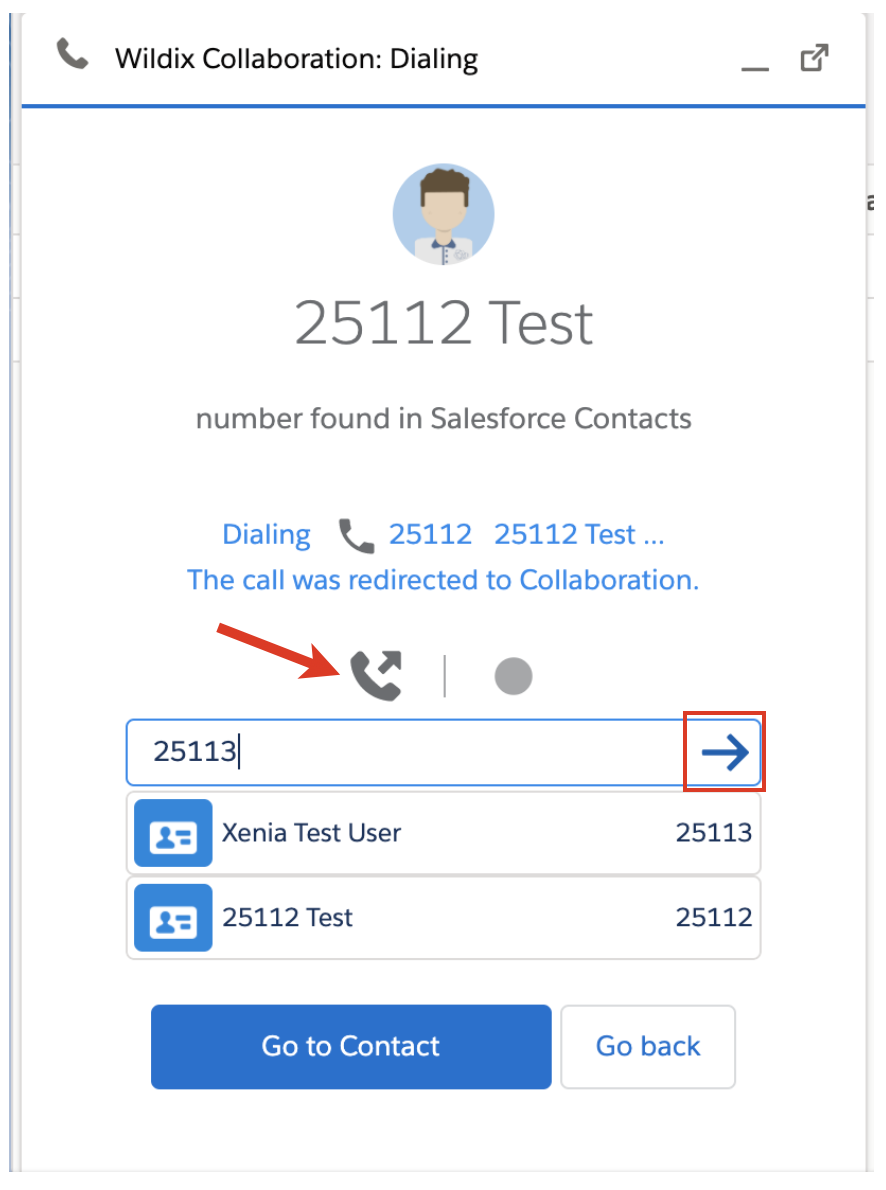
Transfer a Call
During a call, click on the Transfer icon
Enter the contact name/ number
Select the contact from the list and click on the Arrow to transfer it
Put a Call on Hold
Click on the Hold icon during a call to put it on hold/ to resume it:

Start a Call Recording
During a call, click on the Recording icon to start/ stop the recording
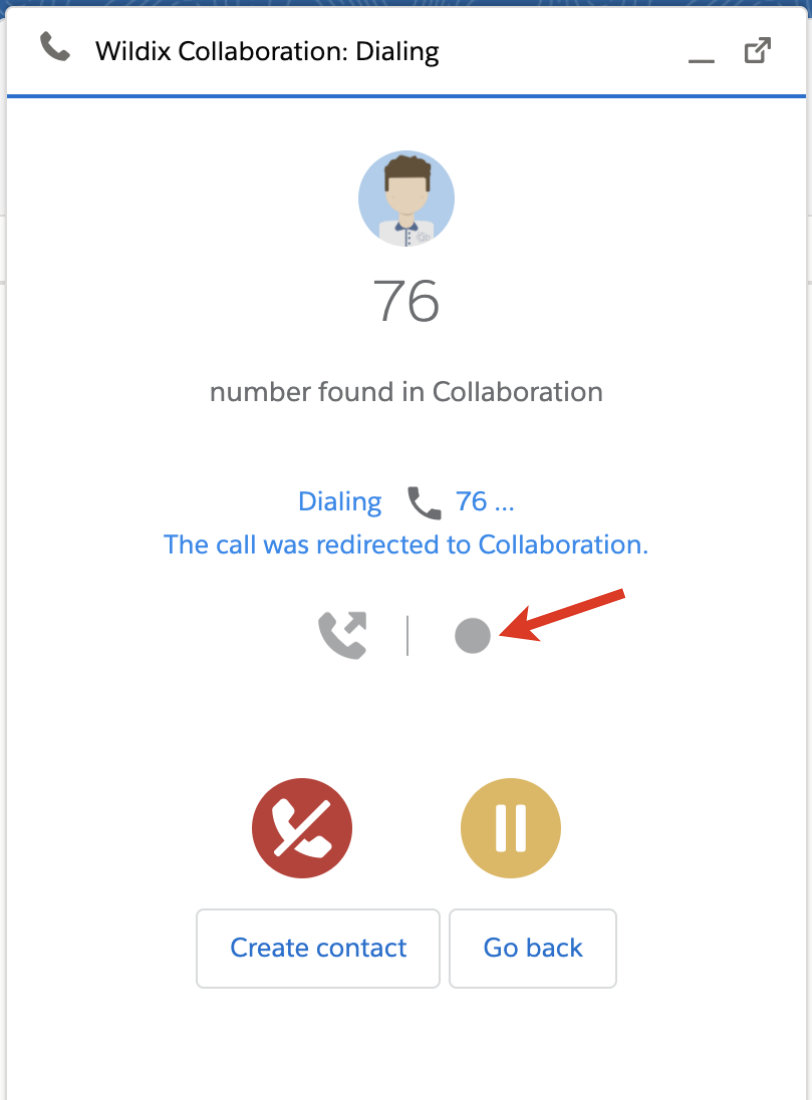
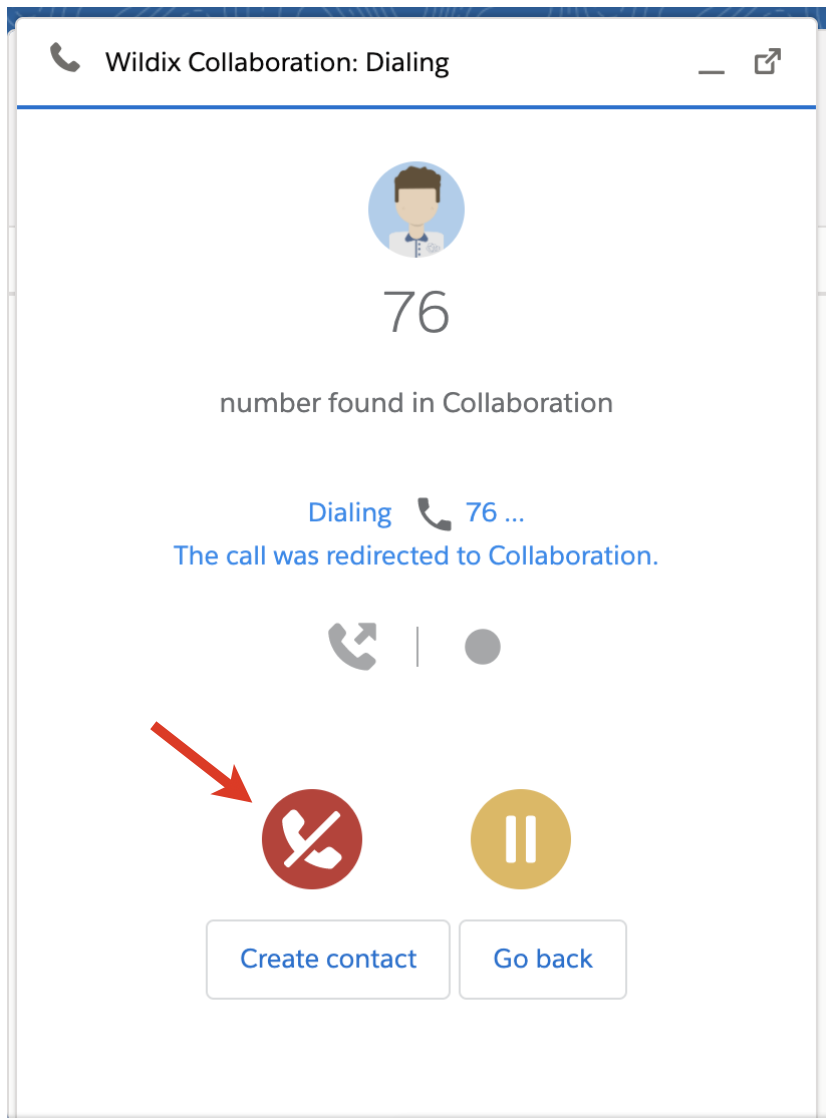
End a Call
To end a call, press the red Handset button
Add a new contact
...
| Note |
|---|
Note: If there is just one record type, it is assigned to contacts by default. In case there are more than one record type, when creating a new contact, user needs to select type of record for the contact. For example, when clicking New on the Contacts tab:
|

| Macrosuite divider macro | ||||||||||||||||||||||||||
|---|---|---|---|---|---|---|---|---|---|---|---|---|---|---|---|---|---|---|---|---|---|---|---|---|---|---|
|
| Button macro | ||||||||||||||||||||||||||||||||||||||||
|---|---|---|---|---|---|---|---|---|---|---|---|---|---|---|---|---|---|---|---|---|---|---|---|---|---|---|---|---|---|---|---|---|---|---|---|---|---|---|---|---|
|