| Scroll export button | ||||||||
|---|---|---|---|---|---|---|---|---|
|
| Info |
|---|
This Documentation describes how to use Partner Community, starting from lead creation and ending with managing opportunities. Created: December 2021 Updated: August 2023 Permalink: https://wildix.atlassian.net/wiki/x/ahXOAQ |
| Table of Contents |
|---|
Get Started
...
- Wildix Partner Community Guide - view news & updates, submit a case, etc.
- Wildix Partner Community Guide - create and manage Leads
- Wildix Partner Community Guide - create and manage Accounts for companies you plan to sell to
- Wildix Partner Community Guide - create and manage Opportunities that refer to the high probability of generating sales revenue
- Wildix Partner Community Guide - create and manage Contacts
- Wildix Partner Community Guide - manage proposed prices of products/ services
- Wildix Partner Community Guide - create and manage orders
- Wildix Partner Community Guide - create and manage business activities
- Wildix Partner Community Guide - generate and manage reports

Home
From the Home page, you can access Wildix Partner Community Guide, quickly create new Leads and Accounts, submit a case. The Search Field allows you to find any information.
...
From the Related Details and Actions Panel, you have access to all the detailed information connected with the Contact: you can review Contact History, Notes, upload files, create Tasks and upload files

Quote
Quotes represent proposed prices for products and services. Quotes can be created from and synced with Projects and emailed to customers.
Create a Quote
Select a Project you want to generate a Quote for and click Create Quote button:

...
| Note |
|---|
Note: Creating a quote for the first time, you may need to wait some seconds till the page loads. |
Settings
In the Settings Opportunity section, you can find the following information:
- Account
- Opportunity Name
- Geography
- CurrencyGeography
- ID of the quote that is being prepared
- Quote status (e.g. Draft)
- Proposal Name: a name autogenerated by the system, but you can enter a preferred custom name
- Playbook: Wildix Partners (default value)
- Contact: contact indicated in your Project details
- DealRoom Publish Name: a name autogenerated by the system, but you can enter a preferred custom name
- Expiration Date: expiration date of the proposal. By default, it is one month from the quote generation, but you can enter a custom date if required.
- Document Type: it is DealRoom by default.
- DealRoom Template: Wildix (default value)
- Document Template: Proposal V2 (default value)
- Proposal Summary Template: Internal (default value)


General Questions
- Document language: select language of the document
- Opportunity Type: synced from Project Details (New Business/ Existing Business/ Existing not with Wildix)
- Implementation Date: select the date when the project starts (when all licenses get activated, etc.). By default, the first date of the next month is displayed.
- Billing Frequency: depending on the product chosen (Collaboration, x-bees, or x-hoppers), there are relevant billing frequency options available.
- Commitment: choose if you wish to commit for 3 or 5 years or proceed without commitment.
- Product of interest (read-only field): the product you’ve previously chosen for your project. You can select licenses for the chosen product, as well as devices in the Bundle section.
- Additional Configuration: here you have the following options:
- Additional Items: these include PBX, Phones, Headsets, W-AIR, Networking, Conference, Media gateways, Power supplies - anything you would like to add outside of the bundle.
- Licenses Upgrade: here you can get x-caracal, Wizywebinar, Wizyconf, MS-PhoneSystem license or add storage and get Static IP
- CLASSOUND: lets to order New DID, Full Porting, Outbound Only, New Free Phone
Miscellaneous items: includes such services as Installation, Maintenance, Internet Connection
- PBX Model: choose the preferred option (Cloud or VM/HW PBX)
- Region: Select region
PBX DNS Name: enter name of the PBX
Note Note: You can select multiple addons if required. Depending on the chosen addons, the relevant sections appear on the page.
...
In the bundle section, you choose the licenses type: e.g. Basic/ EssentialStandard/ Business/ Premium SuperBee in case of Collaborationx-bees:

Once you select a license type, fill out the following fields:
...
- Category: PBX, Phones, Headsets, W-AIR, Networking, Conference, Media gateways, or Power supplies

- HWaaS or CAPEX: select if you want to order the product as HWaaS or CAPEX
- Product: select necessary product of the chosen category
- Quantity: indicate the needed number of items
- HWaaS or CAPEX: choose the preferred option

To add other additional items, just click the + (Add) button and repeat the steps.
...
- CLASSOUND Service: select the service required (Full Porting, Outbound Only, New DID, New Free Phone)


Depending on service chosen, fill out the necessary fields. E.g. for New DID, fill out region, country, ZIP code, DID range, and quantity.

Note Note: In case of choosing the Full Porting option, an additional section, Instant Virtual Porting appears below, where you can choose if you want to use the option or not:


To learn more about the feature, check out the documentation: CLASSOUND Instant Virtual Porting
...
In the Products Summary section, you can see the list of all items of the quote, including such information: item name, sale price, quantity, commitment discount, cost per item, total cost, description, billing frequency, etc.:


Once you've prepared your quote, you can preview and save it. Preview and save options are available at the top panel:
...
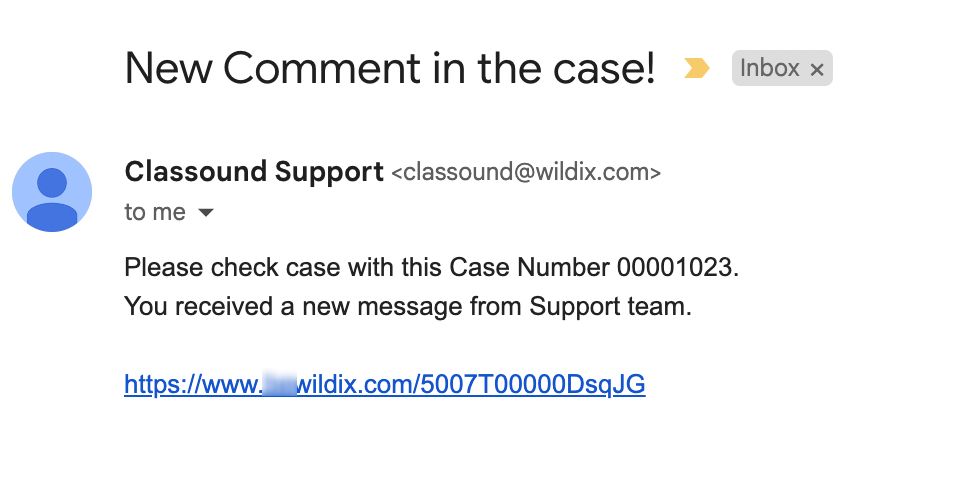
When CLASSOUND support agent replies/ posts a question, you should receive an email notification, to easily navigate to the necessary case and reply there.
Task
Tasks represent business activities such as making calls, sending quotes or other to-do items.
| Note |
|---|
You can also create and manage Tasks in Lead, Account, Project and Contact tabs, under Open Activities or Actions menus. |
...