| Scroll export button | ||||||||
|---|---|---|---|---|---|---|---|---|
|
...
- Click + to add a new Fax/ SMS server profile
- Enter the following parameters:
- Name: enter the name (identifier)
- Protocol: select the protocol of communication with your email server (POP3 or IMAP)
Auth type: select the preferred authorization type, Basic or OAuth2 (the support of OAuth2 for Fax/SMS Server starts from WMS 6.01.20221019.4). Depending on the chosen type, fill out the following fields:
a) In case of Basic Auth type:- Server: settings of your email server to access incoming messages
User: email address of user to access to the server
Note Note: don't use here an email of a user who must send faxes via Fax2Mail service.
- Password: password to access to email address of user specified in the field above
- Use SSL: enables secure connection to the server (required by some email servers)
SSL Certificate check: allows to disable SSL certificate check, e.g. in cases when the mail server uses a self-signed certificate. The parameter is enabled by default.
Note Note: The support starts from WMS 6.03.20230630.3.
- Auth provider: choose auth provider (Google or Office 365) -> click Login and perform the login
- Dialplan procedure: select the Dialplan procedure to manage faxes sent by users
- Protection password: security password for MAIL2FAX service
- Default LOCALSTATION: sender’s fax machine ID, appears at the top of each page of outgoing fax, if not specified the default value “Fax Server” is used
- Default LOCALHEADER: fax header to identify the sender, appears at the top of each page of outgoing fax, if not specified the default value “Wildix PBX” is used
- Keep e-mails and faxes on server: enables storing of messages on the server
...
Add custom prompts
Starting from WMS 6.03.20230630.3, it is possible to upload custom prompts via WMS -> Sounds:
1. In WMS -> Sounds, add the directory named "custom":
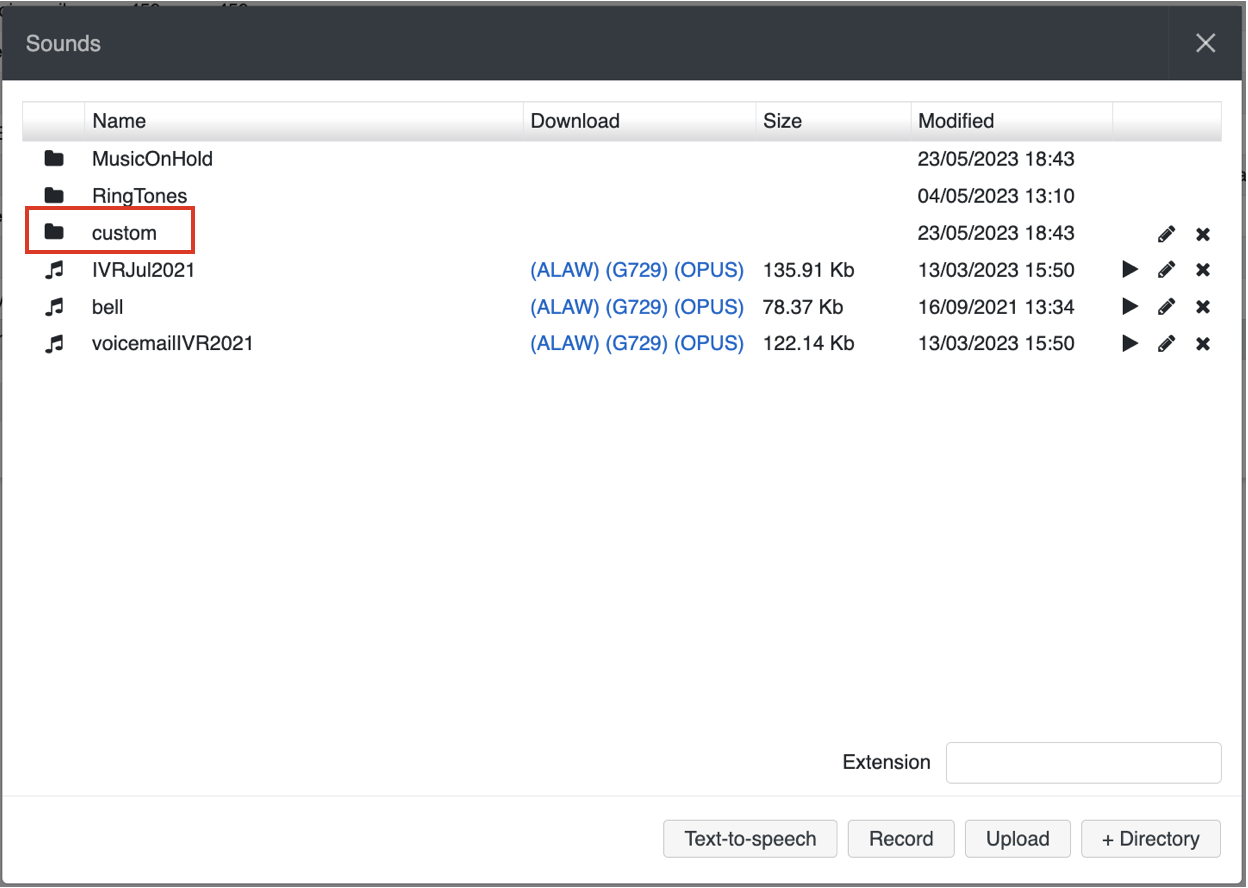
2. Upload the custom files to the directory
| Warning |
|---|
Important: The
|
| Macrosuite divider macro | ||||||||||||||||||||||||||
|---|---|---|---|---|---|---|---|---|---|---|---|---|---|---|---|---|---|---|---|---|---|---|---|---|---|---|
|
...