This User Guide explains how to access and use x-bees Mobile app and describes the basic operations: how to manage calls, create conversations, schedule conferences etc.
Other x-bees documentation: x-bees documentation.
Scroll export button scope current template-id 0fa09813-8b86-460a-aa1d-ef450a80e9ce quick-start true add-on Scroll PDF Exporter
...
Scroll export button scope current template-id 0fa09813-8b86-460a-aa1d-ef450a80e9ce quick-start true add-on Scroll PDF Exporter
| Info |
|---|
This User Guide explains how to access and use x-bees Mobile app and describes the basic operations: how to manage calls, create conversations, schedule conferences etc. Other x-bees documentation: x-bees documentation. Created: February 2022 Updated: February April 2025 Permalink: https://wildix.atlassian.net/wiki/x/ggHOAQ |
...
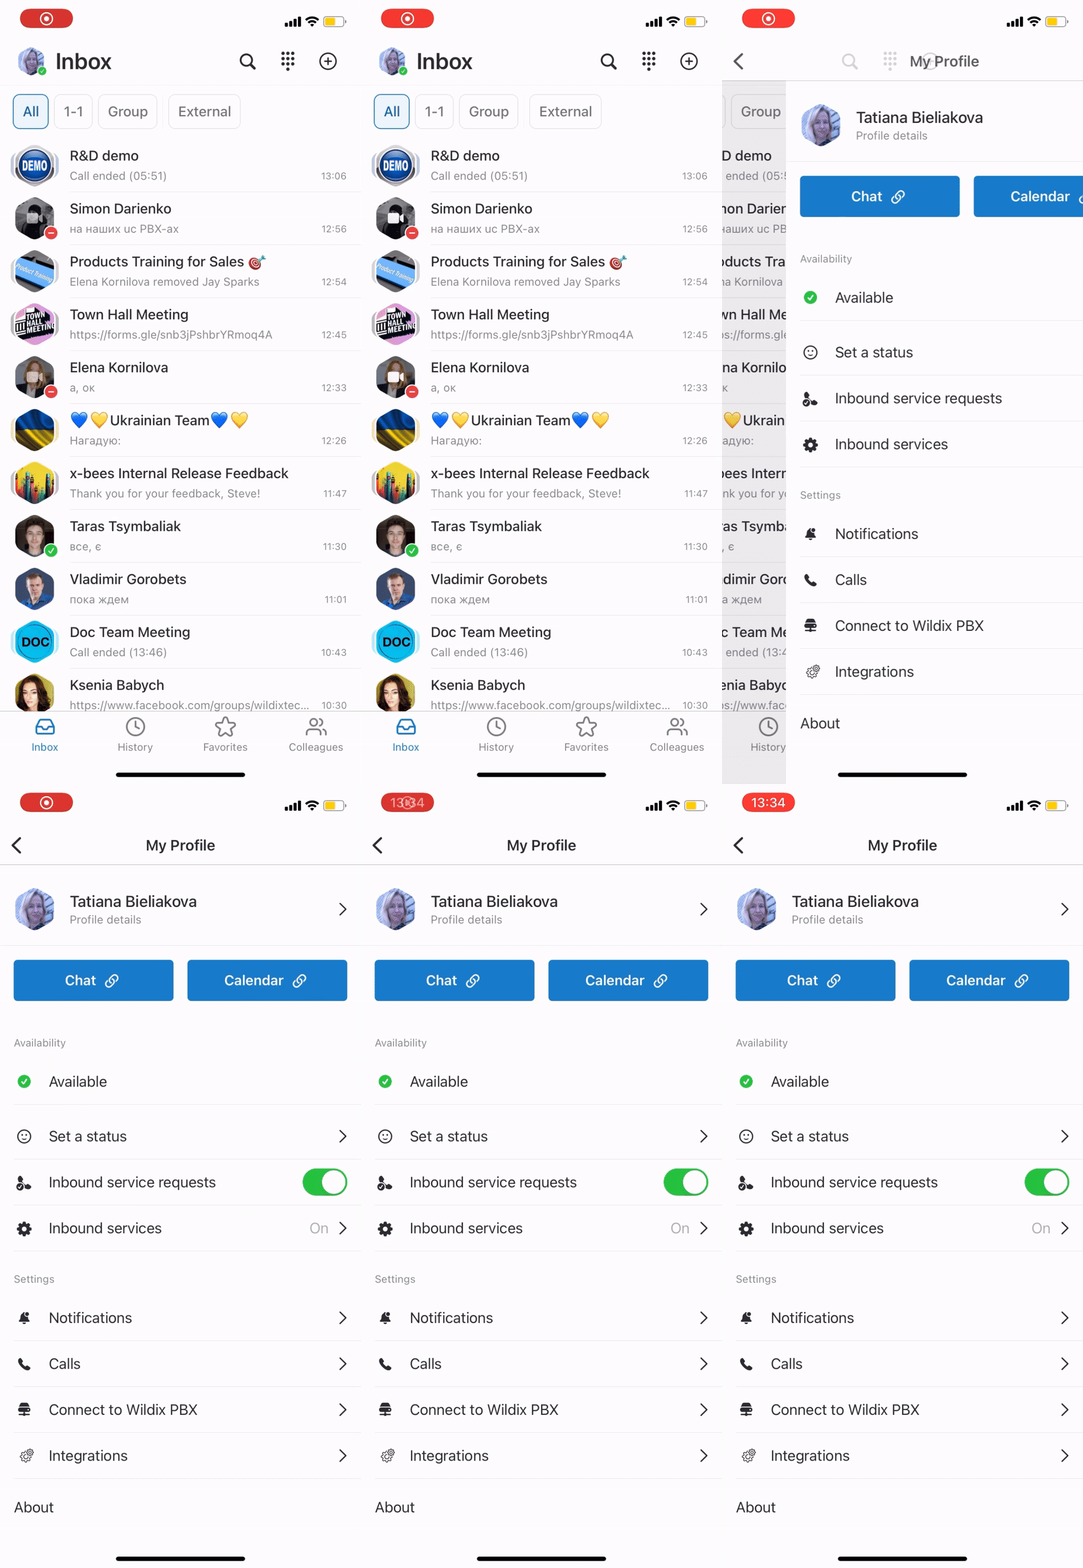
- Tap your user picture to access Settings
User Picture
- Tap your user picture to upload a new picture or use your camera to make a new one
...
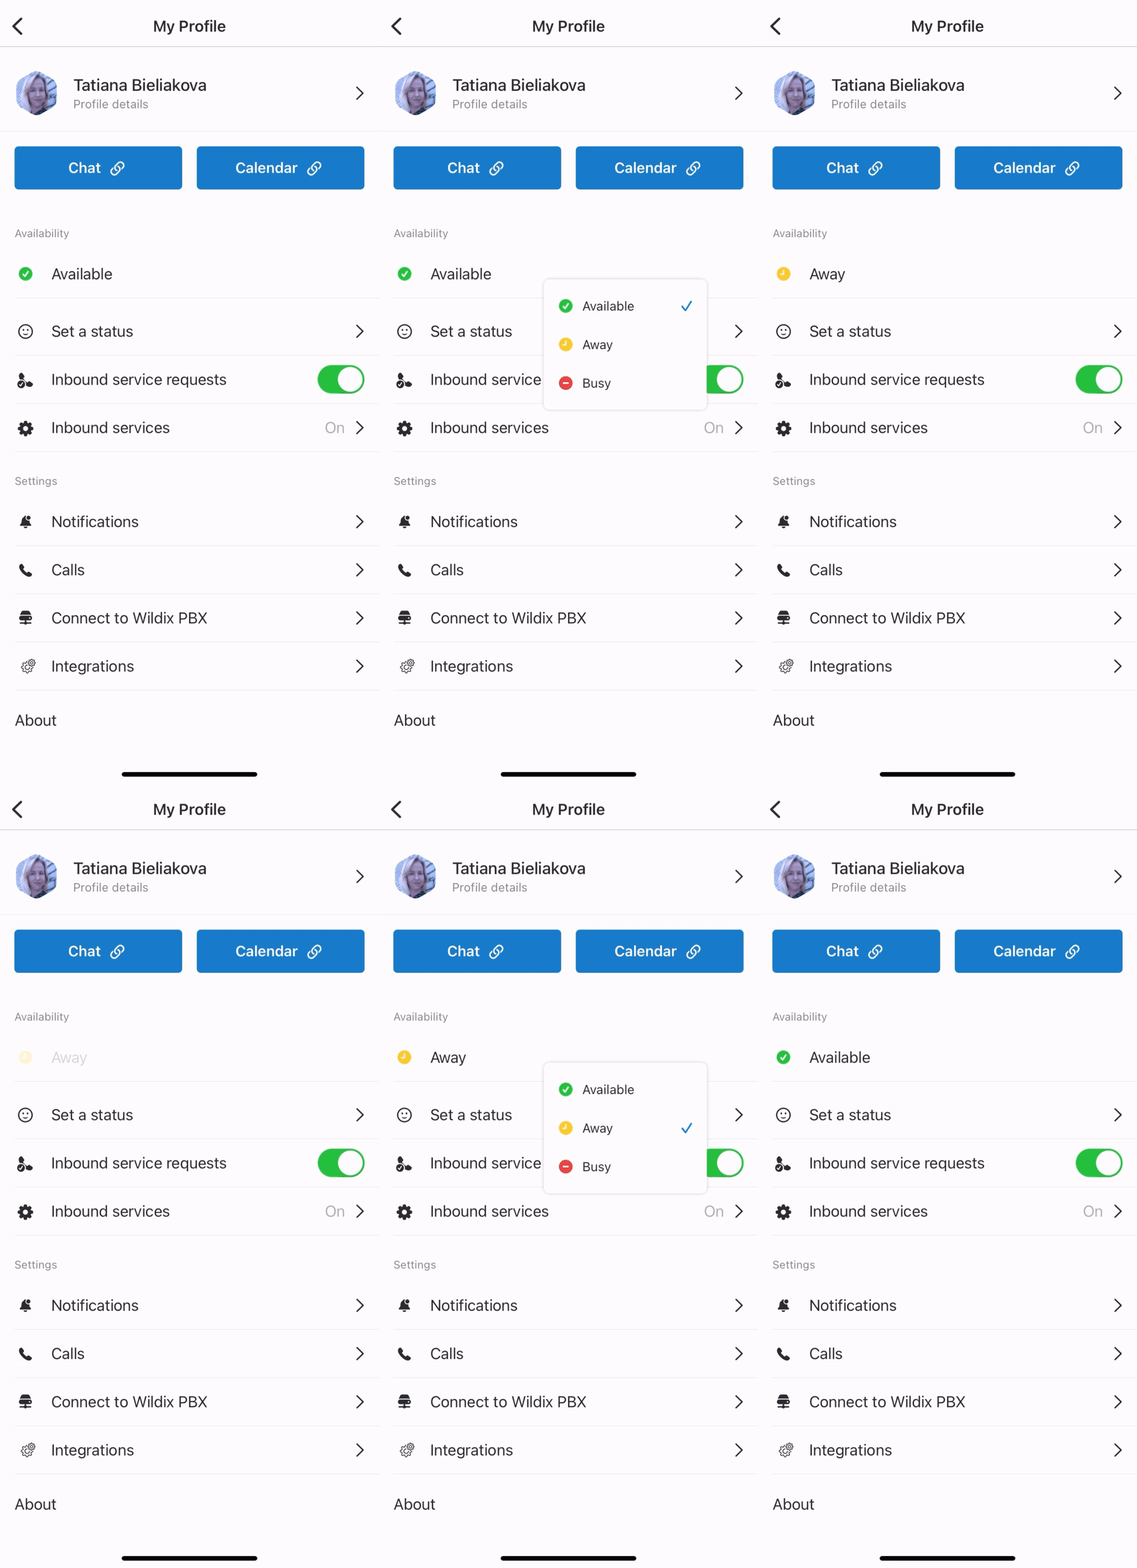
- Under Status, tap on your current user status (e.g. Available) and select a new one
- To set a status message, tap Set a status, indicate the message, select date and time to clear (optional) and tap Save
...
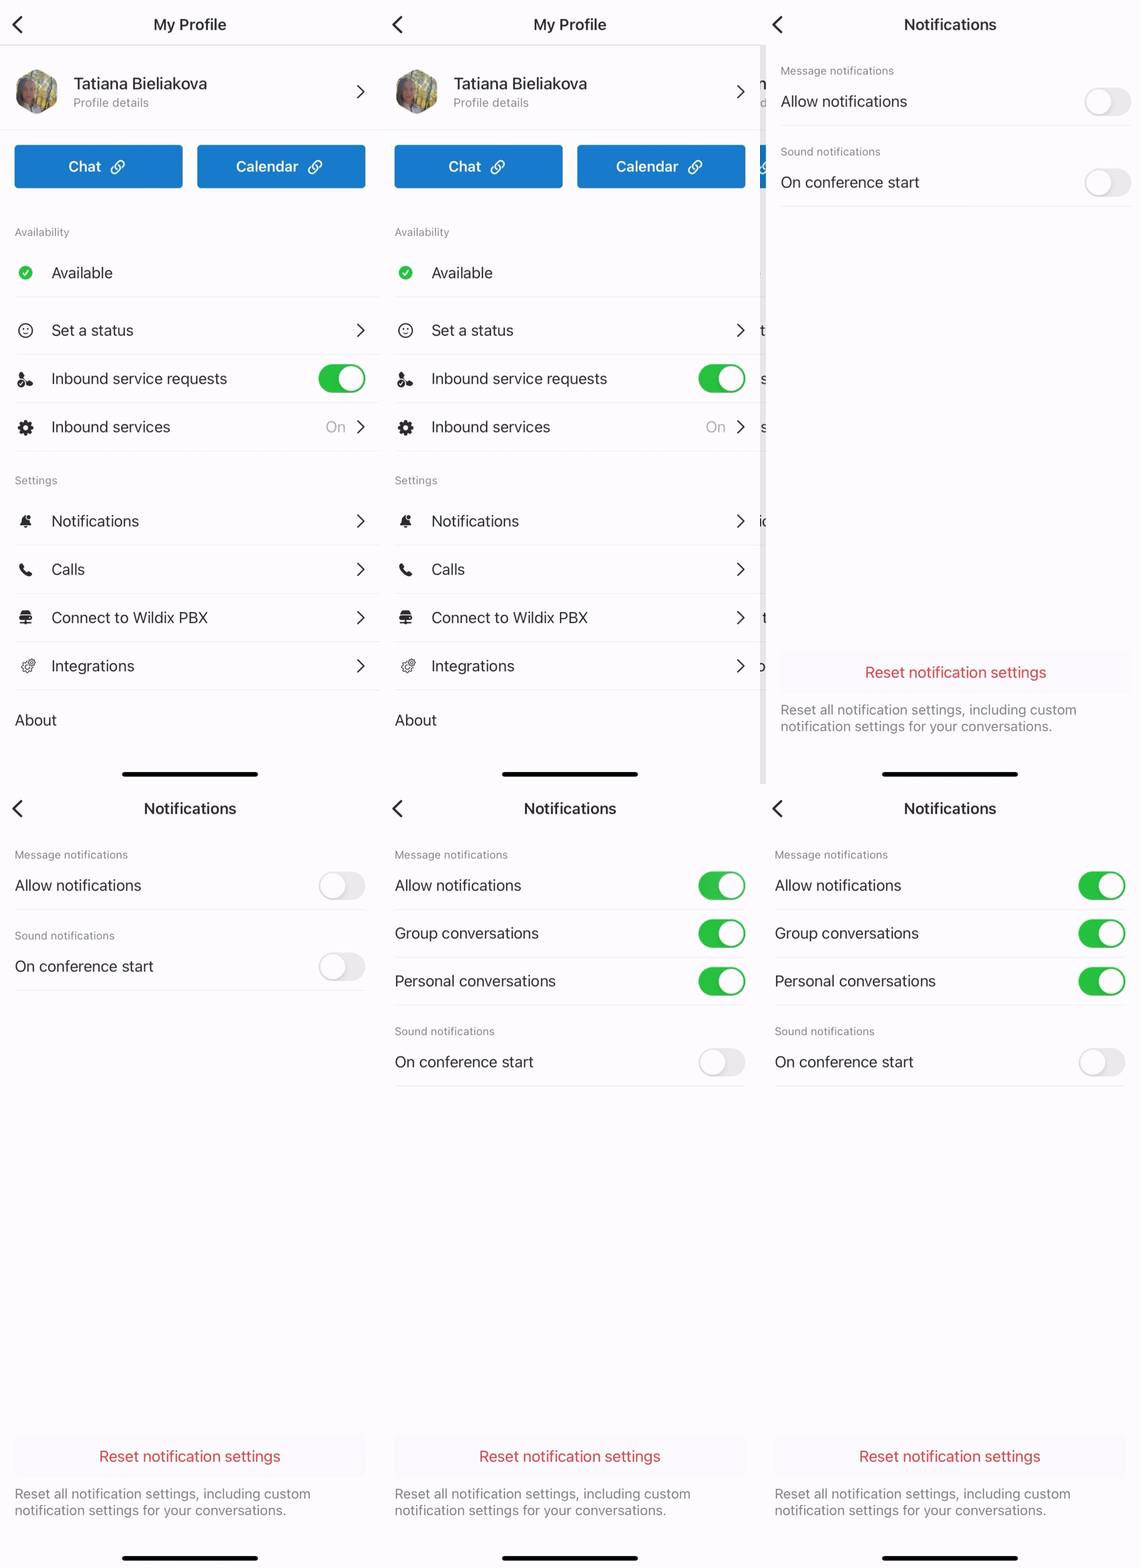
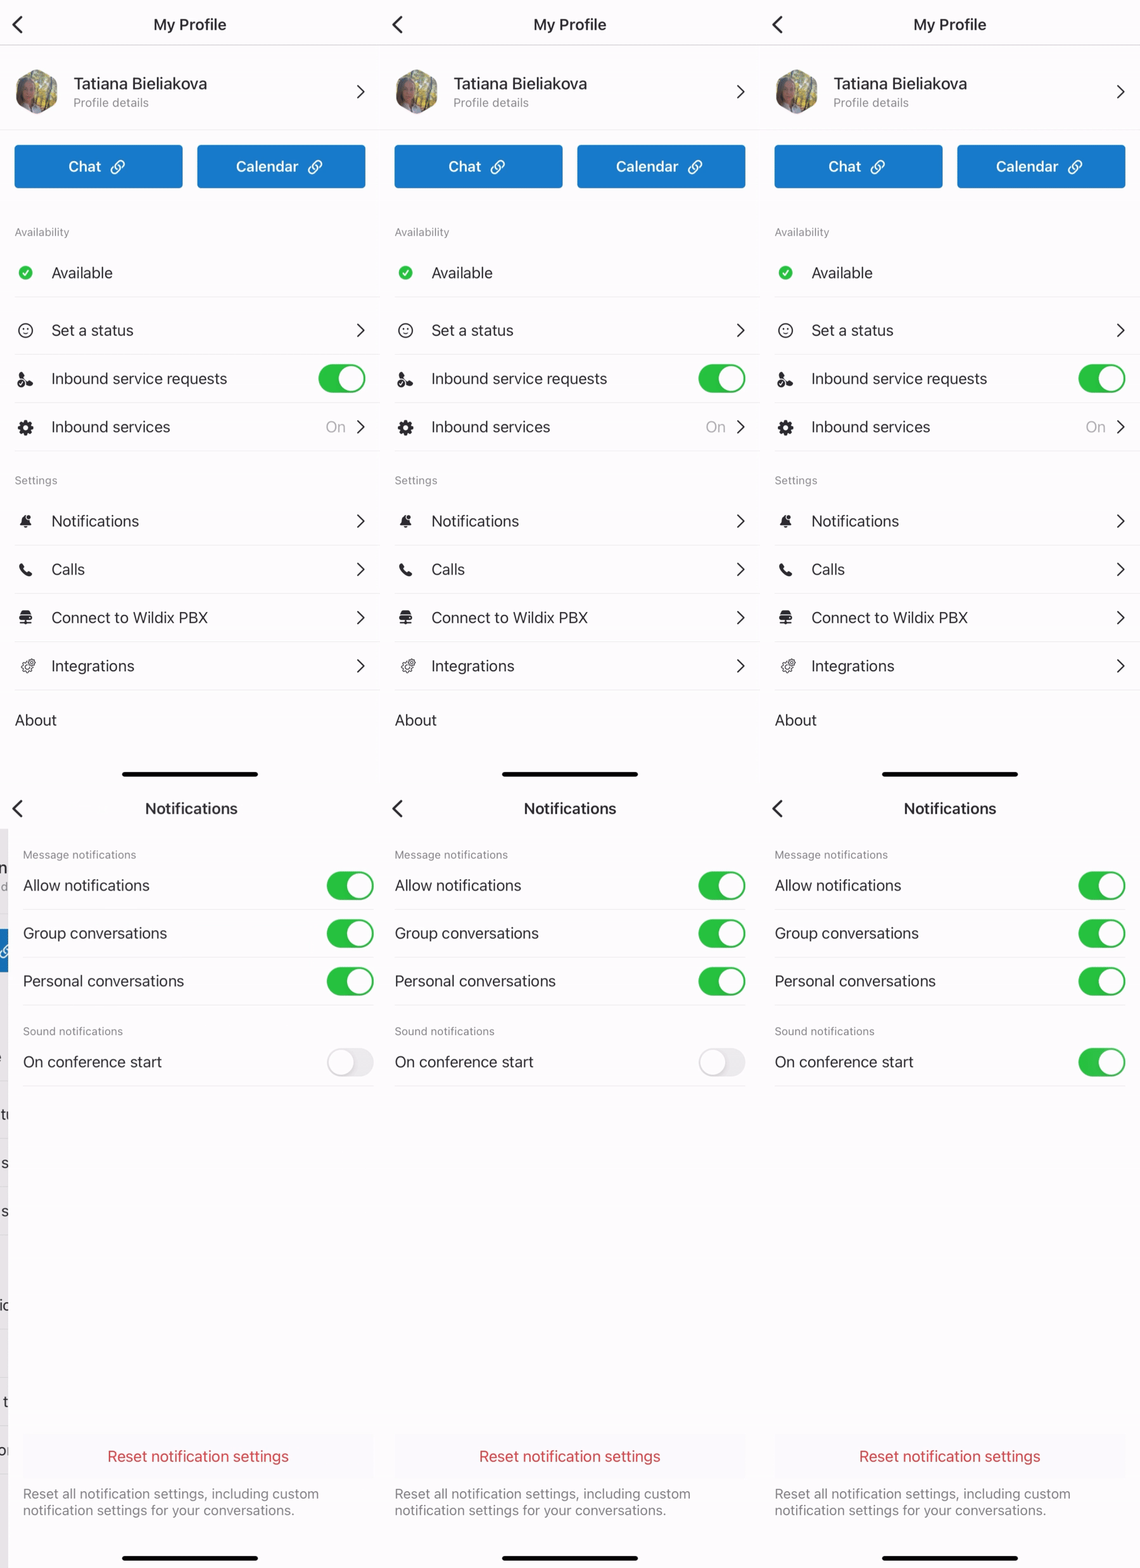
- Under Settings, tap Notifications and enable notifications for personal and group conversations.
- Note, that Web and Mobile notifications are managed separately and there is no sync between them; to enable notifications on Web, consult x-bees Web User Guide
Also, here
Here you can also manage notifications played when a conference starts. By default, it is enabled.
Besides, in the Email notifications section you can disable emails with transcriptions and summaries of calls and meetings.
| Note |
|---|
Note: Make sure you have enabled Notifications for x-bees in your phone settings. |
...
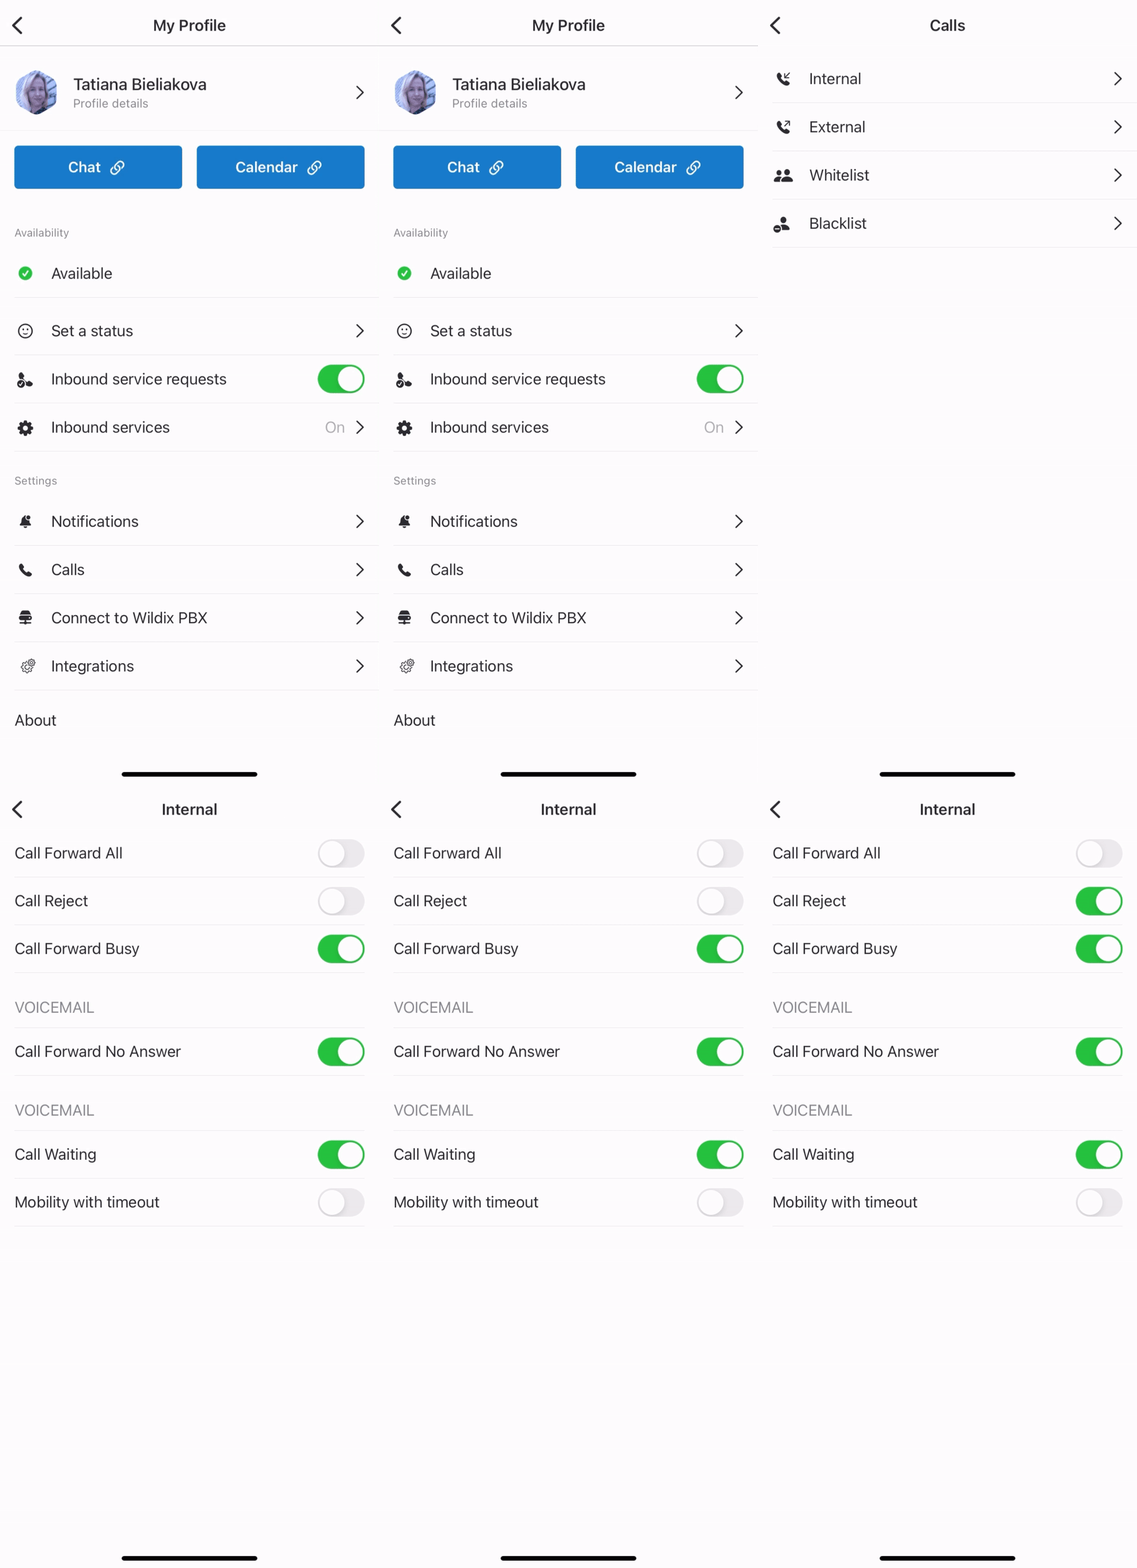
- Under Settings, tap Calls and set up call forwarding rules for every Call class
Inbound services ("Contact center")
The contact center feature present in Wildix Collaboration is available in x-bees and allows you to view the available services (call groups) and dynamically log in/ log out from them:
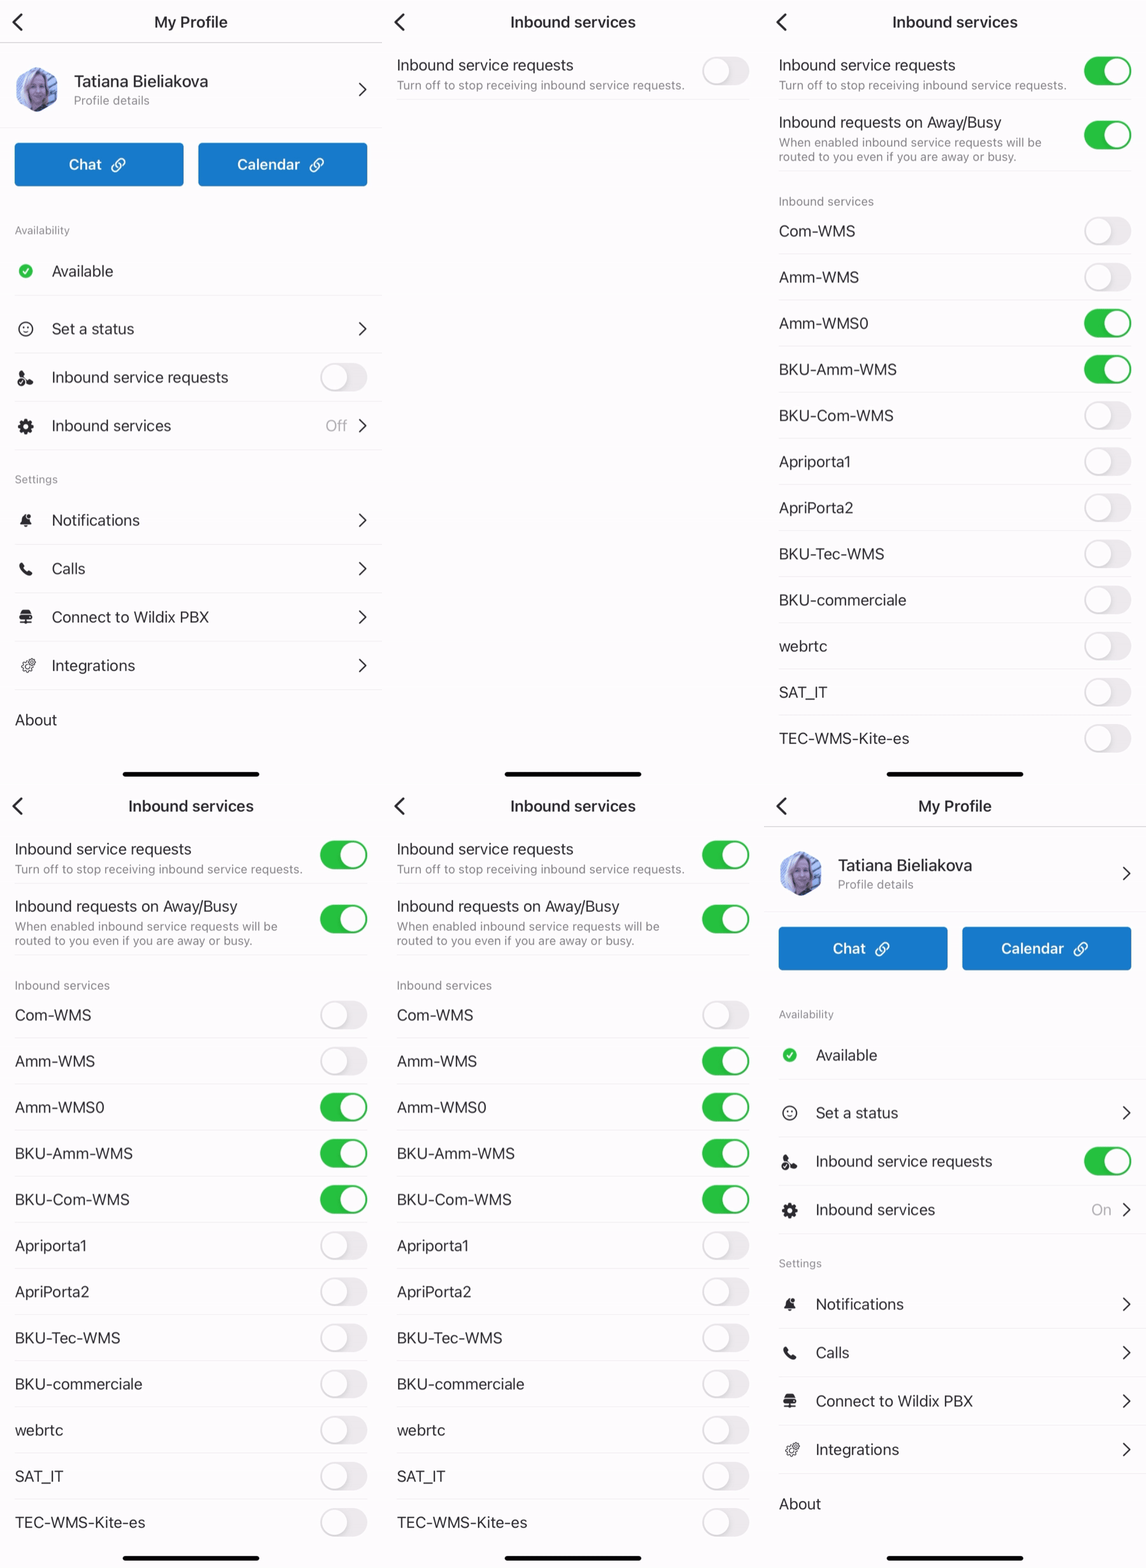
- Under Status, enable Under Availability, proceed to Inbound services
- Enable the switch next to to Inbound service requests: the switch allows you to dynamically join the inbound services (call groups)
- Under Inbound servicesServices: enable those services (call groups from your PBX) that you would like to join as a call agent (in this menu you cannot change the status in services, to which you were added statically via WMS)
Integrations
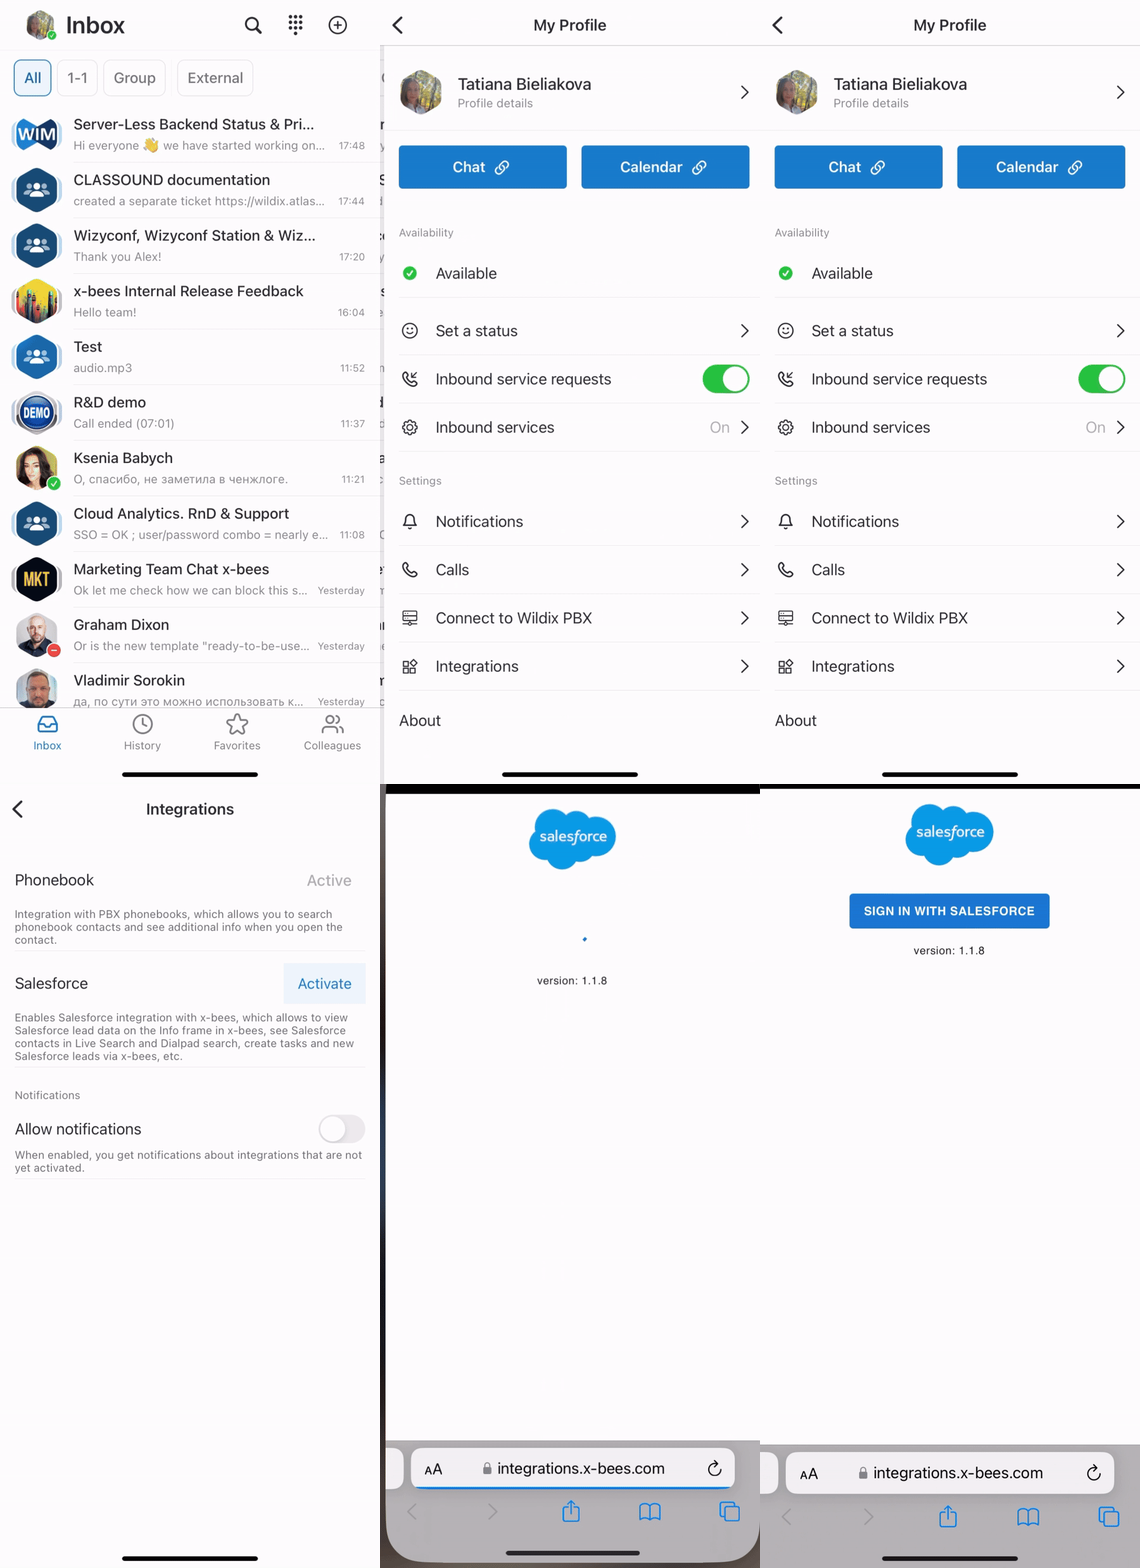
On the Integrations screen, you can see the list of connected integrations and their status. Some integrations many need authorization. In this case, there is the button Activate in front of the relevant integrations. Integrations that are connected and do not require authorization are displayed as Active.
In case there is an integration that is not active for a user and requires authorisation, a notification pops up that leads to Settings -> Integrations tab, where the user can activate the integration. The notification is displayed when opening Info frame with inactive integrations or when using the search.
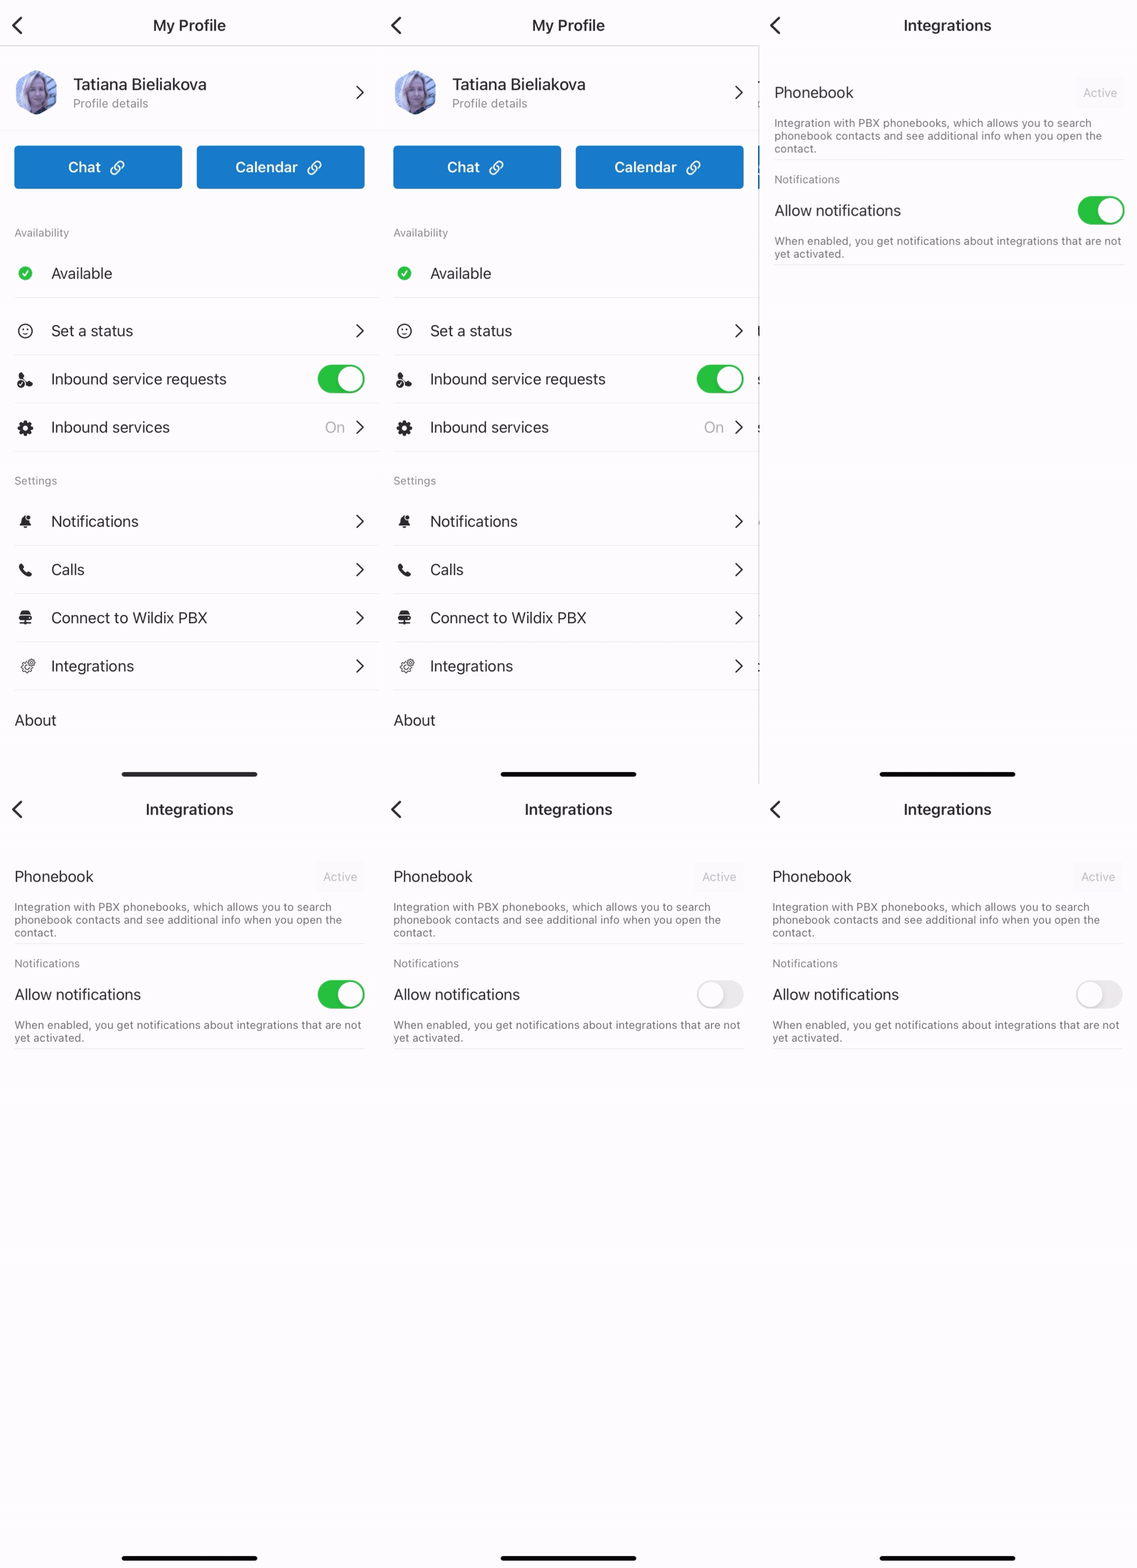
If you do not want the notifications to be displayed, in Settings -> Integrations, disable the option Allow notifications:
For more details, check out the documentation: How to manage iFrame integrations in x-bees
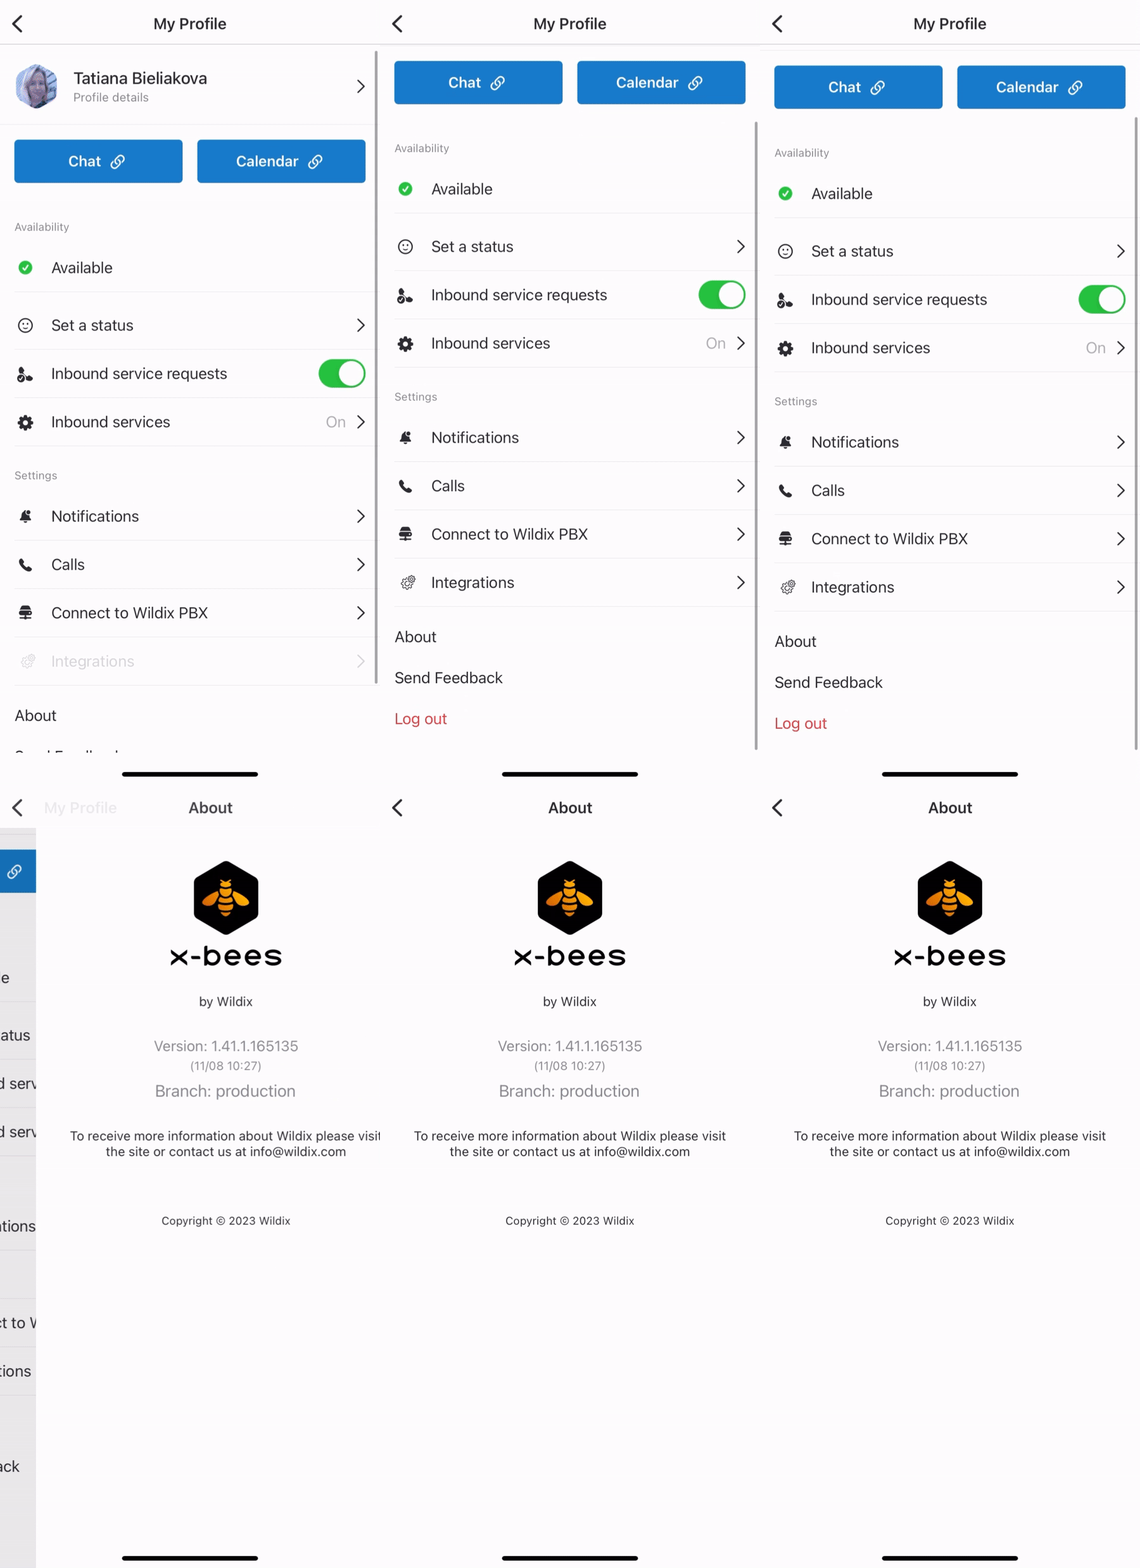
Check the current version
- Under Support, tap About
Feedback
You are invited to send us feedback, provide suggestions and report problems!
...
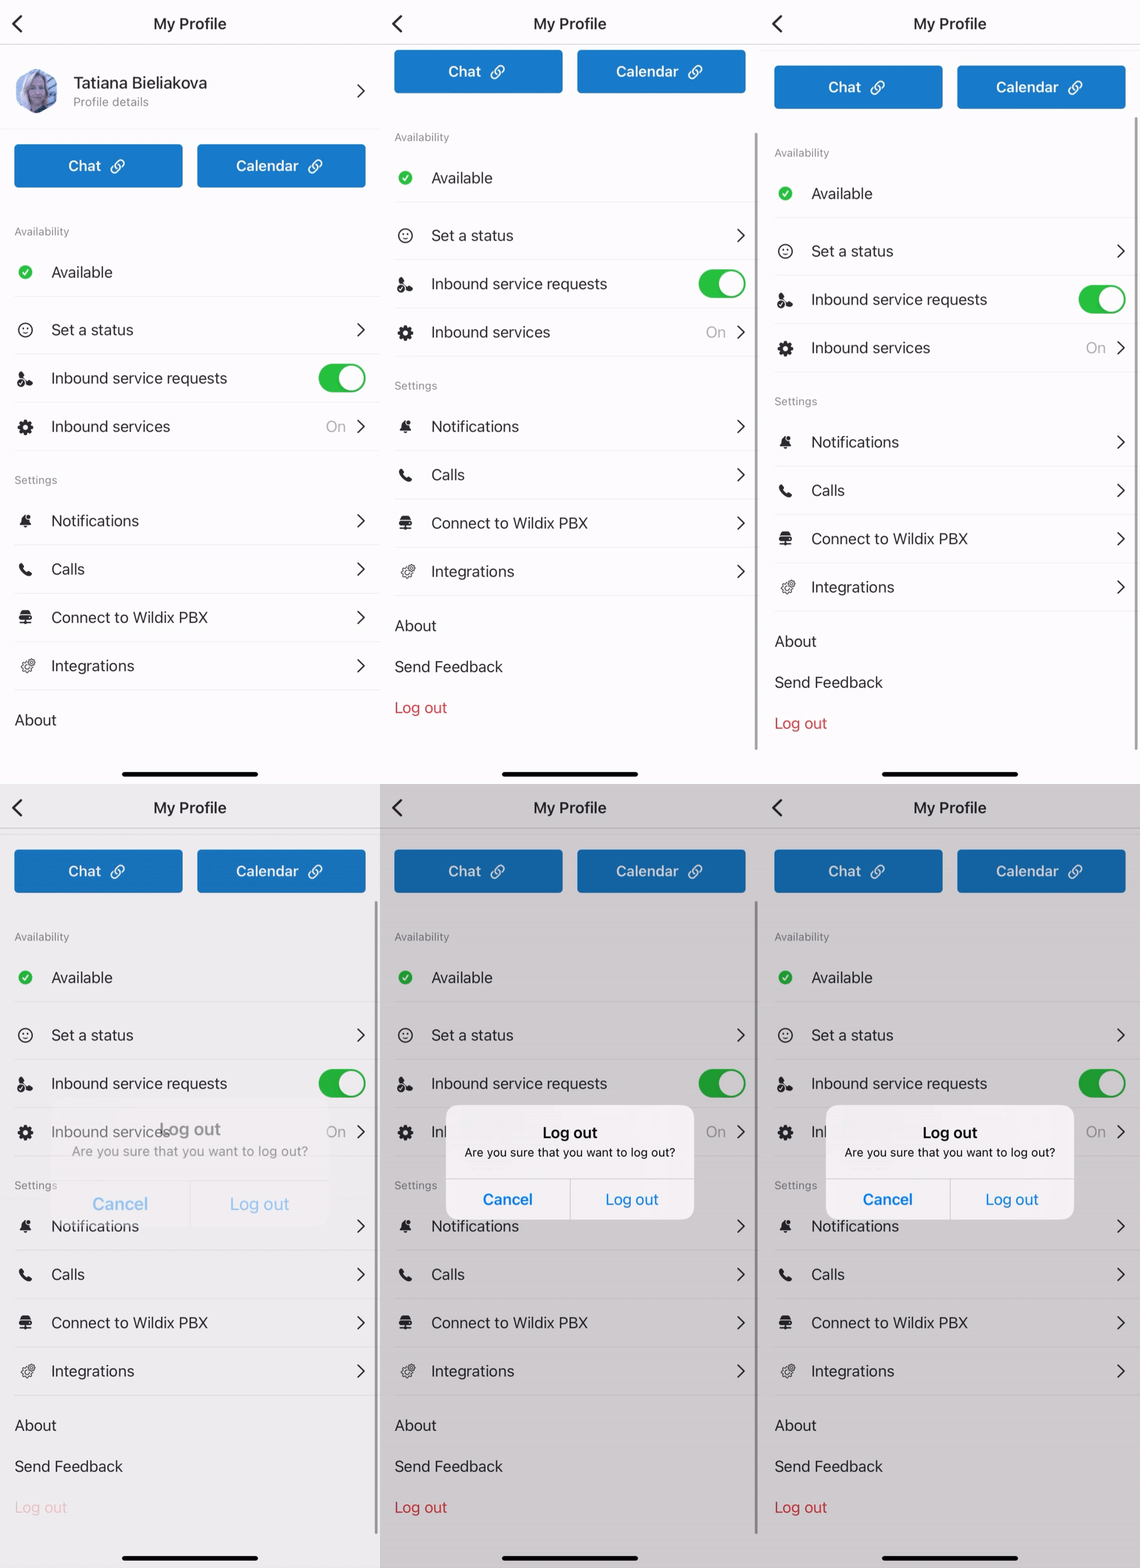
- From the Inbox, tap on your user picture in the upper left-hand part of the screen, then tap Log out
Conversations
...
- All: displays all available conversations
- 1-1: displays one-on-one conversations with internal users
- Group: displays group conversations with internal users
- External: includes both one-on-one and group conversations with external users
- Calls: includes calls conversations
The number next to the tab name (for the tabs 1-1, Group, External) corresponds to the number of unread messages in conversations of the relevant tab.
...
- This device: generates a call via the Wildix PBX on the current device.
- Note: You can also choose another device registered to your account, including Web x-bees, hardware phones (WP, W-AIR), W-AIR Headsets. Outgoing and incoming calls are received on the selected device, until another device is chosen.
- Any device: gives possibility to select an active device upon placing a call
- Callback: you instantly receive a callback to your mobile number from the Wildix PBX and then the outbound call to the destination is generated
Mobile: generates a call via your mobile phone using
your SIM card operator
...
your SIM card operator
Note Note: The option Any device is availalbe starting from WMS v. 7.01.20250228.
Selecting Caller ID for outbound calls
...
The tab displays the list of your colleagues split by departments and lets you monitor colleagues presence and status, see who's in a call or a conference, start a call, conversation, send email, etc.
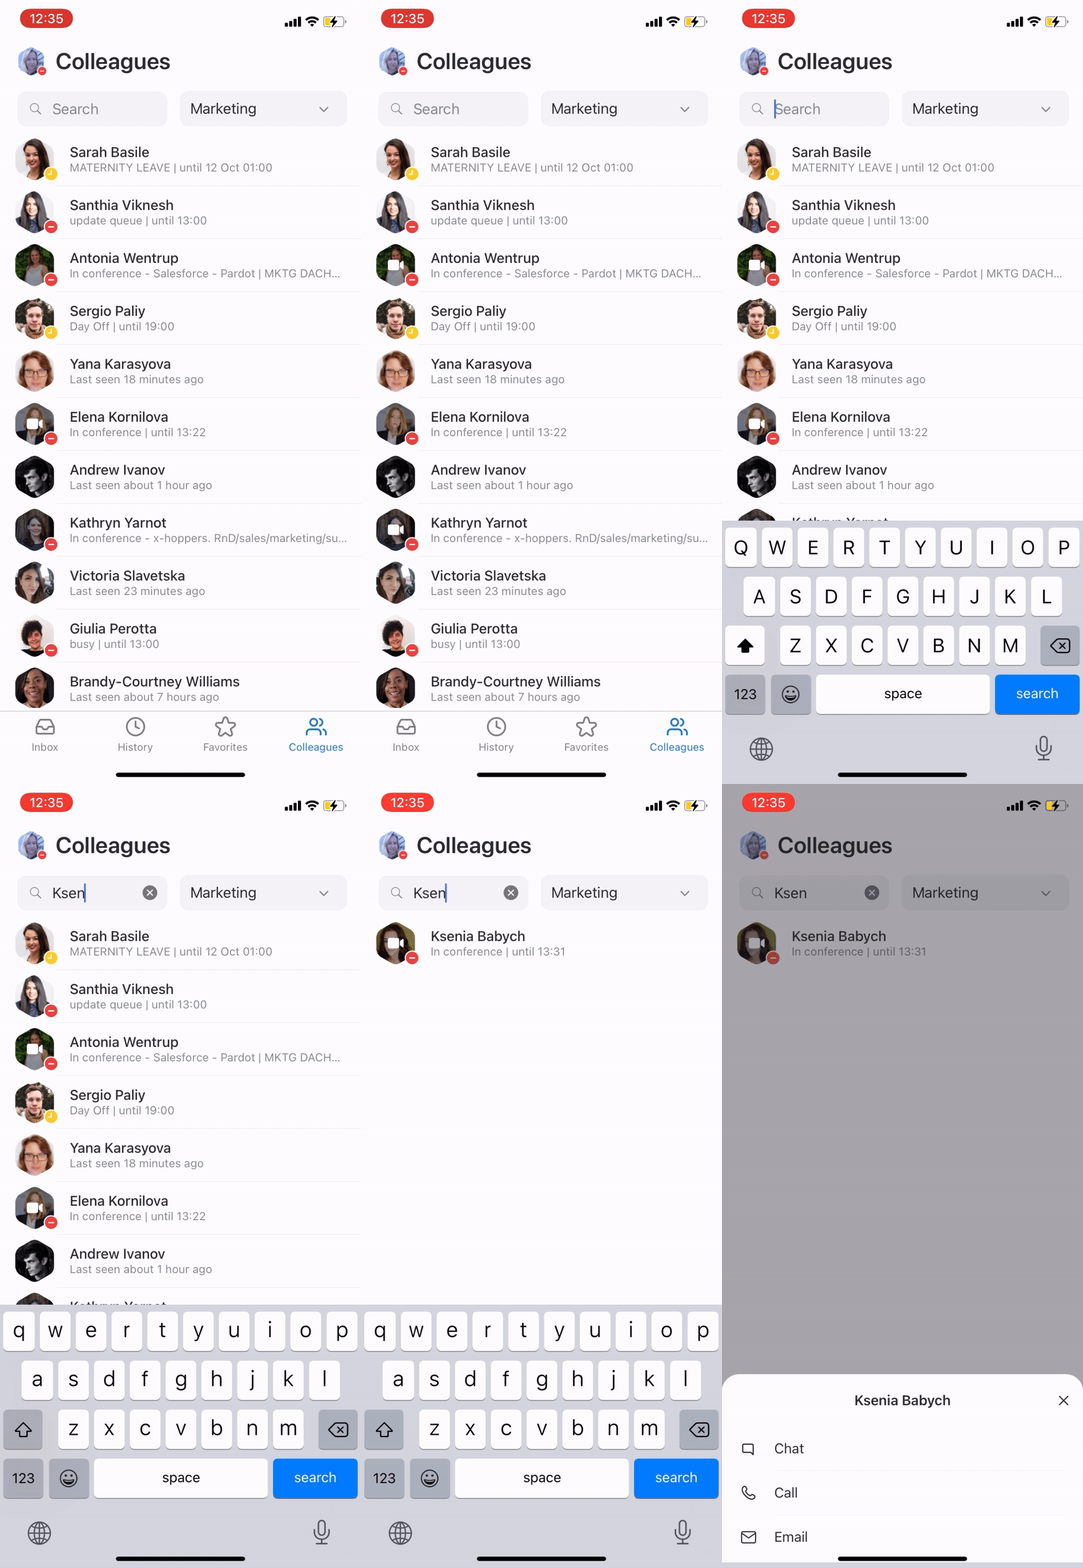
When you open the Colleagues tab, you can see colleagues of All departments by default. Tap All departments if you want to choose another department. Also, you can use the Search field to look for the necessary colleague:
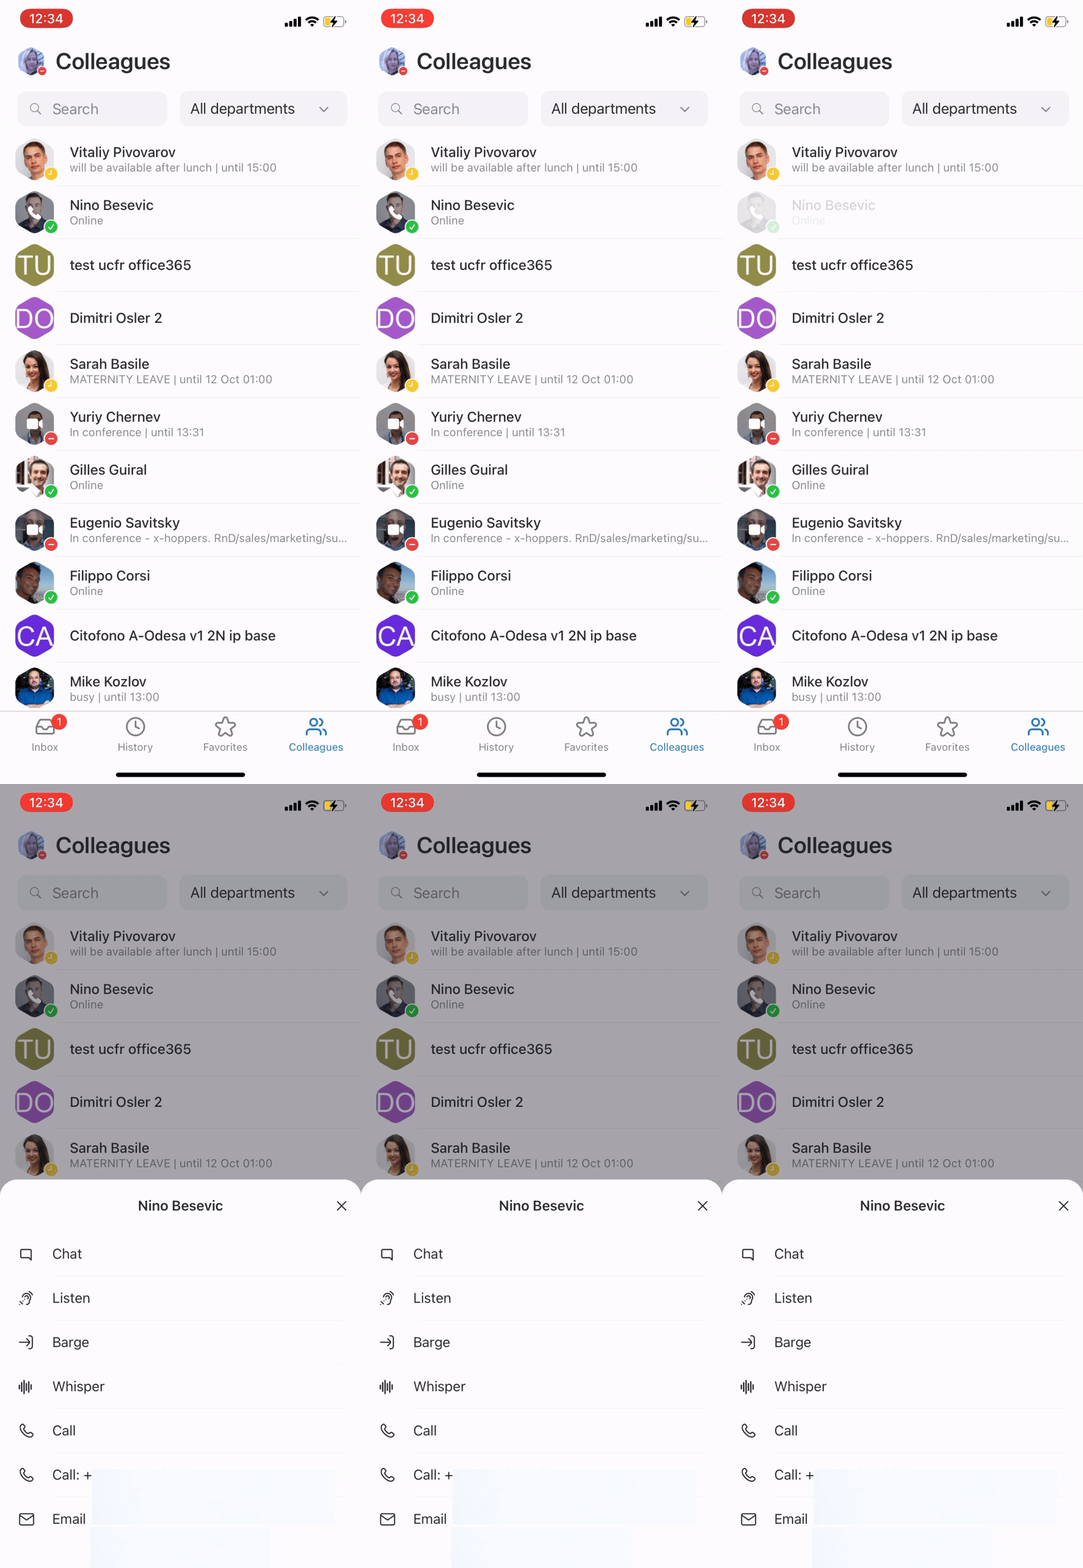
When a colleague is having a call, you can see the following options besides chat, email and call options:
- Listen: implies silent intrusion
- Barge: call intrusion
- Whisper: partial intrusion
, see who's in a call or a conference, start a call, conversation, send email, etc.
When you open the Colleagues tab, you can see colleagues of All departments by default. Tap All departments if you want to choose another department. Also, you can use the Search field to look for the necessary colleague:
When a colleague is having a call, you can see the following options besides chat, email and call options:
- Listen: implies silent intrusion
- Barge: call intrusion
- Whisper: partial intrusion
Create contact
You can create a new contact from Dialpad, Search and History tab. When entering a phone number in Dialpad or Search field, for which a match is not found, click Create contact button, select which integration to save contact, fill out contact details and press Add.
On the History tab, the create contact icon is displayed in front of phone numbers with no contact name.
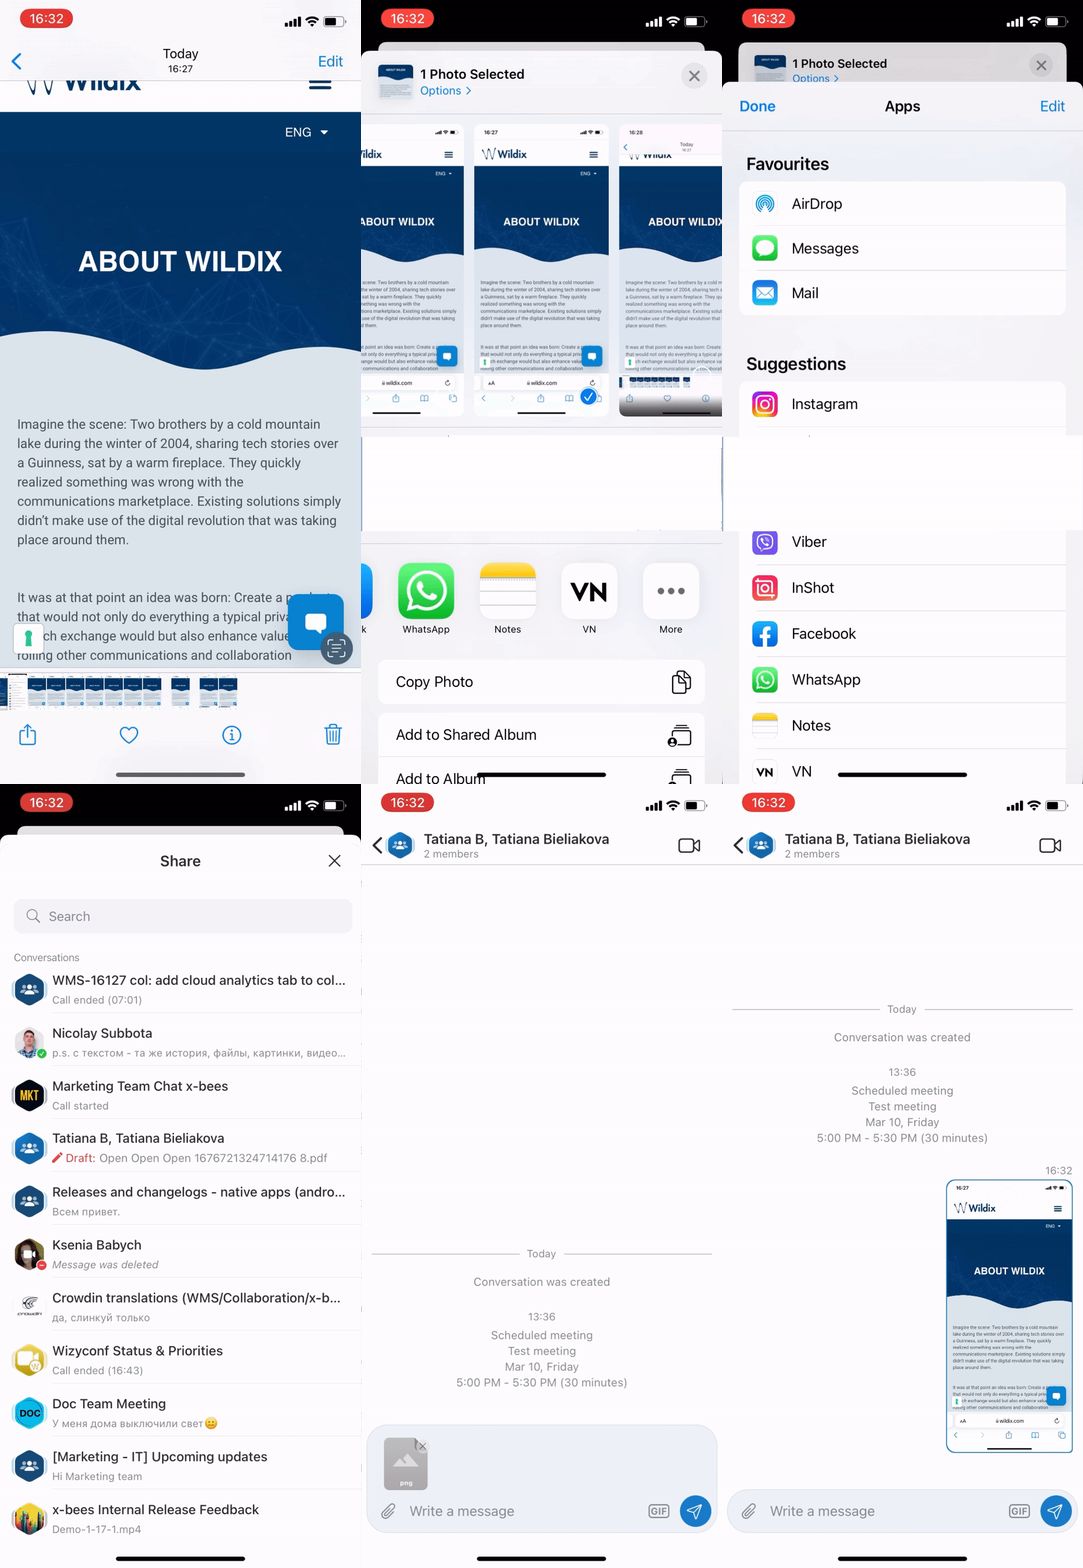
Share items to x-bees
Starting from iOS app v. 1.17.1.120512 and Android app v. 1.17.1.120512, it is possible to share items (e.g. images, files) to x-bees:
| Note |
|---|
Note: The maximum number of files that can be shared to x-bees at a time is 10. |
Schedule meeting with external users
...
- Open x-bees Scheduler page: open Profile details -> click on the Calendar button -> choose the option Schedule event:
- Type the Subject
- Enter the external user email in the Additional members field
- Choose a slot and press Schedule
Appendix 1: Monitoring of colleagues and features with Function keys
...
