This Guide describes how to manage custom iFrame integrations in x-bees.
iFrame integration setup guide: How to set up x-bees iFrame integration
Other x-bees documentation: x-bees documentation.
Created: October 2023
Permalink: https://wildix.atlassian.net/wiki/x/AQDuEQ
Introduction
Once you set up iFrame integration and choose to display the integration, it gets available in x-bees.
Activate integration in x-bees
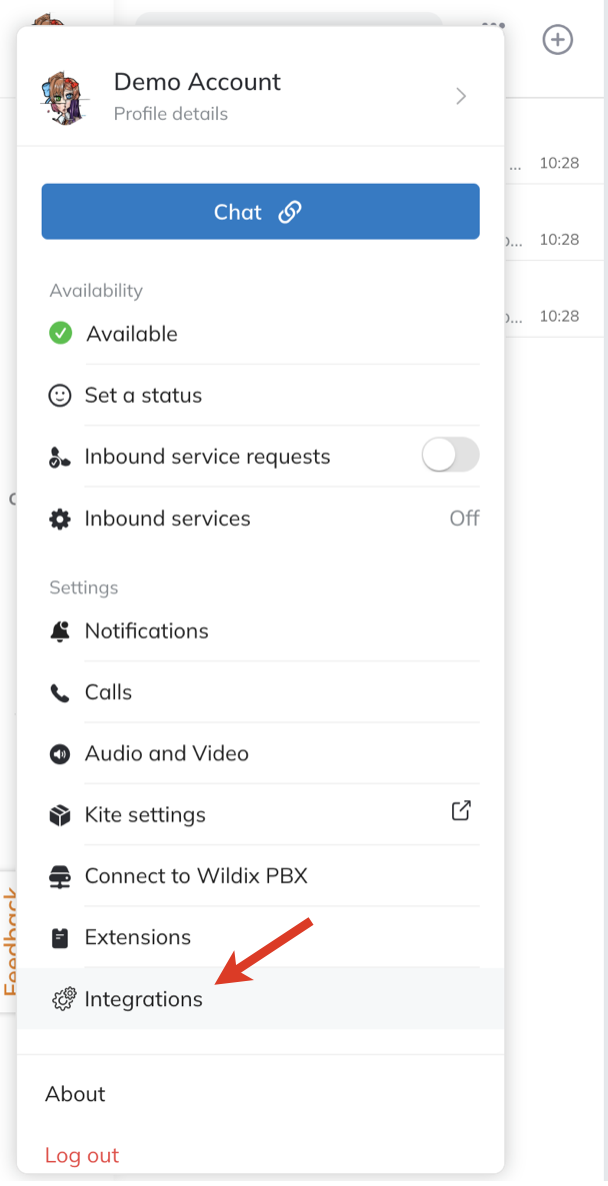
To view the list of iFrame integrations:
- Click on your user picture from the upper left-hand part of the screen
- Under Settings, find the option Integrations and click on it:
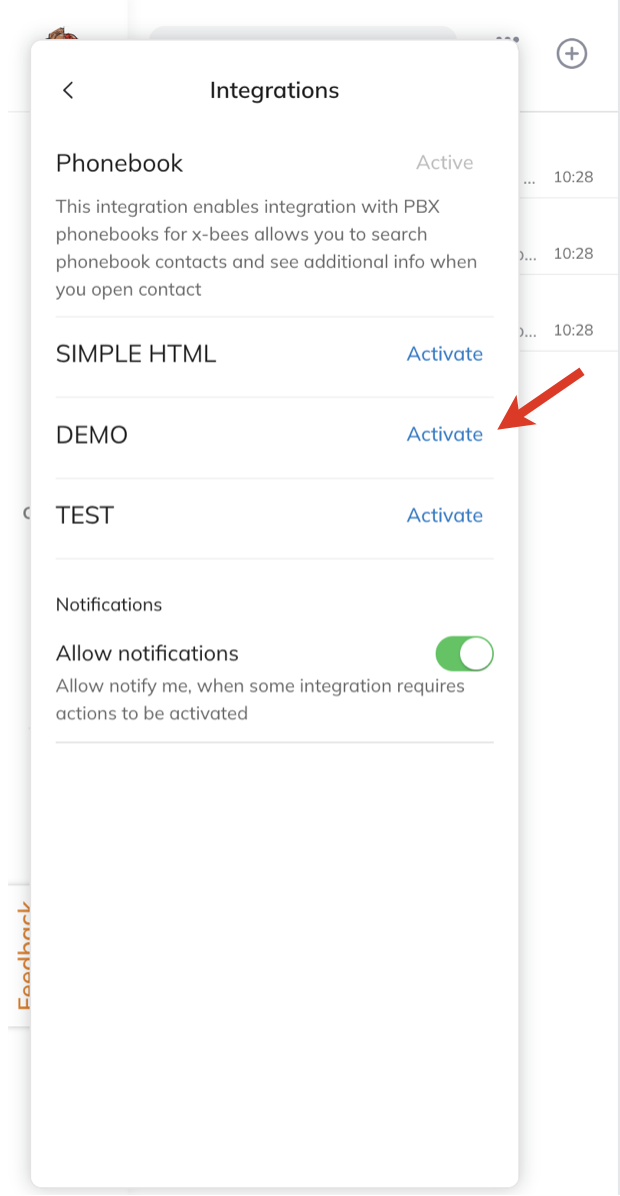
- On the Integrations screen, you can see the list of connected integrations and their status. Some integrations many need authorization from user's side. In this case, there is the button Activate in front of the relevant integrations:
- After clicking Activate, ______________________ you are proposed to log in to the application:

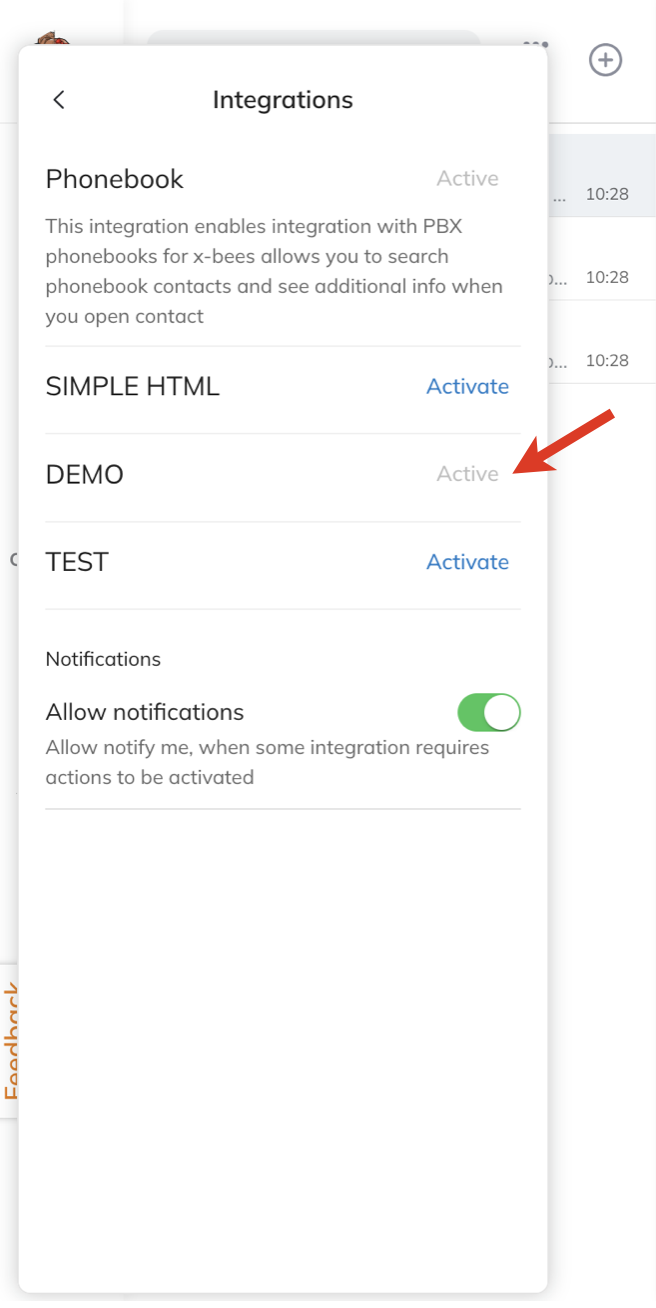
- After authorization inside integration, the integration sends event to x-bees about its activation and it is displayed as Active in Settings -> Integrations:
The integration is displayed on the Info frame:
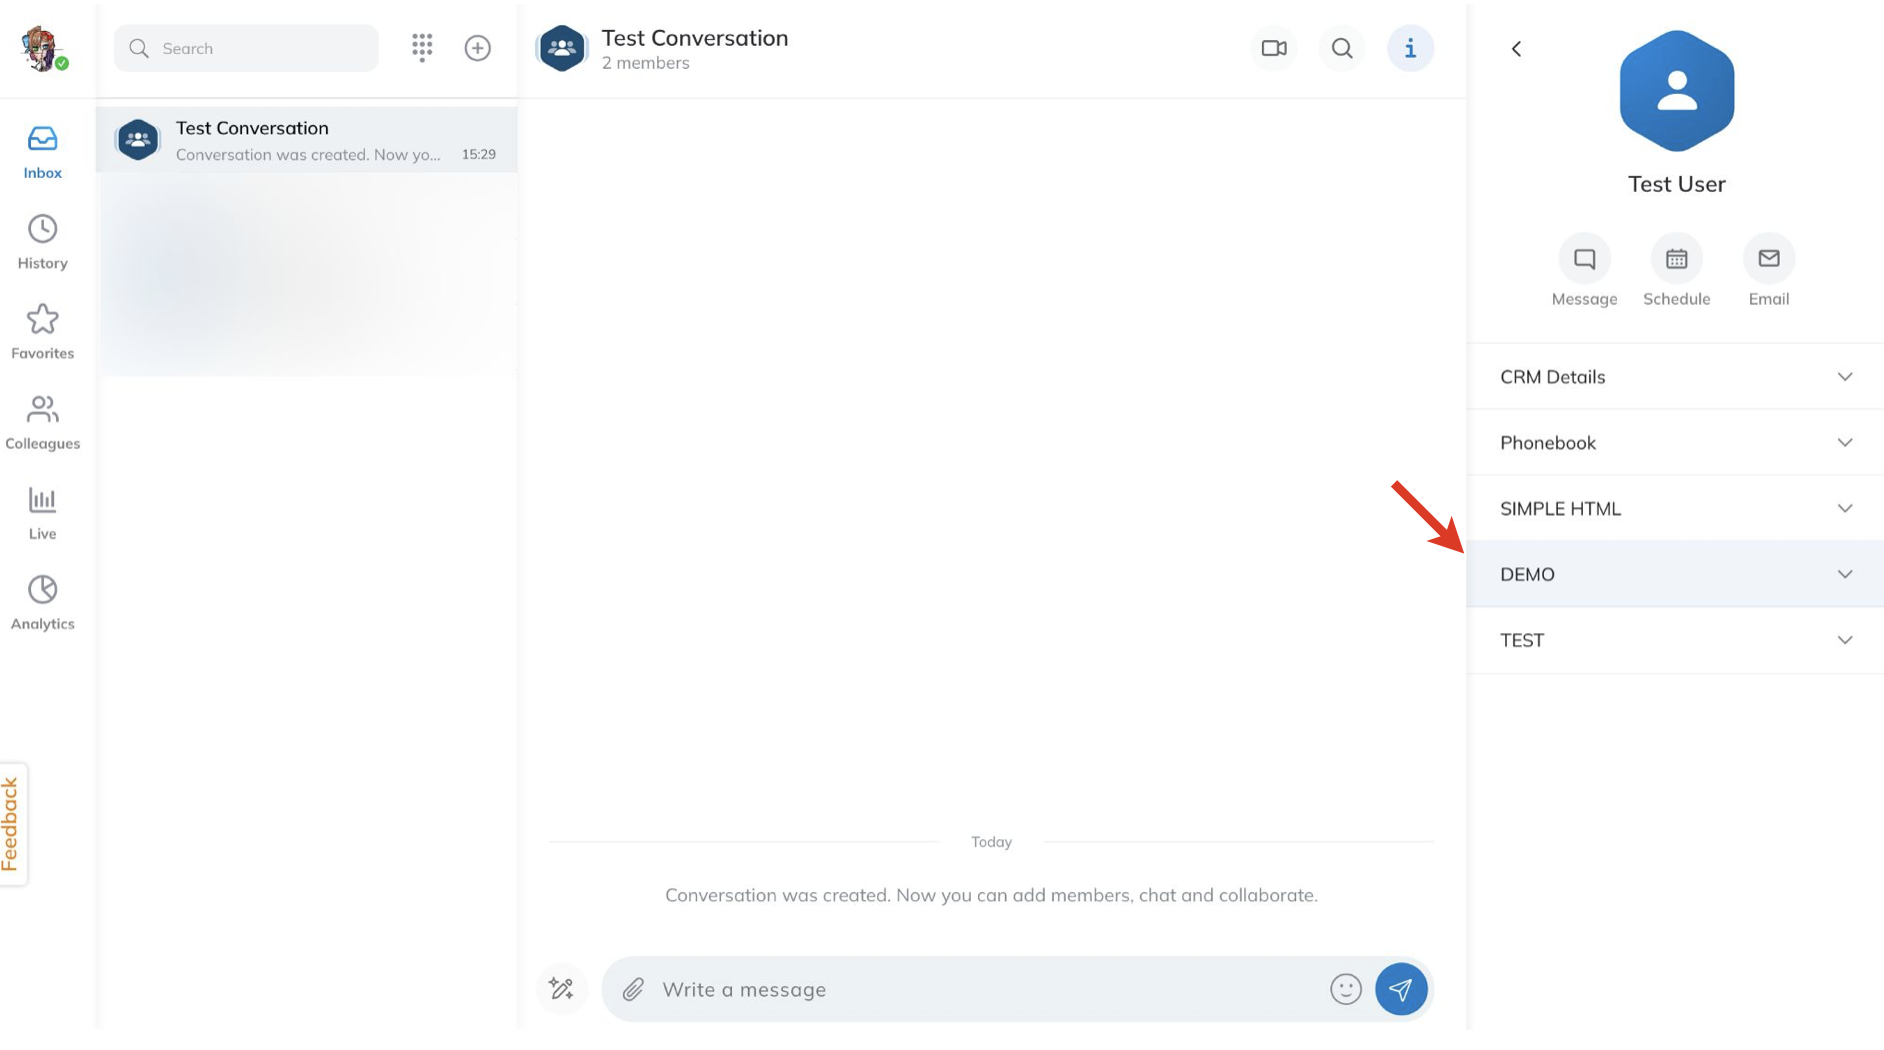
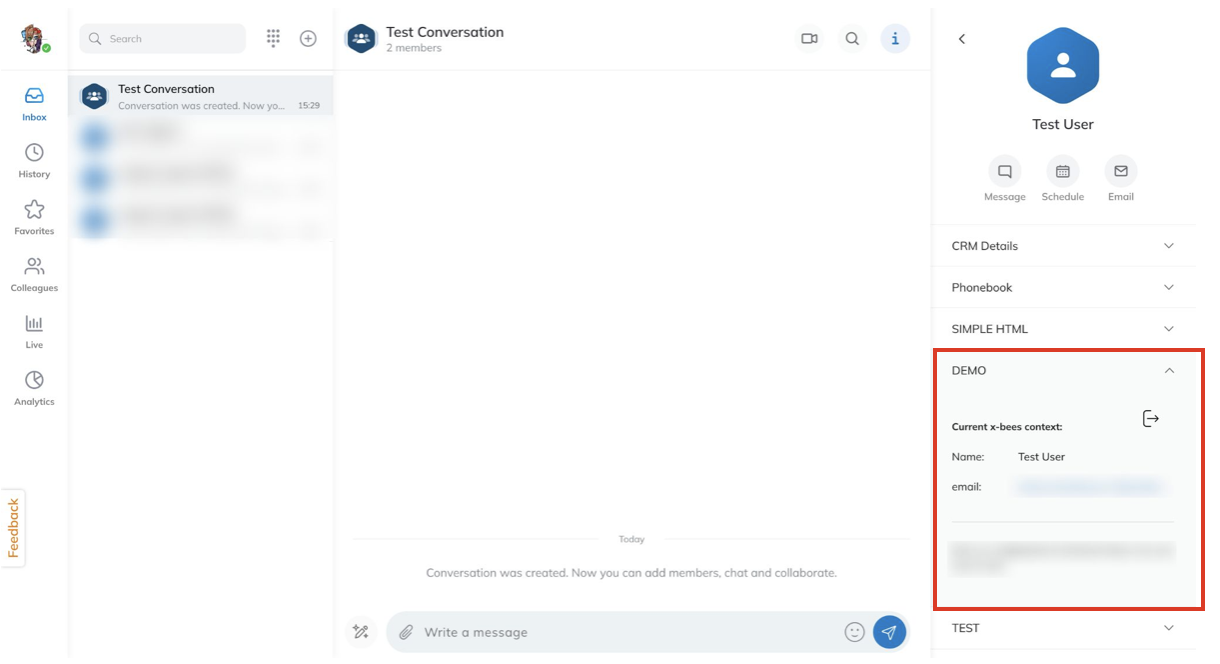
Click on it to view the details about the contact within the integration:
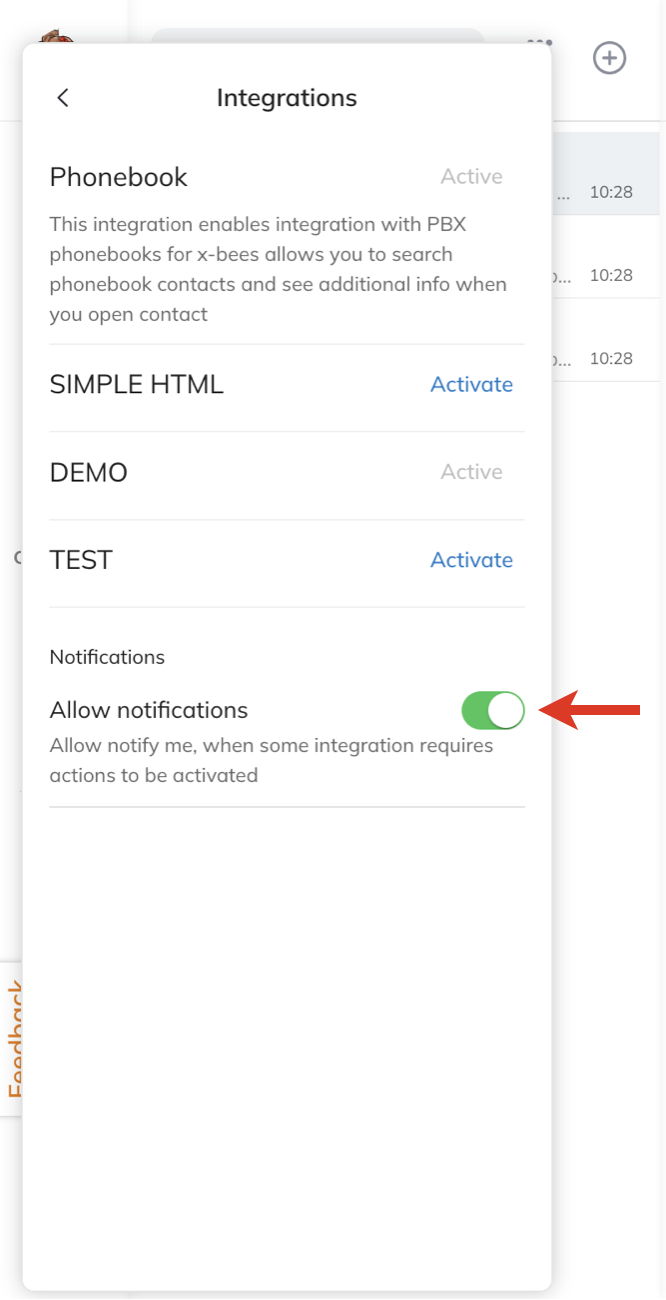
Manage notifications
When integration needs authorization and x-bees tries to reach the integration, and user is not authorized, there is the relevant notification at the bottom of the screen (1) and when opening the integration on the Info frame, you are proposed to log in (2):
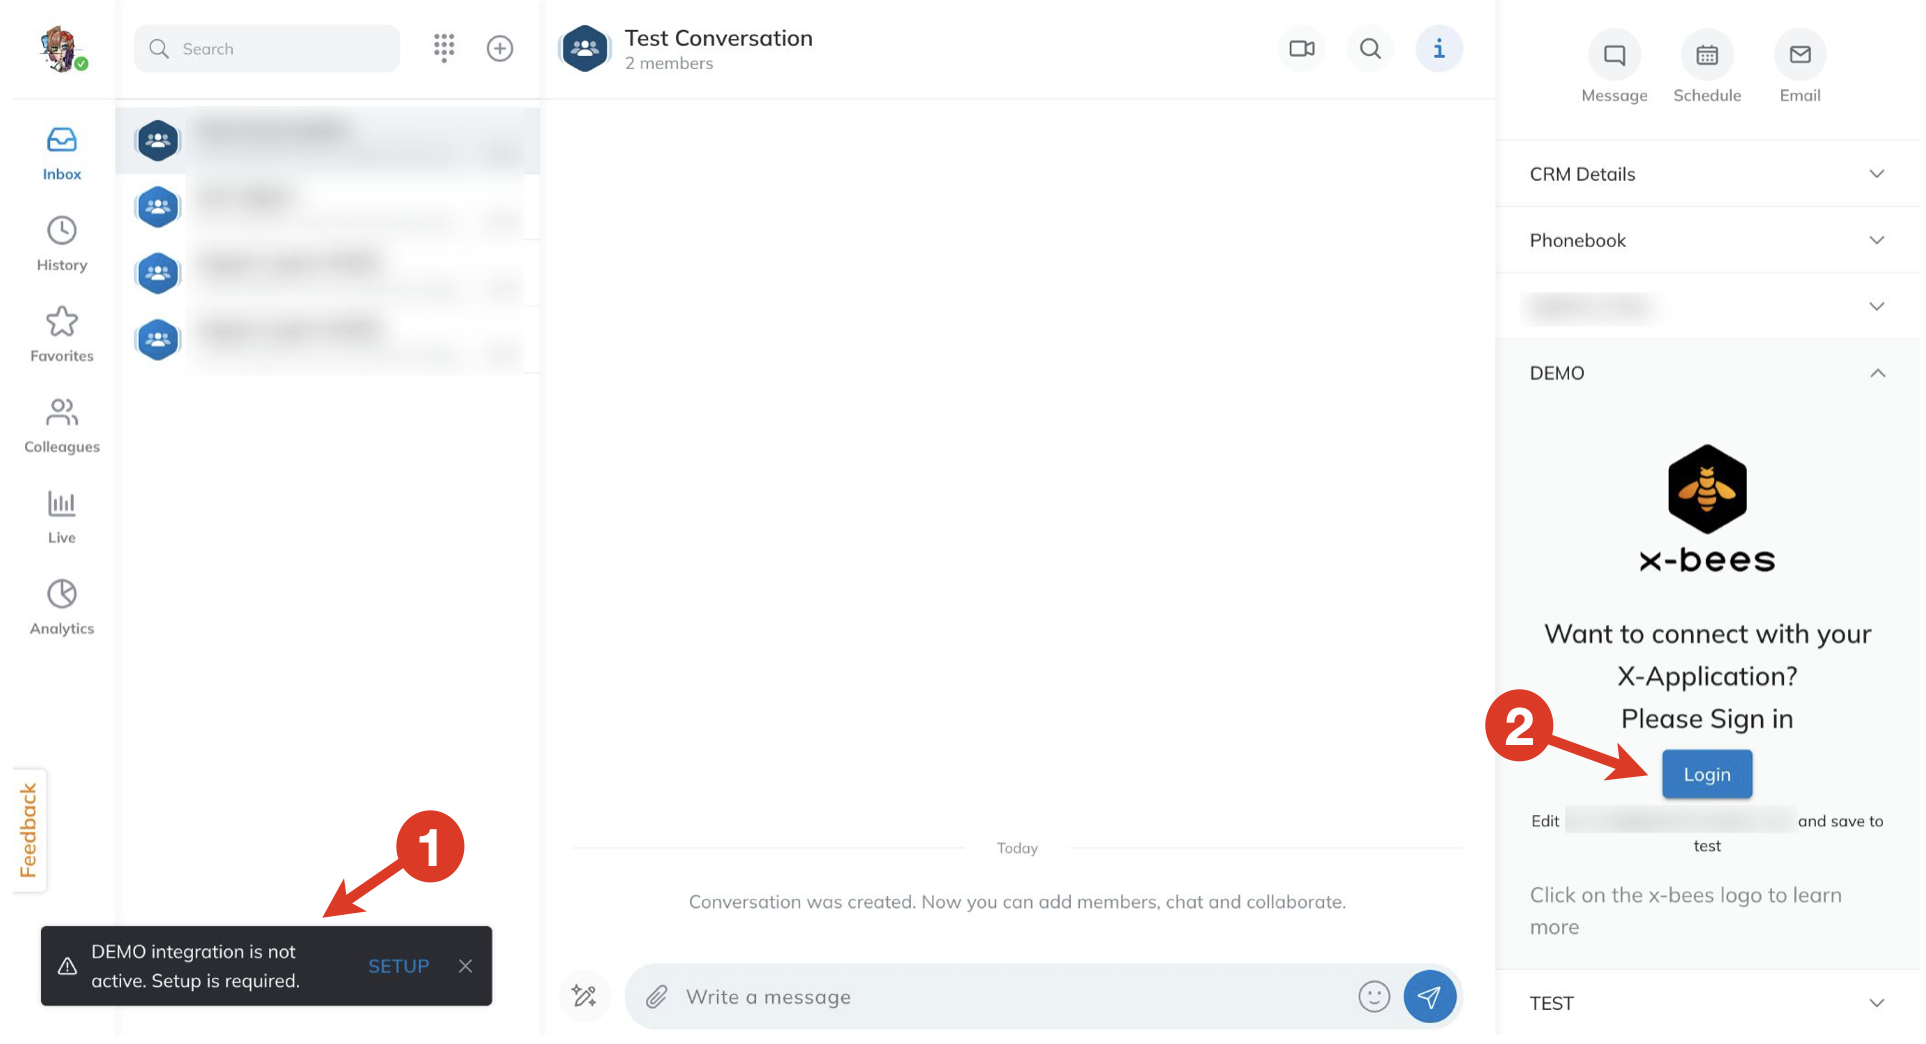
The notification is displayed when you open Info frame or use the search with integrations that require authorization. User can also disable notifications in cases when he doesn't need to use the integration.
To disable notifications:
- Click on your user picture from the upper left-hand part of the screen
- Under Settings, find the option Integrations and click on it
- Turn the toggle off next to the Allow notifications option: